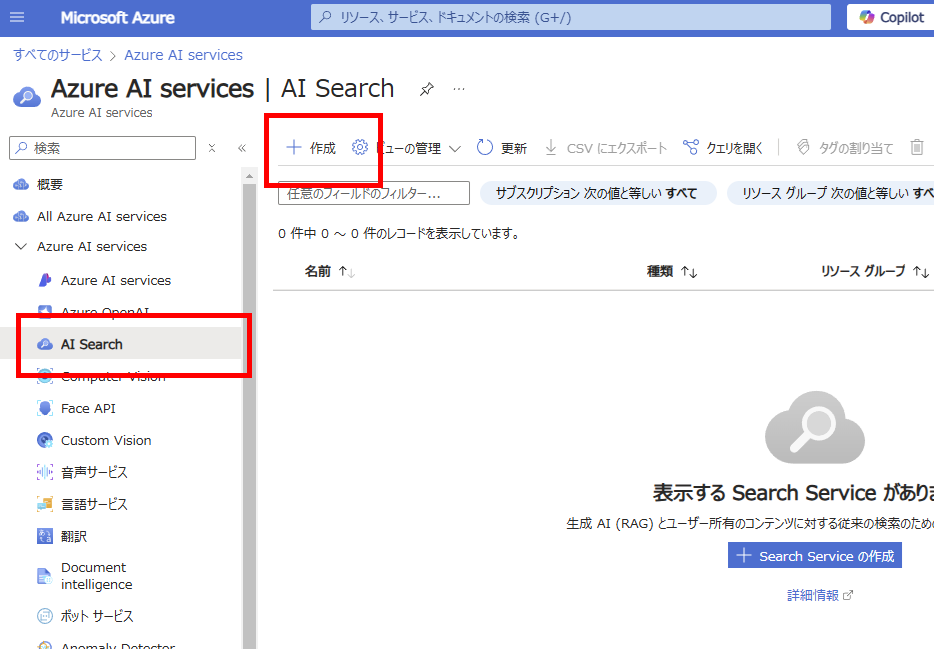
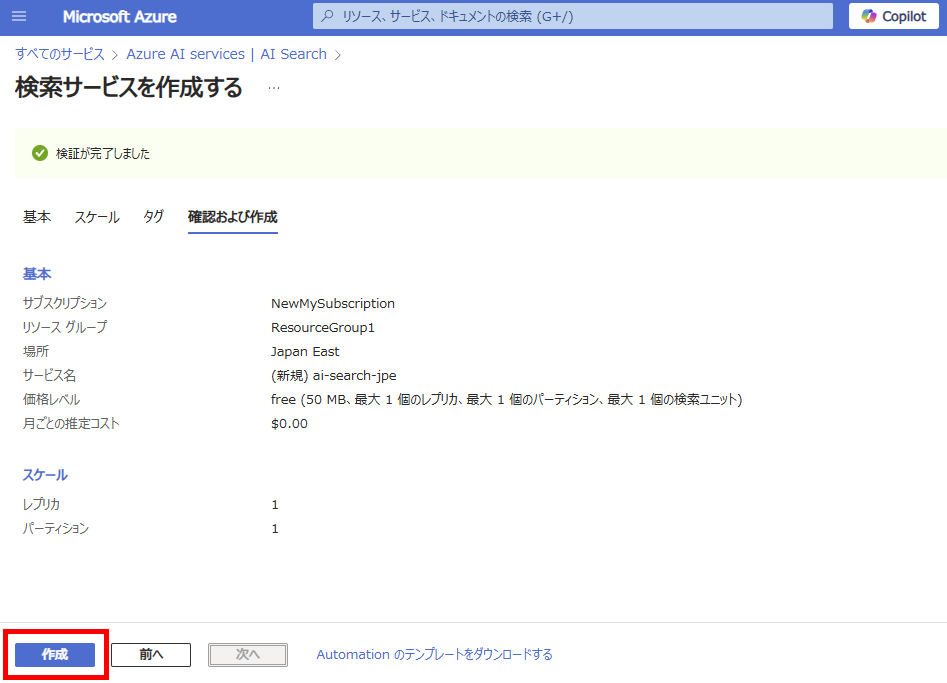
Open the Azure portal and select [Create] for AI Search
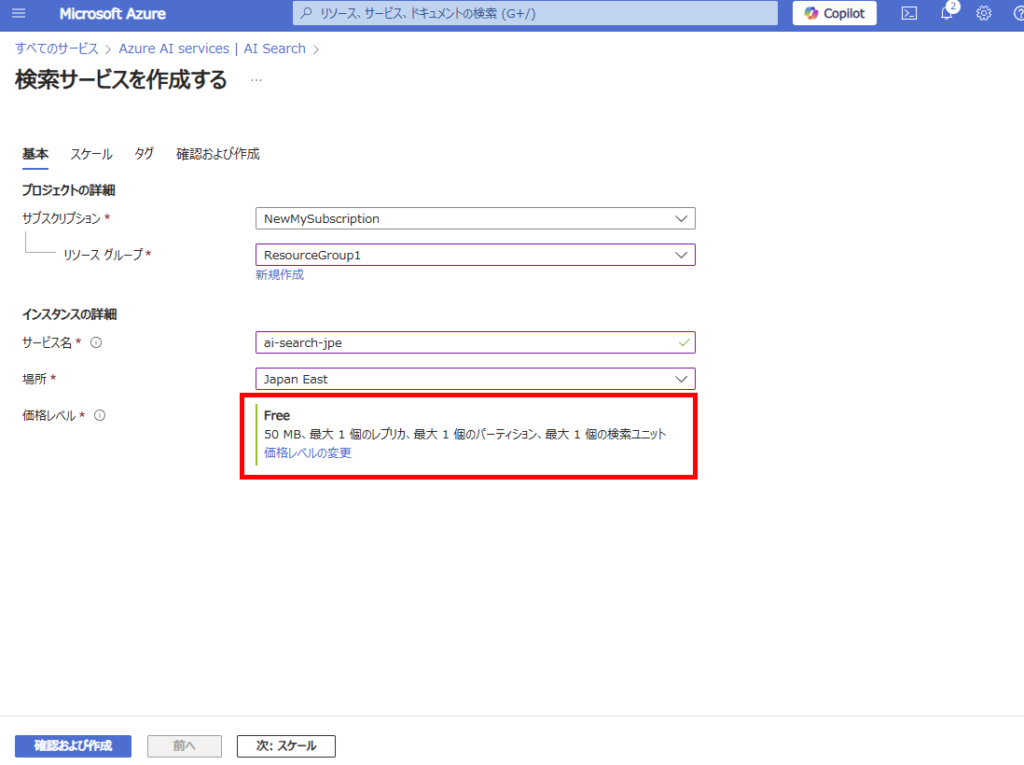
Select a service name and region, then create the resource. Note: We’re using the Free tier here as this is not for production use.
Leave all other settings at their default values.
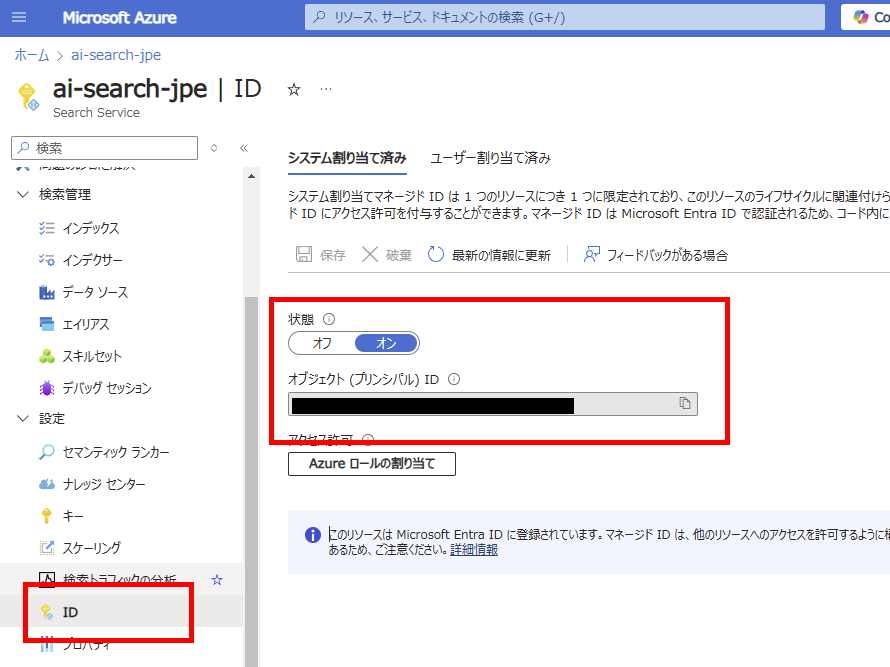
Once the resource is created, go to the [Identity] tab of AI Search and enable [System-assigned managed identity]. Note: You don’t need to record the Object ID
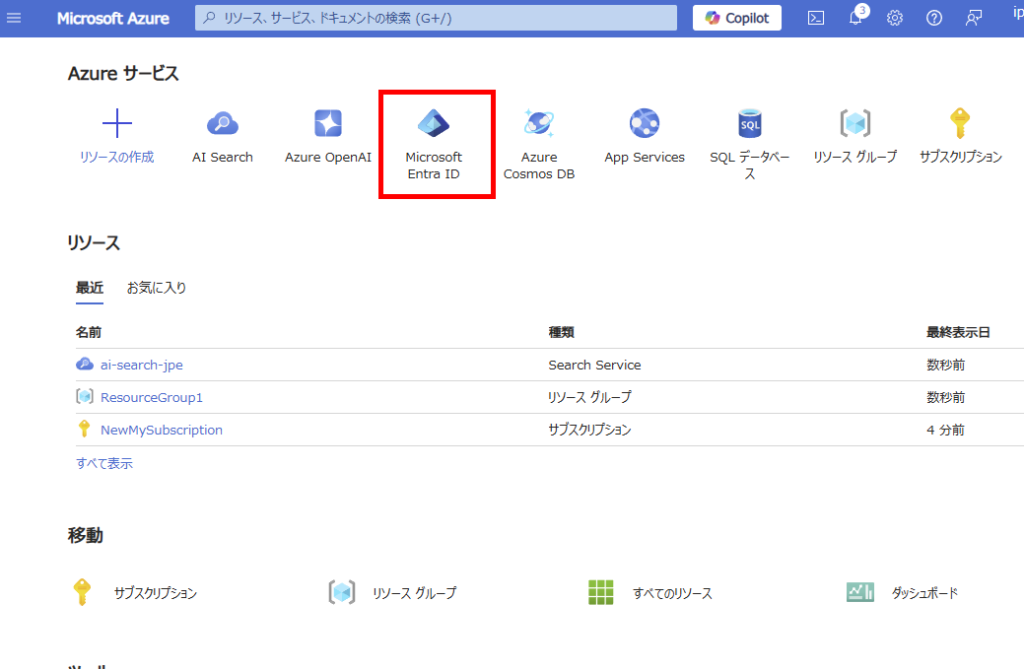
Step 2: Register an Application in Entra ID
Next, select Entra ID
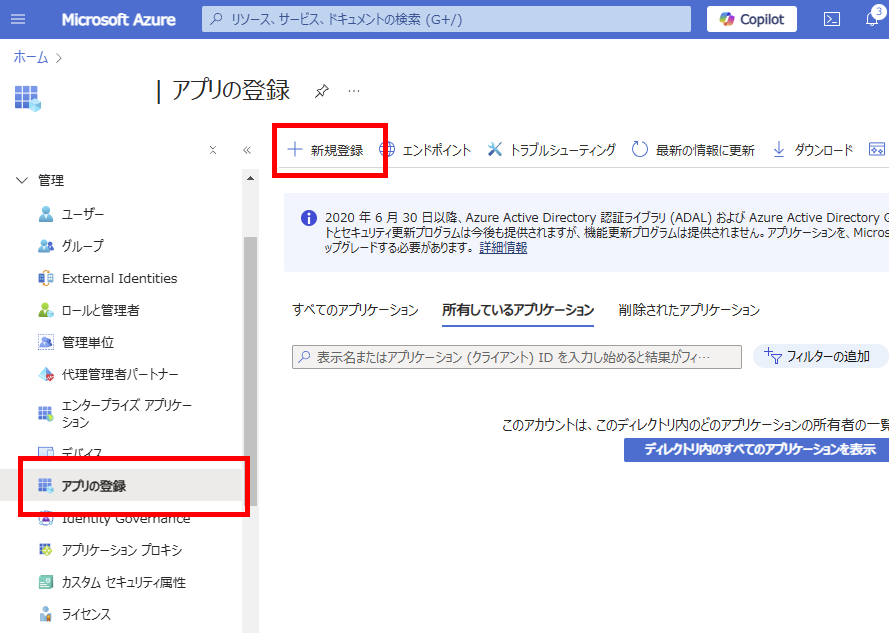
Choose [App registrations] and select [New registration]
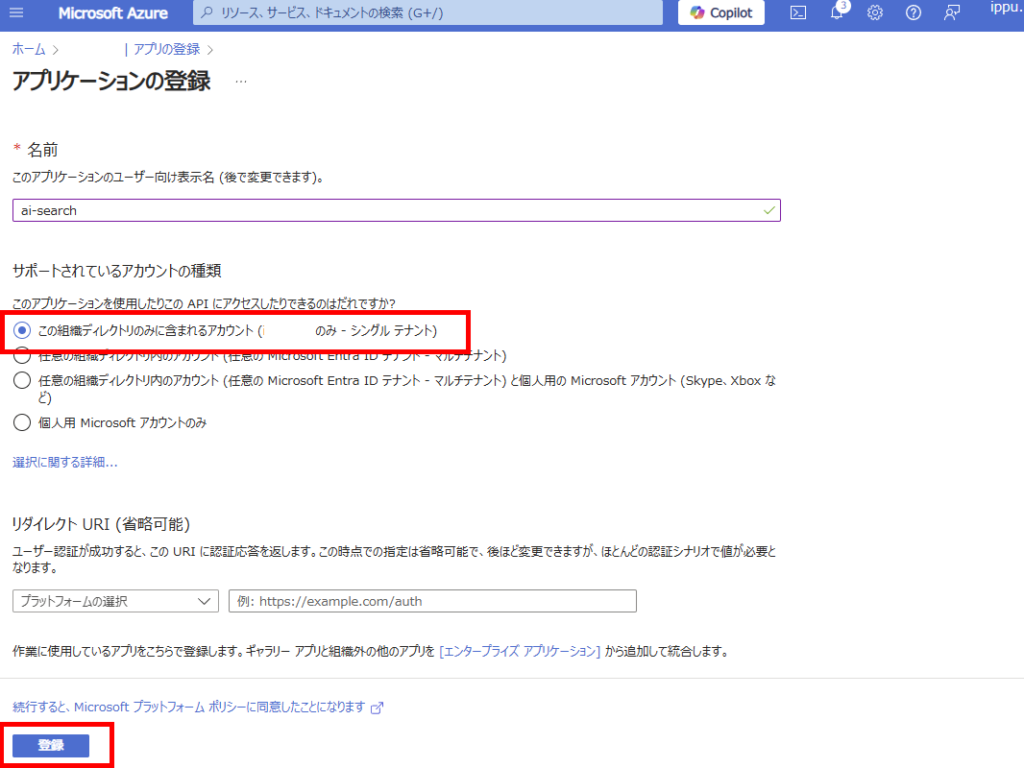
Since we’re targeting a SharePoint Online site within the same tenant, select “Accounts in this organizational directory only” and register.
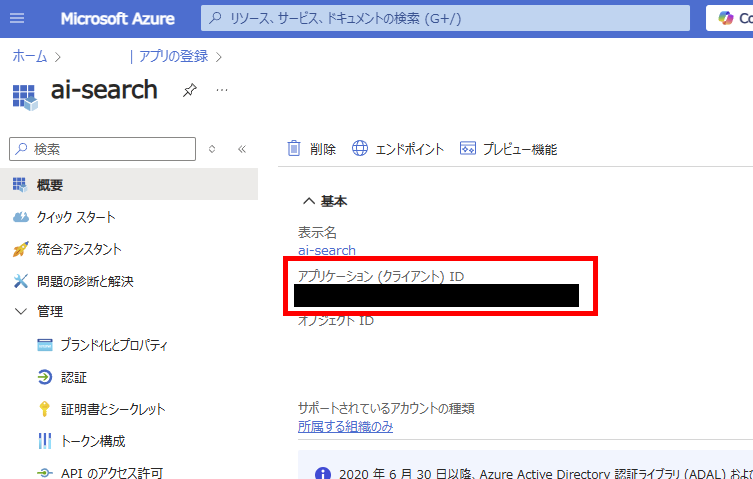
After registration, note down the [Application ID] from the [Overview] tab (Note 1).
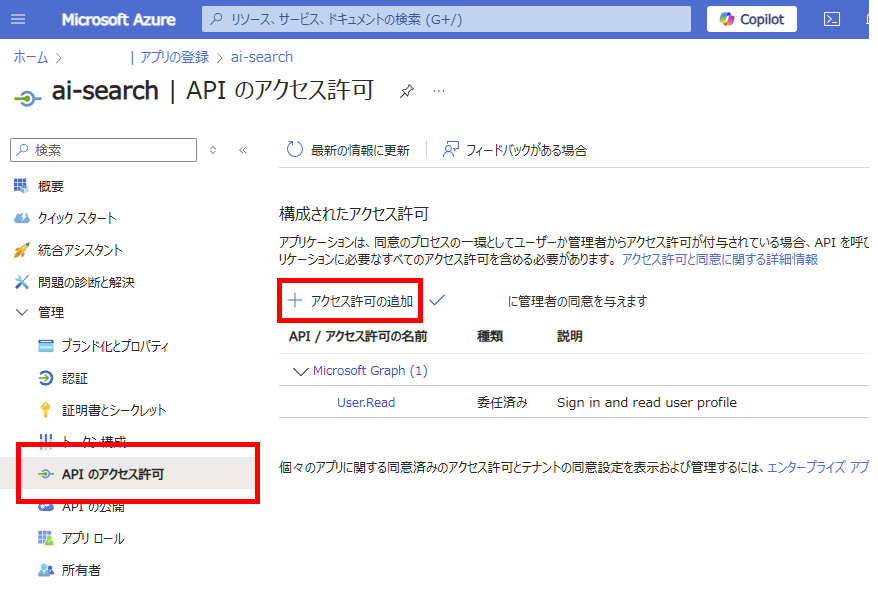
Go to [API permissions] of the registered app and select [Add a permission]
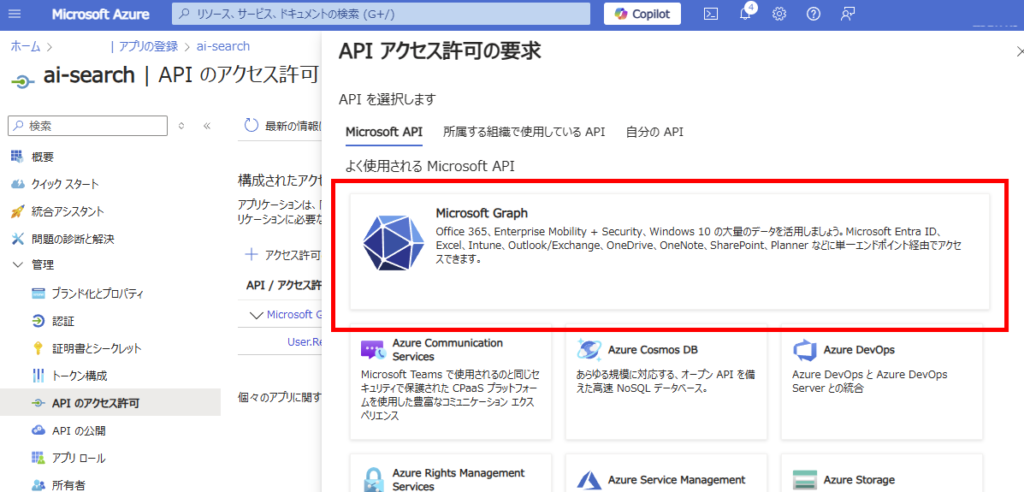
Select [Microsoft Graph]
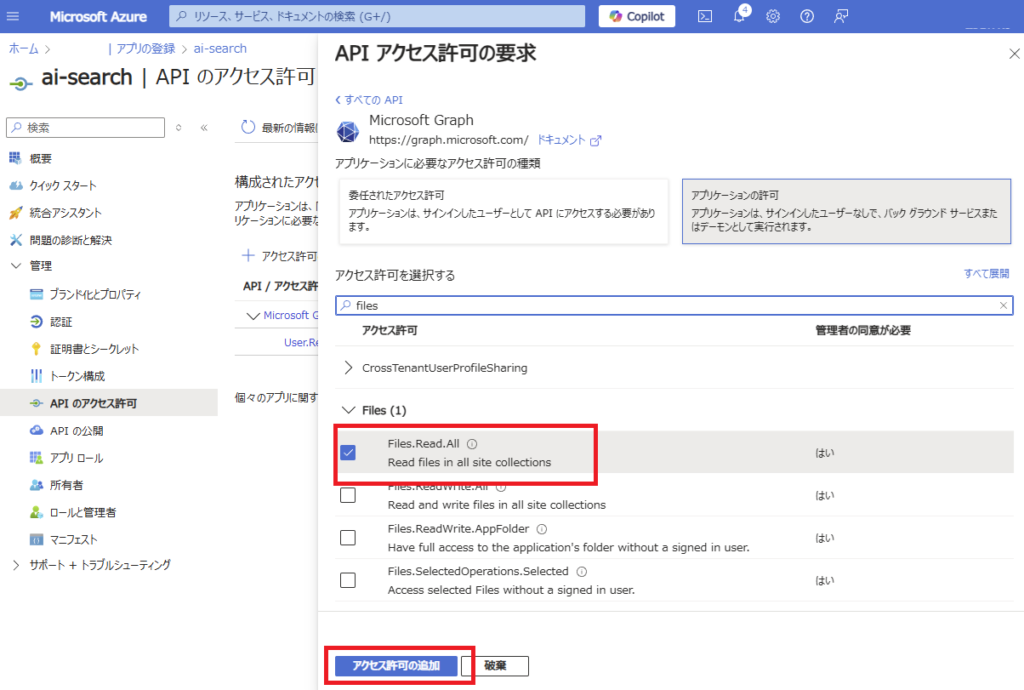
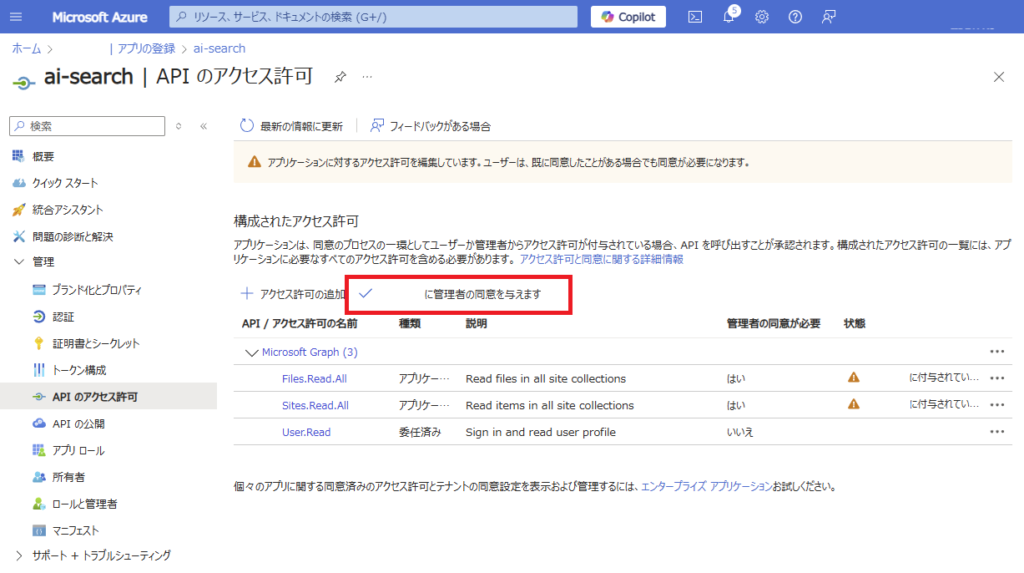
Under [Application permissions], select “Sites.Read.All” and
“Files.Read.All”, then click [Add permissions]
Grant [Admin consent]
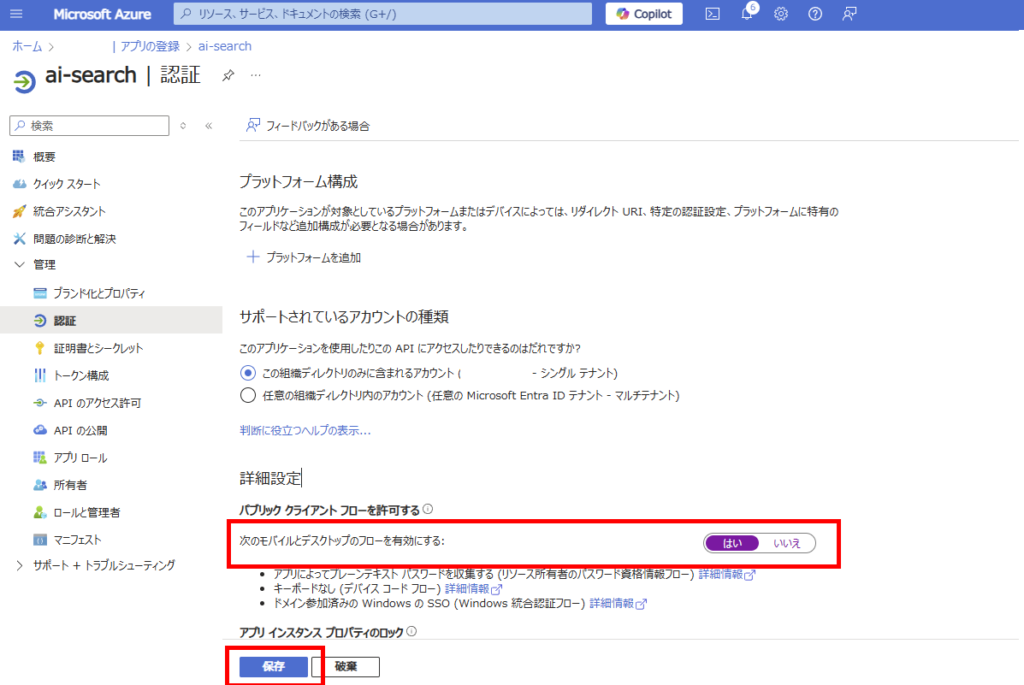
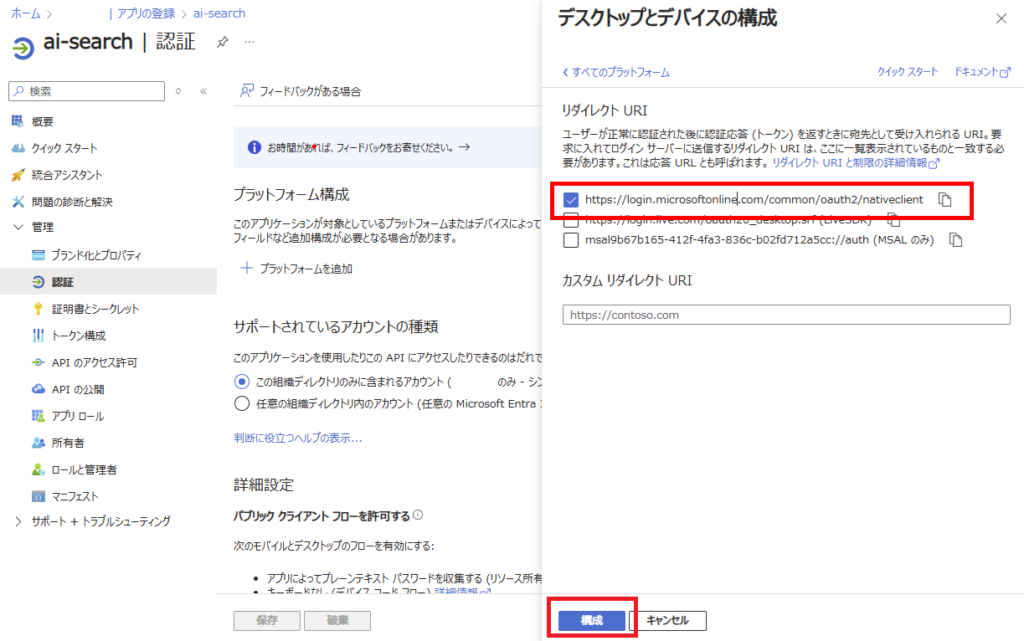
In [Authentication], set [Enable the following mobile and desktop flows] to “Yes” and save
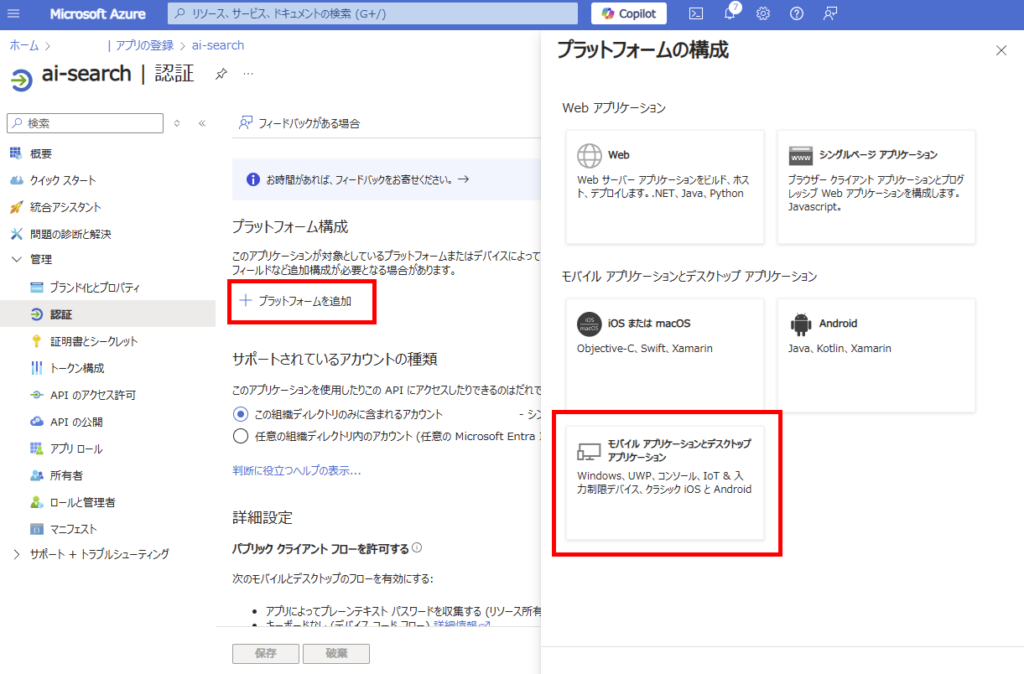
Click [Add a platform] and select [Mobile and desktop applications]
Select the “https://login.microsoftonline~~~” option and configure
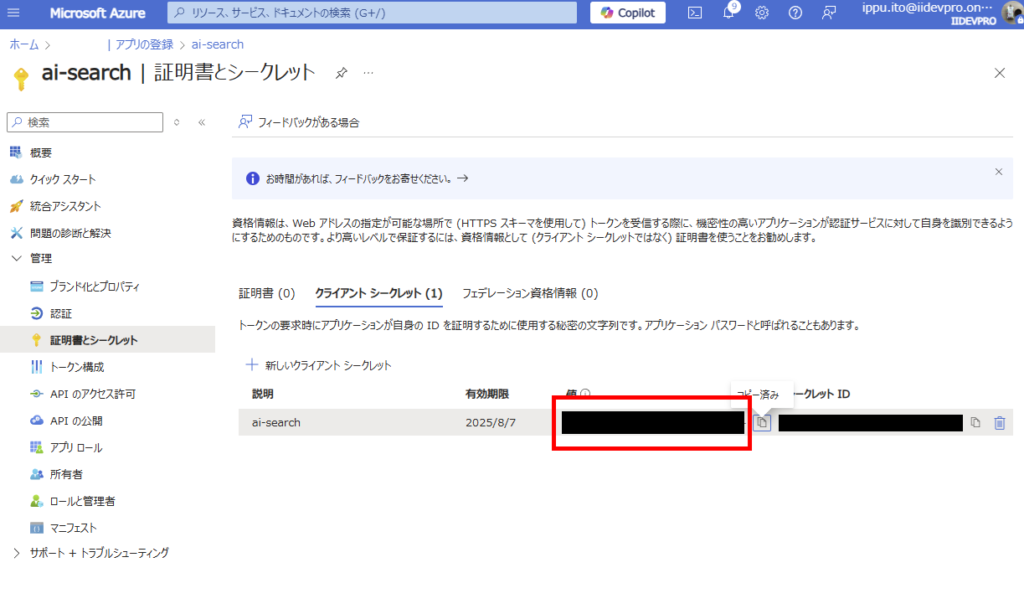
Finally, go to [Certificates & secrets] tab and add a [New client secret] with your preferred expiration date
Note down the generated client secret (Note 2)
This completes the Entra ID registration process.
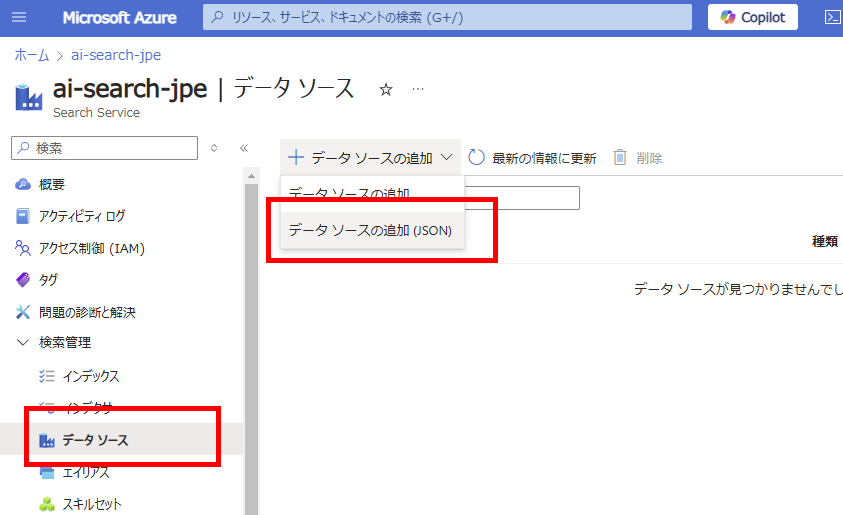
Step 3: Azure AI Search: Adding a Data Source
Return to AI Search and select [Add data source (JSON)] from the [Data sources] tab
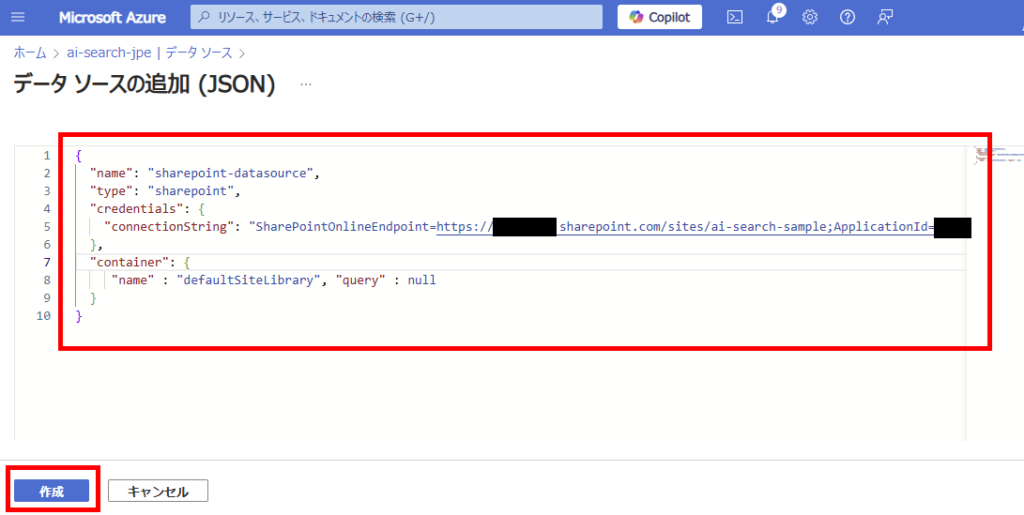
Configure the following JSON:
{
 "name": "【Your desired data source name (example: sharepoint-datasource)】",
 "type": "sharepoint",
 "credentials": {
    "connectionString":"SharePointOnlineEndpoint=【SPO site URL (up to ~/sites/site-name)】;ApplicationId=【App ID (Note 1)】;ApplicationSecret=【Secret (Note 2)】;"
 },
 "container": {
     "name": "【Target document library (details explained later)】"
 }
}
■type: Specify “sharepoint” for SharePoint data sources ■container/name
defaultSiteLibrary: Indexes all content in the site’s default document library
allSiteLibraries: Indexes all content across all document libraries within the site
useQuery: Only indexes content defined in the “query” parameter
Next, define the index (columns and attributes used for searching).
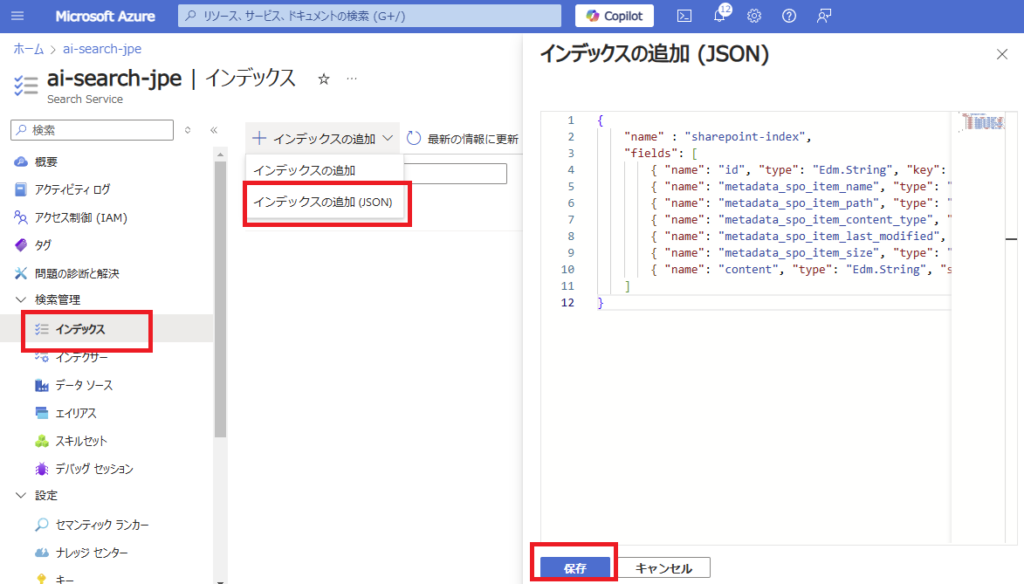
Select [Add index (JSON)] from the [Indexes] section and specify the desired columns.
For this demonstration, we’ll use minimal settings (avoiding vector search for now as embeddings incur additional costs).
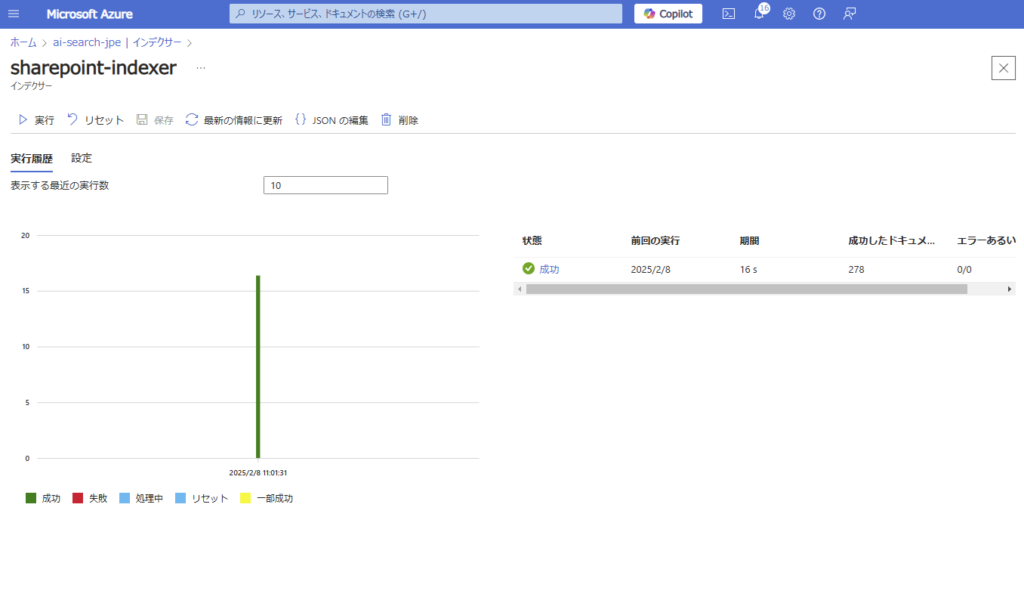
Finally, create an indexer. Select [Add indexer (JSON)] from the [Indexers] section and configure the following settings before saving. Note: As this is a sample, we’re not using skillsets (chunking was already done on the Python side).


コメント