Power Platformの新しい管理ツール『パイプライン』を使う機会があったので、使い方をメモ。
今回やること
今回は開発環境で構築したソリューションを運用環境(別の環境)へ、『パイプライン』を使用してデプロイしてみる。
まずは以下の環境を用意。
- 開発環境
- 運用環境
開発環境にパイプライン管理アプリをインストールし、運用環境へのパイプラインを構築していく。
※「開発環境」と「パイプライン管理アプリをインストールする環境」を分けたほうが良いかは今後検証が必要
事前準備
まずは開発環境にデプロイ対象となるソリューションを1つ作成。
ソリューションにはラベルを追加しただけの、キャンバスアプリを一つ入れておく。

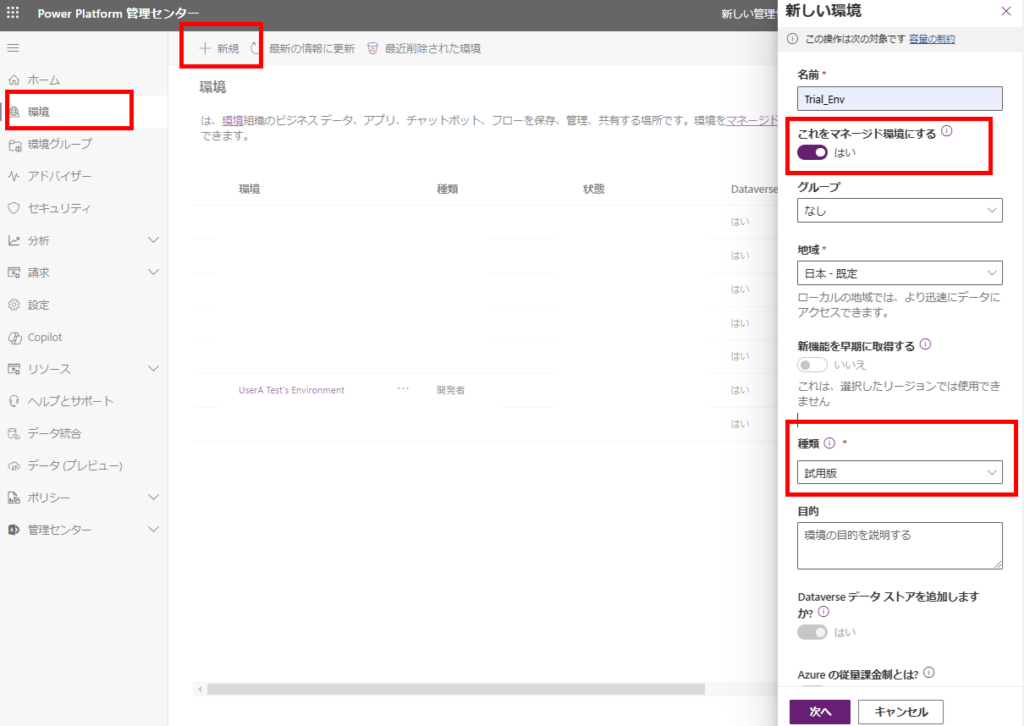
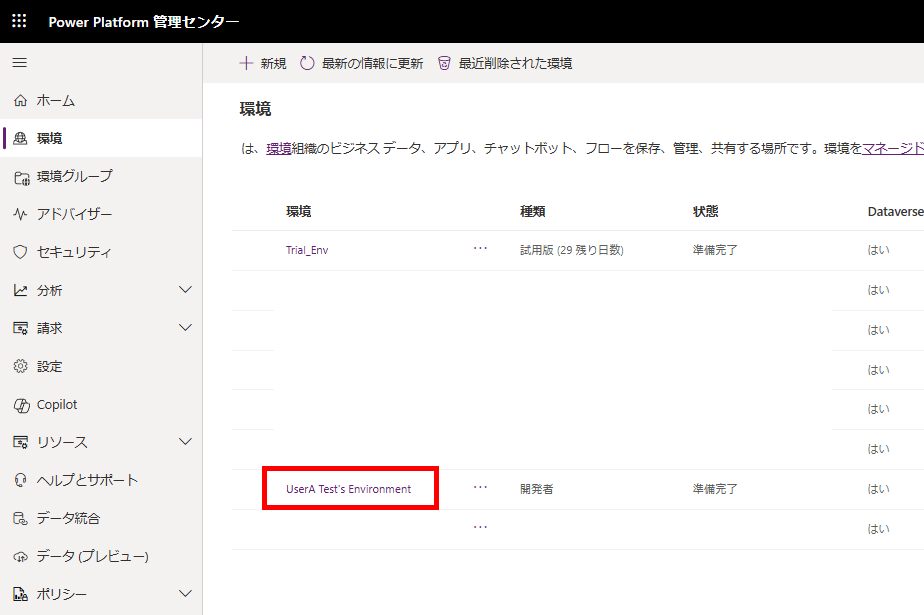
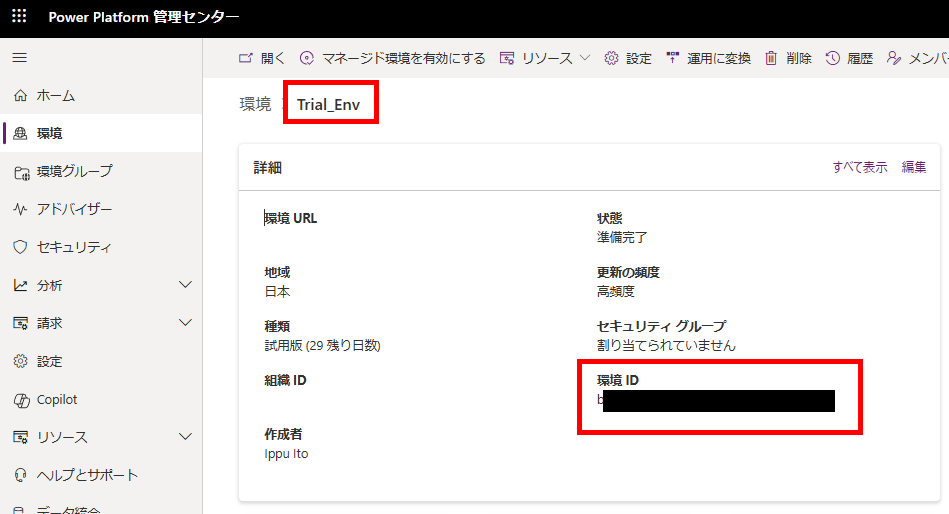
続いて運用環境の想定として、試用版環境を「マネージド環境」として作成。
以上で事前準備は完了。
パイプライン構築
パイプライン構築の手順は以下の通り。
- パイプライン管理アプリのインストール
- アプリに対象環境(開発、運用)を追加
- パイプラインの構築
手順1 : パイプライン管理アプリのインストール
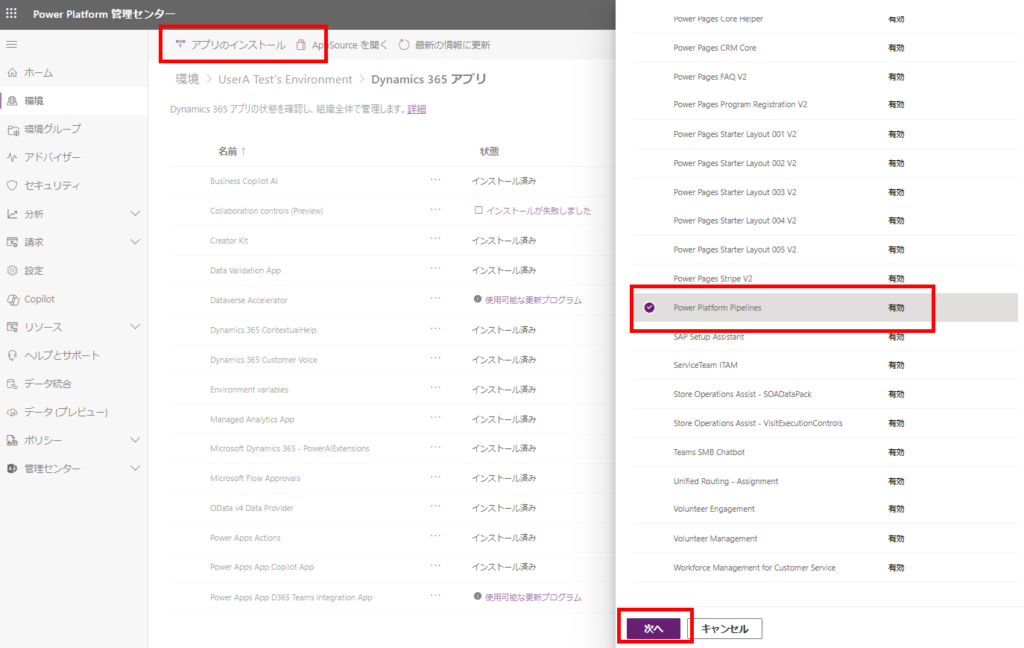
まずはPower Platform管理センターへ移動し、パイプラインを構築する環境を開き、
[リソース]の[Dyanmics 365アプリ]を選択、
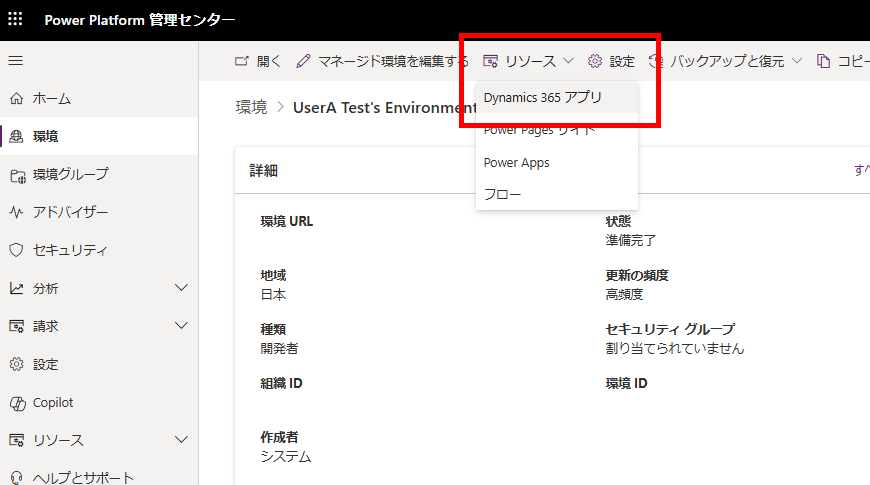
[アプリのインストール]から、[Power Platform Pipelines]を選択し、次へを押す。
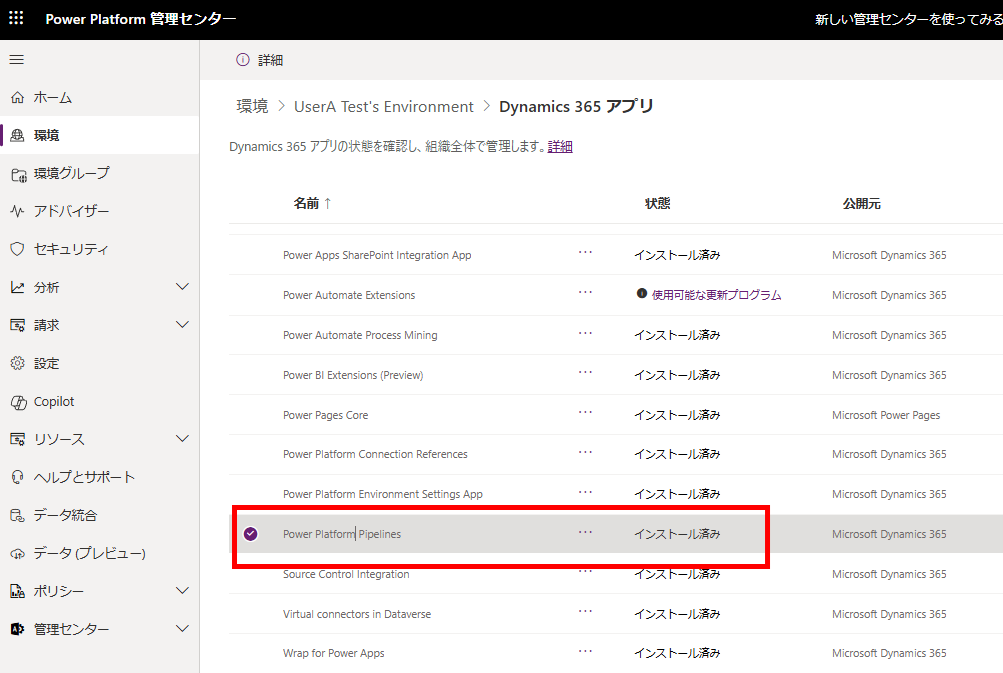
使用条件に同意し、インストール
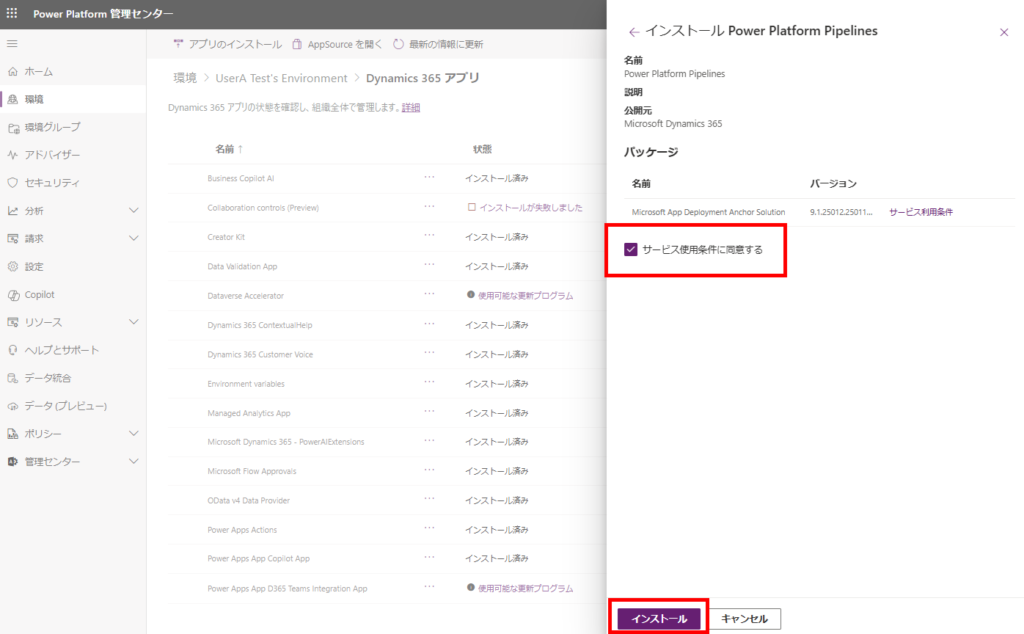
インストール済みになれば、完了。
手順2 : パイプライン管理アプリに『環境(開発、運用)』を追加
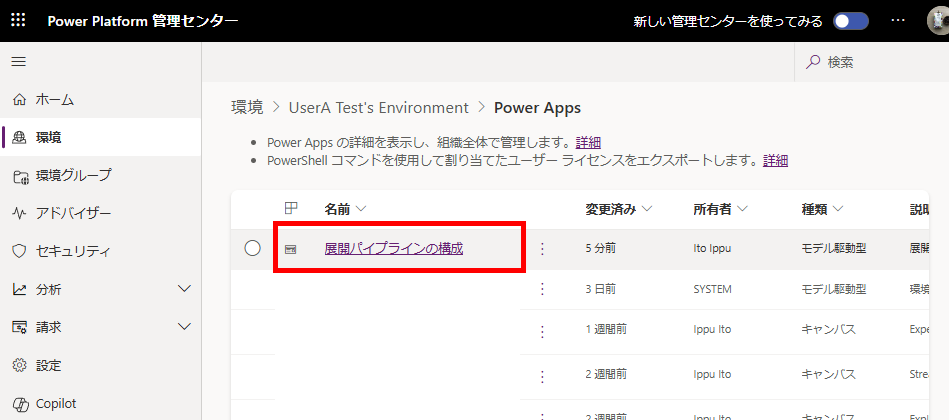
パイプライン管理アプリをインストールした環境で、[リソース]→[Power Apps]を押し、
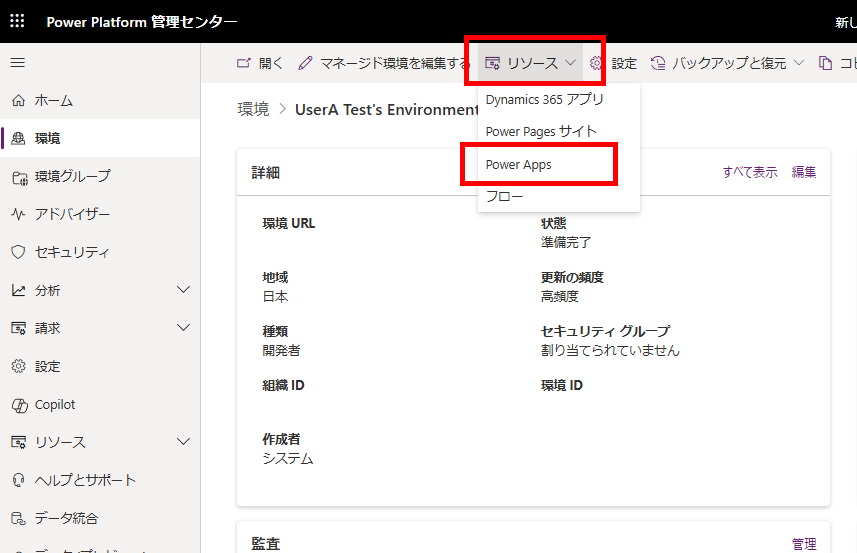
アプリ「展開パイプラインの構成」を選択する。
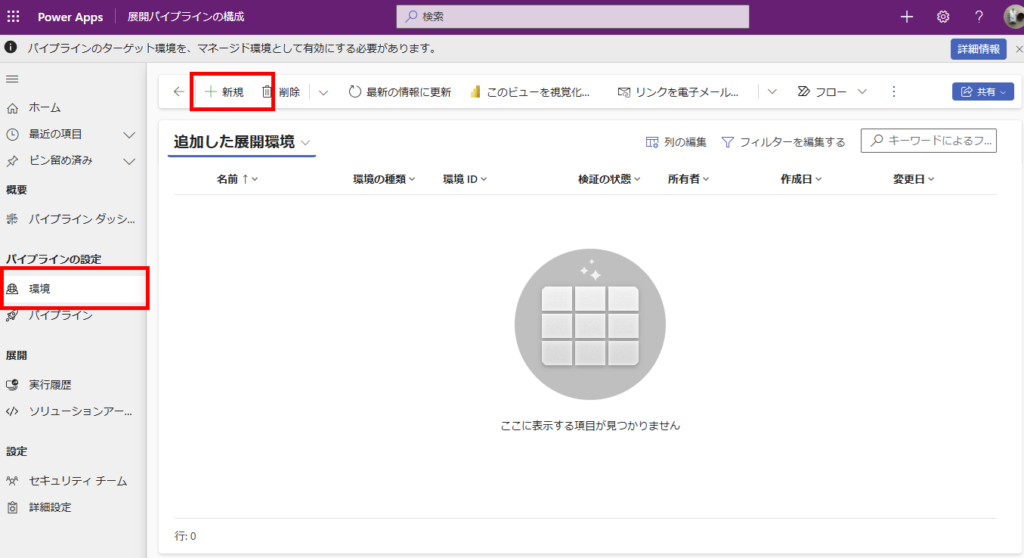
するとパイプラインを管理するアプリが開くので、[環境]タブを開き、[新規]を押す。
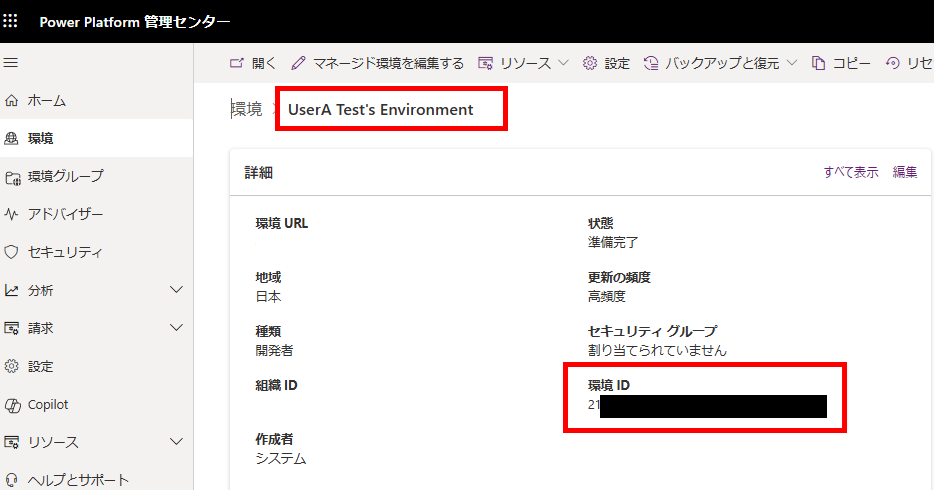
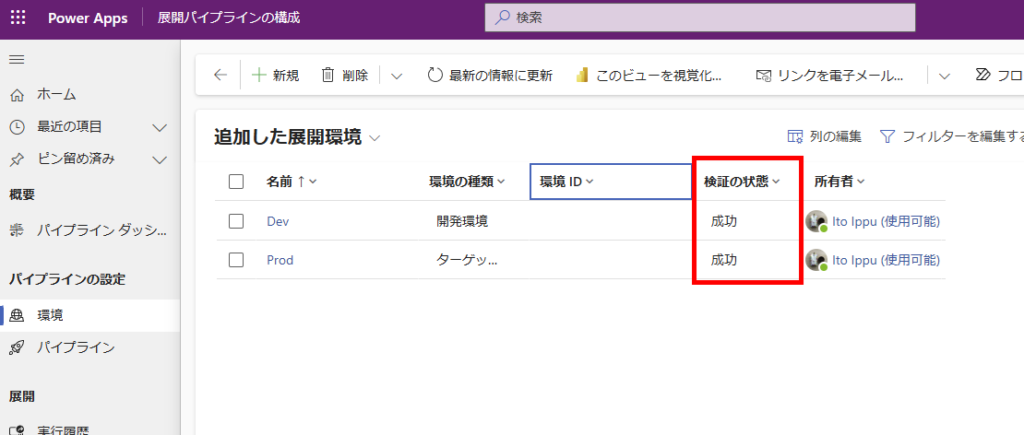
[環境の種類]を「開発環境」にし、環境IDに開発環境の環境IDを設定する。
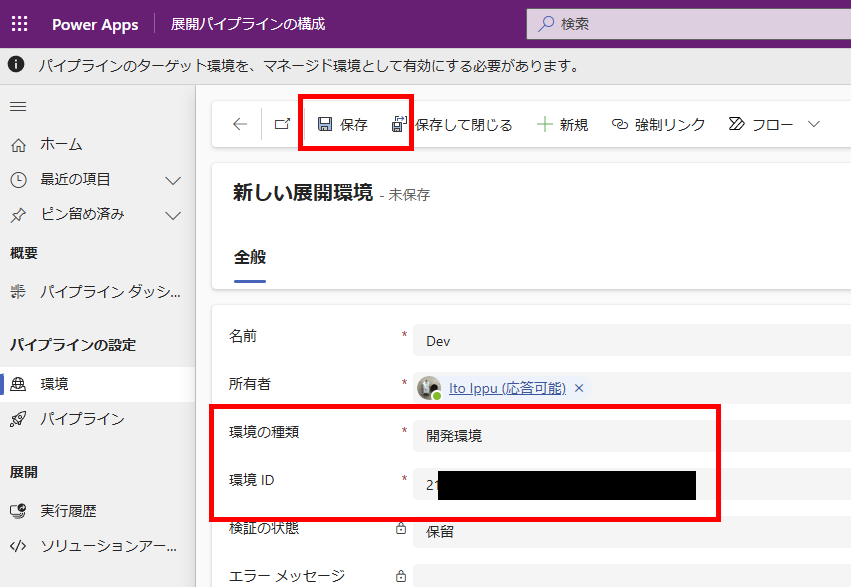
再度[環境]タブの[新規]から、「ターゲット環境」を選択し、環境IDに運用環境の環境IDを設定する。
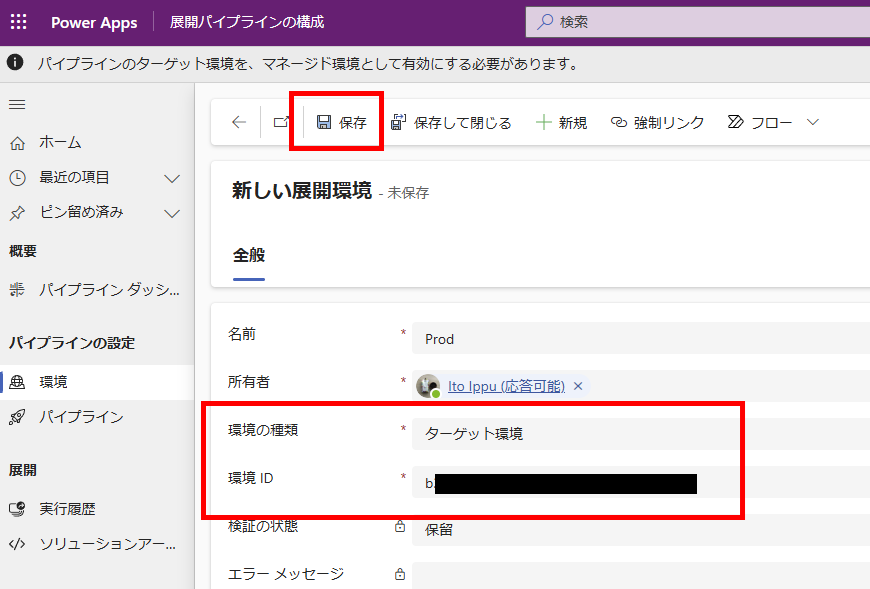
2つの環境の検証が成功したら、この手順は完了
手順3 : パイプラインの構築
[パイプライン]タブの[新規]から、
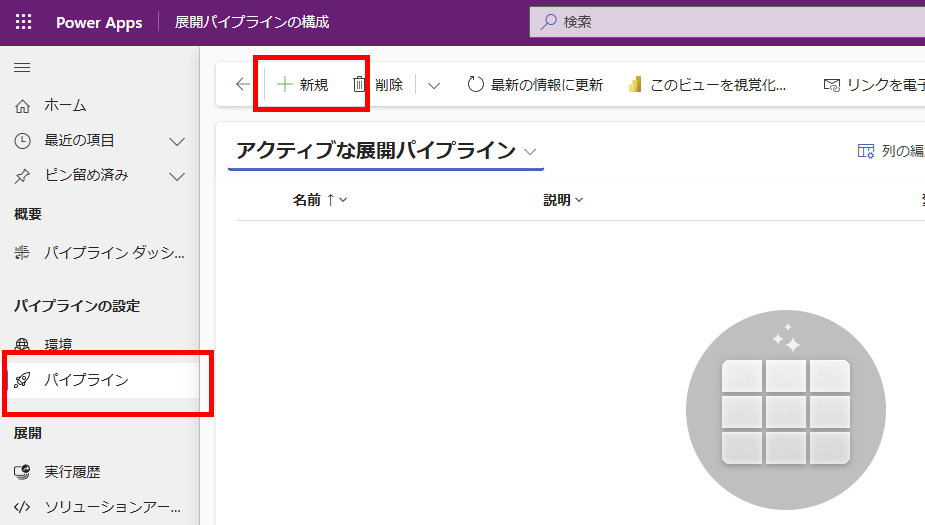
パイプラインにわかりやすい名前を付けて[保存]を押す。

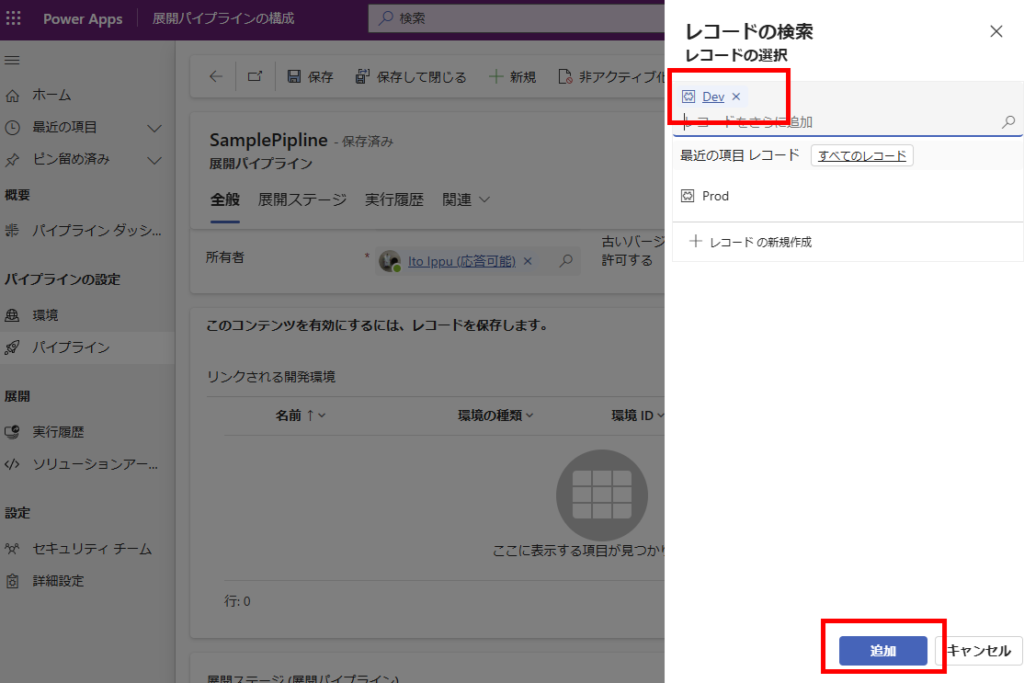
すると開発環境(移行元環境)を設定できるようになるので、[リンクされる開発環境]の[既存の展開環境の追加]を選び、
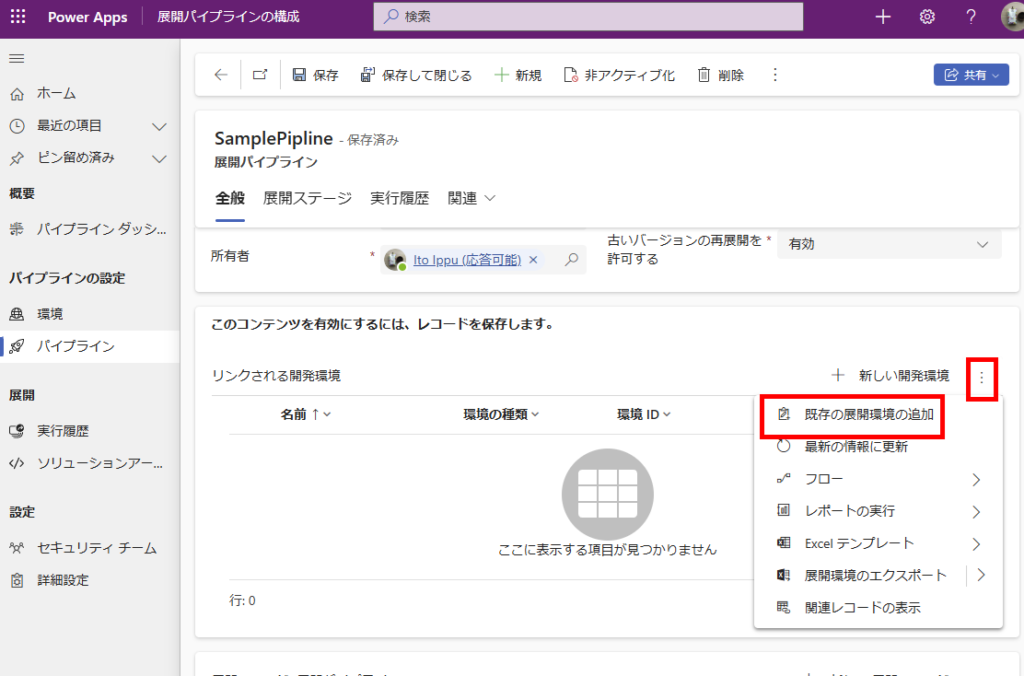
さっき追加した開発環境を設定する。
続いて下にスクロールして[展開ステージ]の[新しい展開ステージ]を押して、
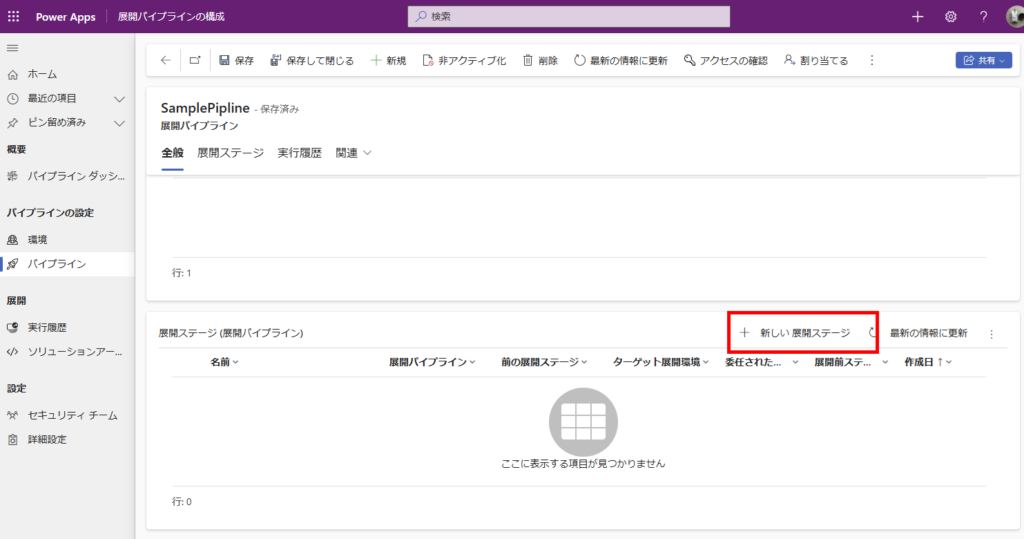
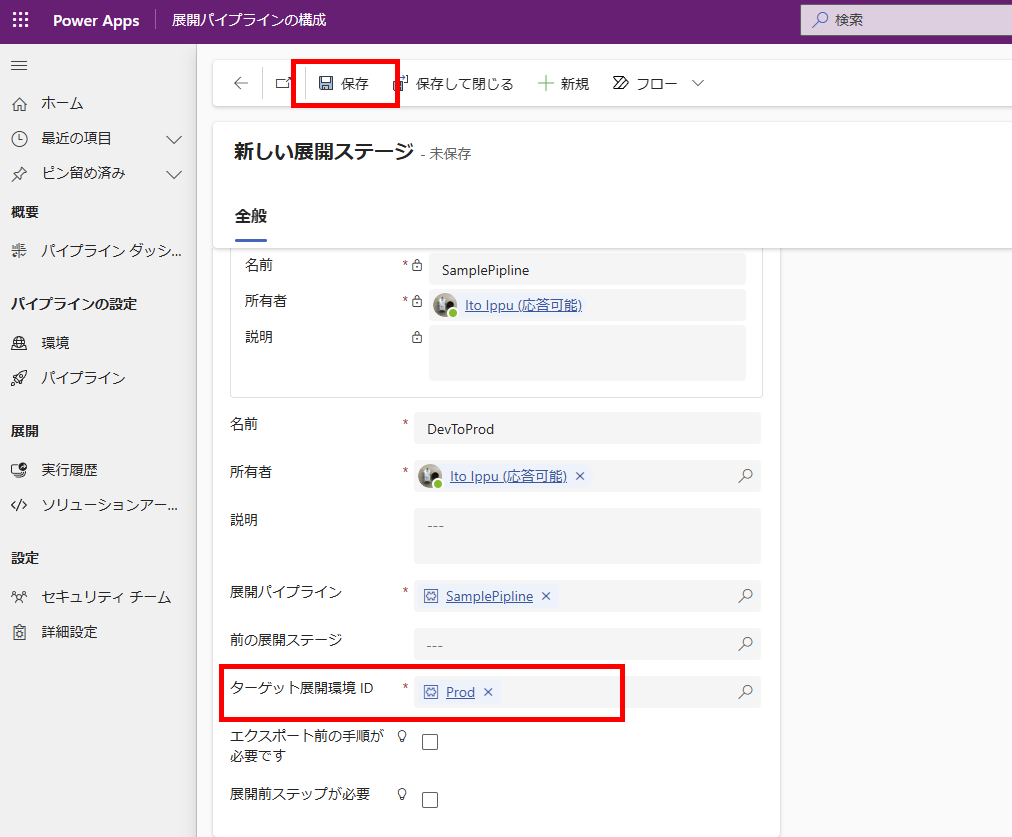
[名前]にどんなステージか?がわかる名前を付けて、[ターゲット展開環境]に「運用環境」を設定する。
※作成した環境が選択肢が出てこない場合は、入力欄にフォーカスがある状態でEnterを押すとでてくるはず。
※作成した環境が選択肢が出てこない場合は、入力欄にフォーカスがある状態でEnterを押すとでてくるはず。
以上でパイプラインの構築は完了。
パイプラインの実行(ソリューションのデプロイの実行)
初回デプロイ
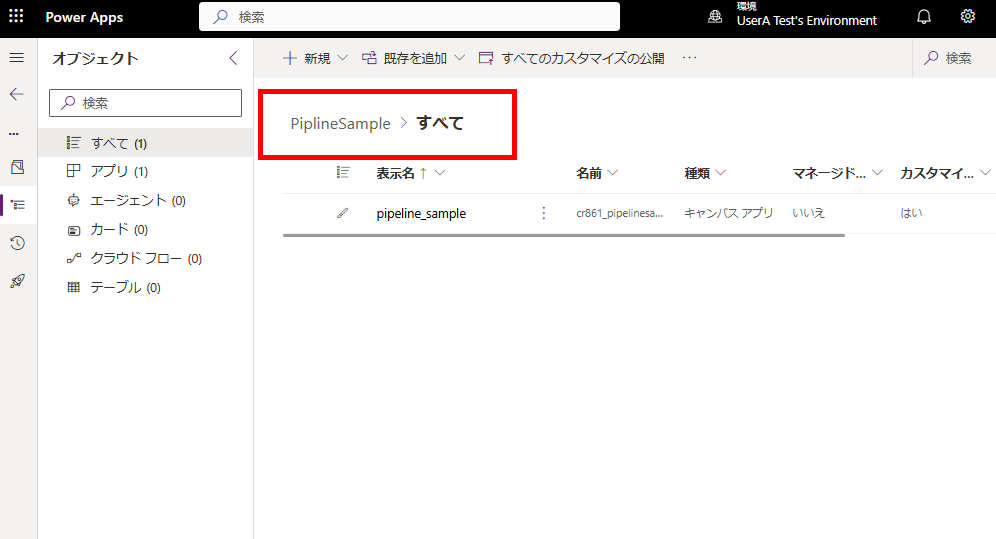
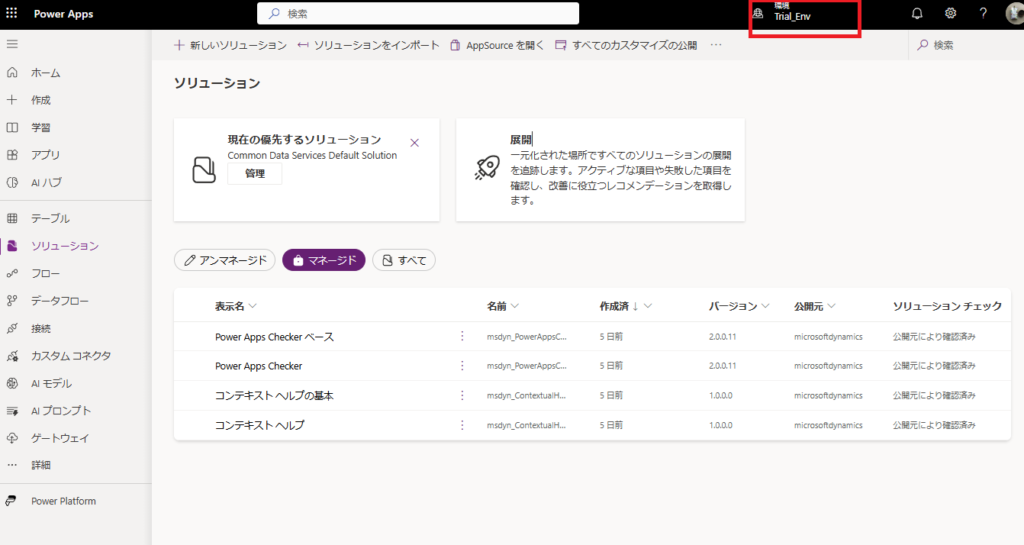
まずは運用環境のマネージドソリューションに何もソリューションがないことを確認。
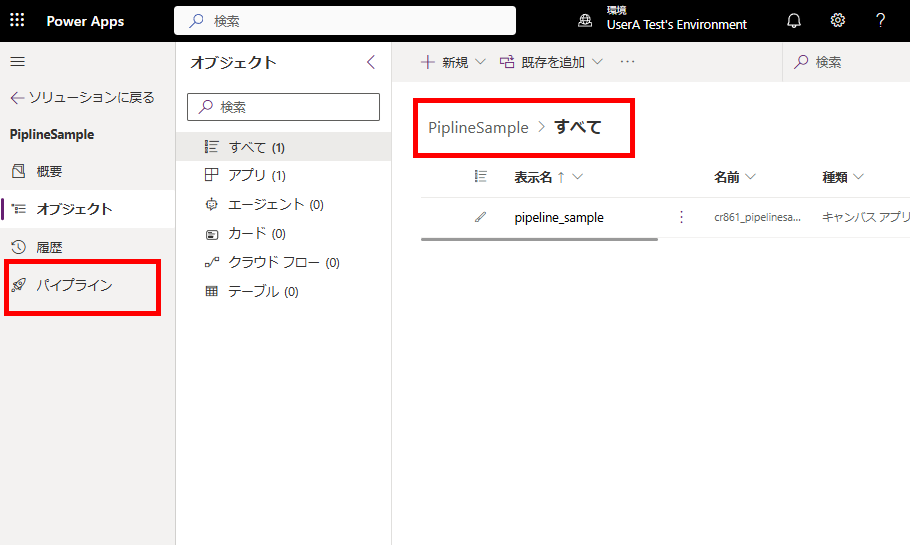
事前に作成した開発環境のソリューションを開き、[パイプライン]タブを選ぶ。
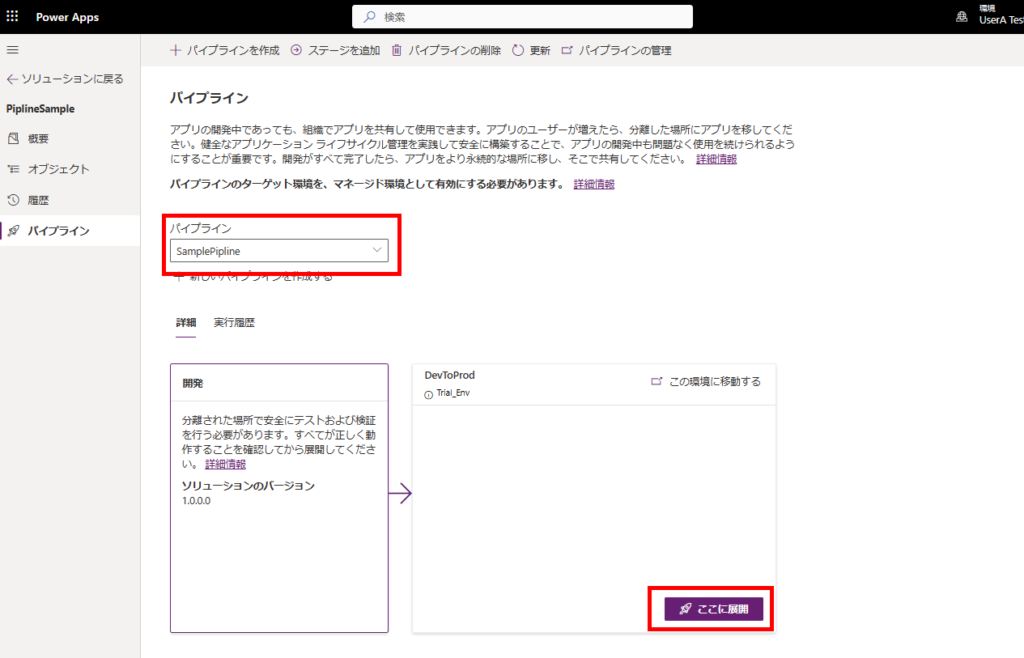
先ほど作成したパイプラインを選択し、作成したステージ(開発→運用)の[ここに展開]を押す。
任意のスケジュールを選んで、[次へ]を押す。
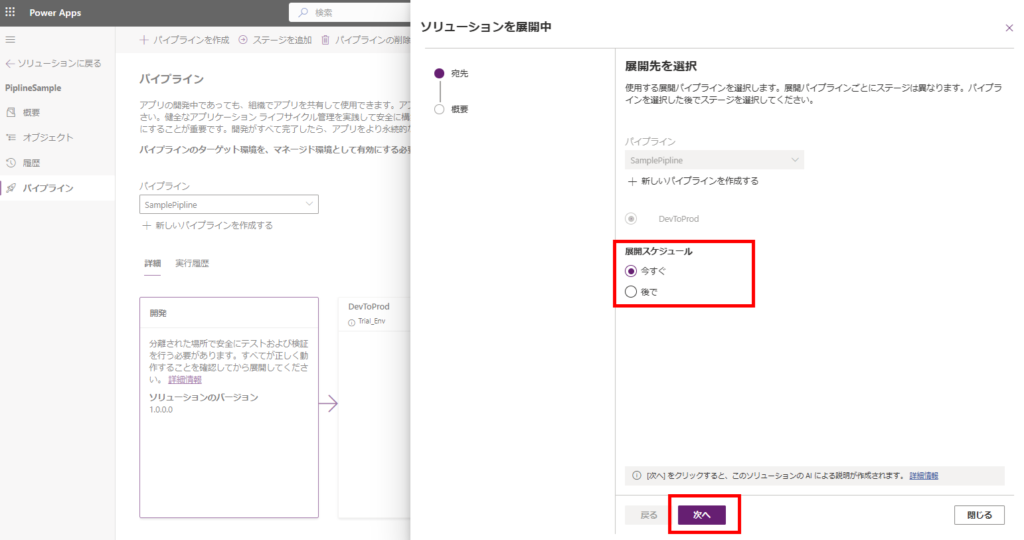
最後に[展開]を押すとデプロイが開始する。
※必要に応じて何をデプロイしたかわかりやすいメモに書き換えること。
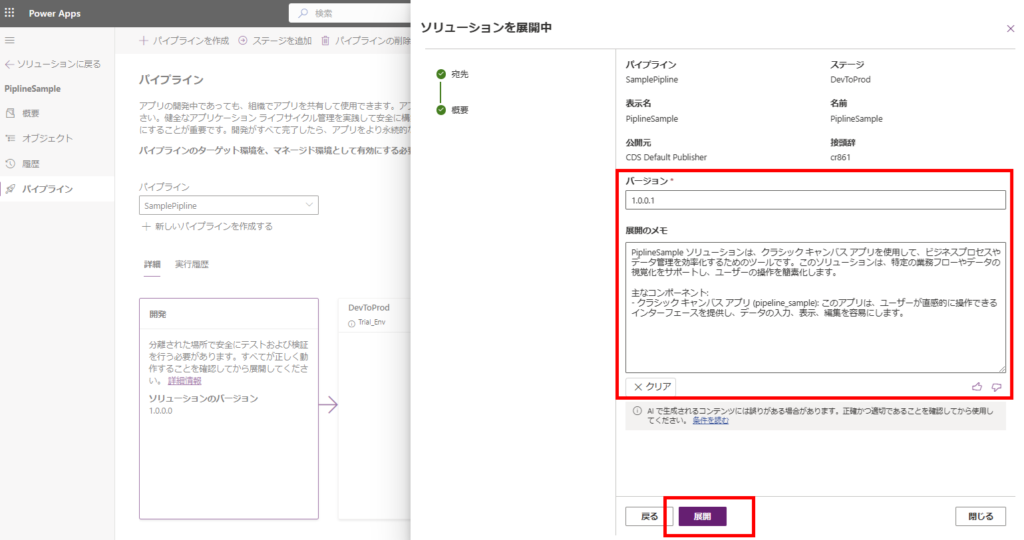
※必要に応じて何をデプロイしたかわかりやすいメモに書き換えること。
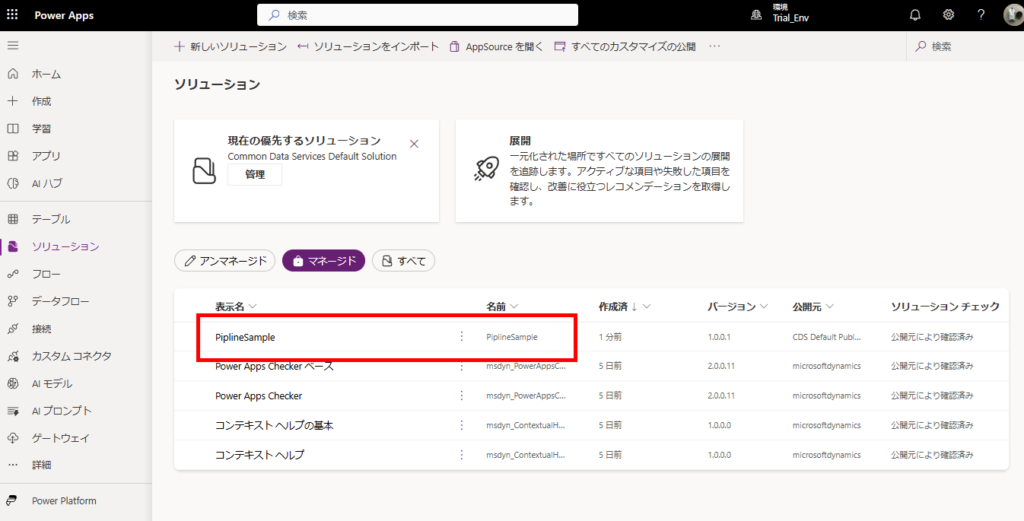
デプロイが完了すると、
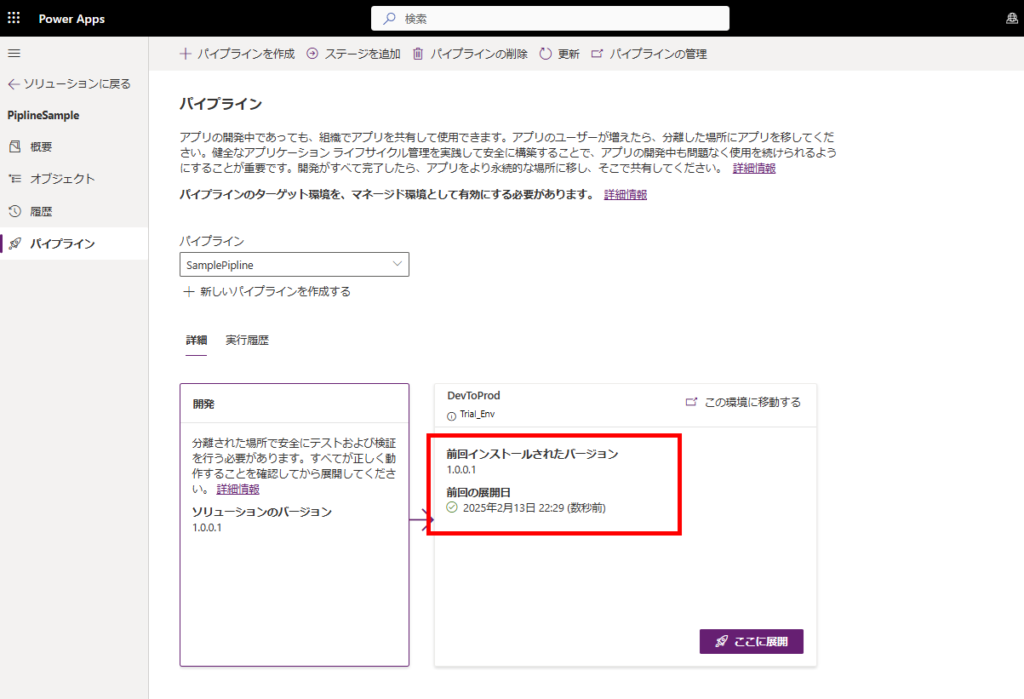
運用環境にマネージドソリューションが追加されている。
再デプロイ
せっかくなので、改修 → 再デプロイも試してみる。
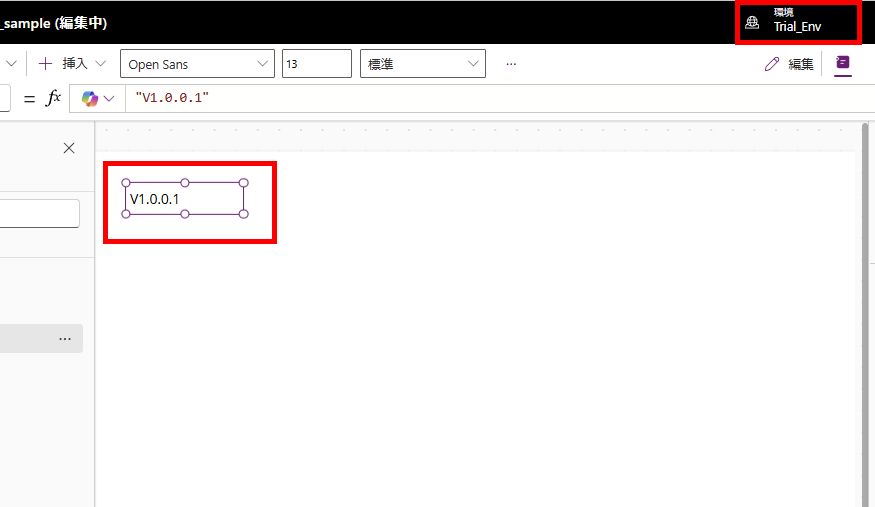
運用環境のアプリがv1.0.0.0と書かれていることを確認し、

開発環境のアプリのラベルをv1.0.0.1に書き換える。
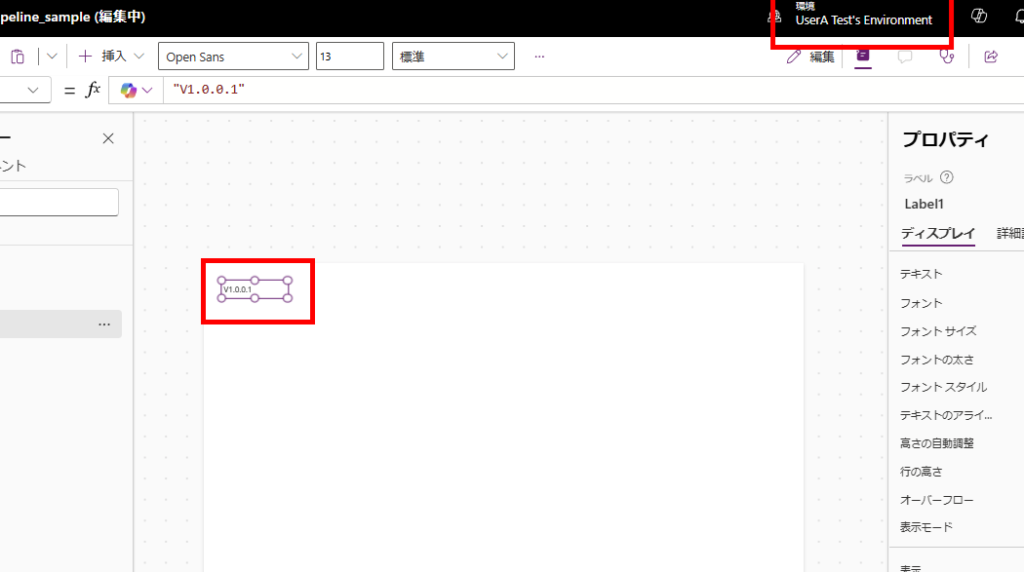
再度デプロイを実行すると、

運用環境のアプリに反映される。
今回は2ステージ(開発、運用)で実行したけど、間に「テスト(UAT)」環境を挟むことも可能で、さらにGithubとの連携も可能とのこと。
1クリックでデプロイできるのは、作業ミスを減らすことができるので、とても便利。
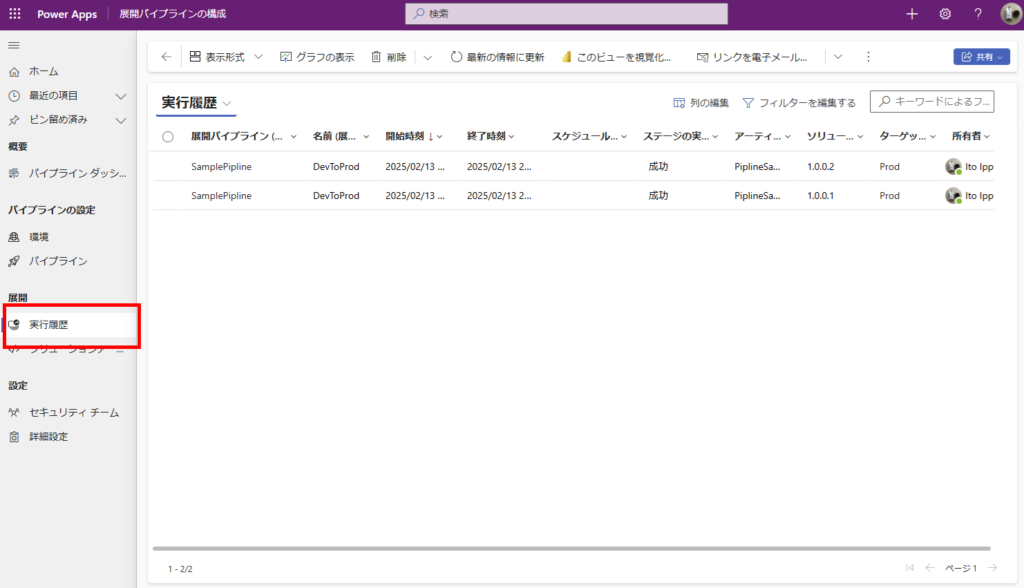
おまけ:履歴の管理
パイプライン管理アプリの[実行履歴]タブを押すと、デプロイの履歴を見ることができる。
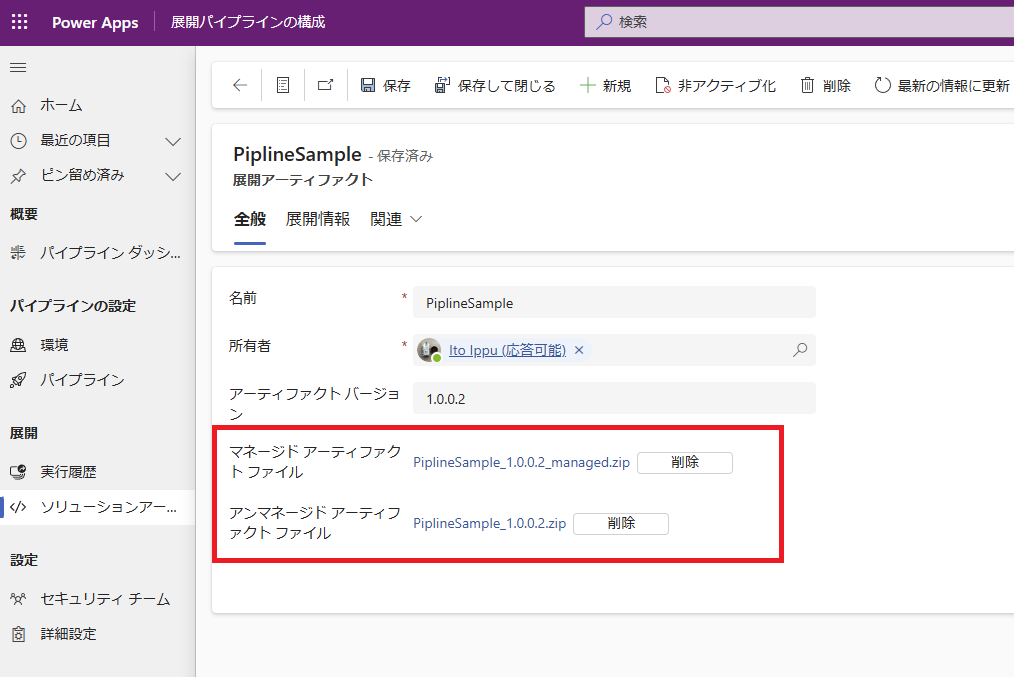
さらに[ソリューションアーティファクト]タブを選択すると、過去のパッケージを確認することができて、
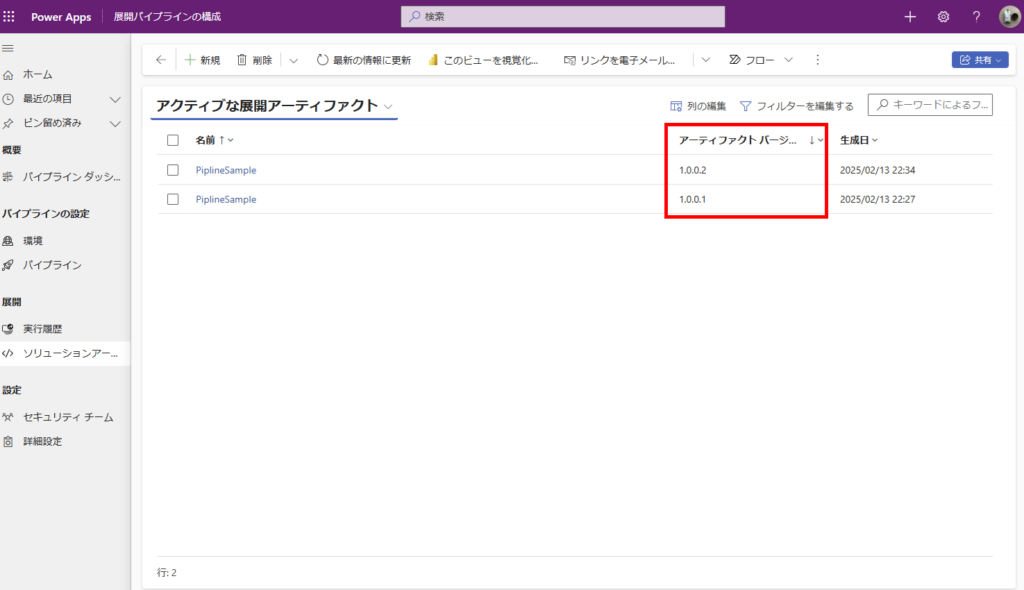
ソリューションzipをダウンロードすることも可能。
コメント