Directly uploading files from Power Apps to a SharePoint Document Library isn’t supported out-of-the-box. However, using the Power Apps (V2) trigger in Power Automate provides a reliable workaround. This guide covers the complete setup.
Table of Contents
Step 1: Prerequisites
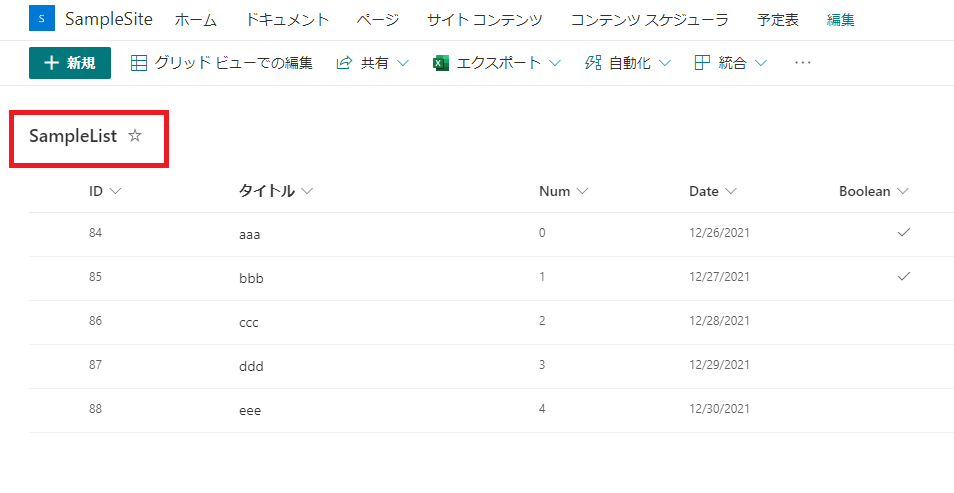
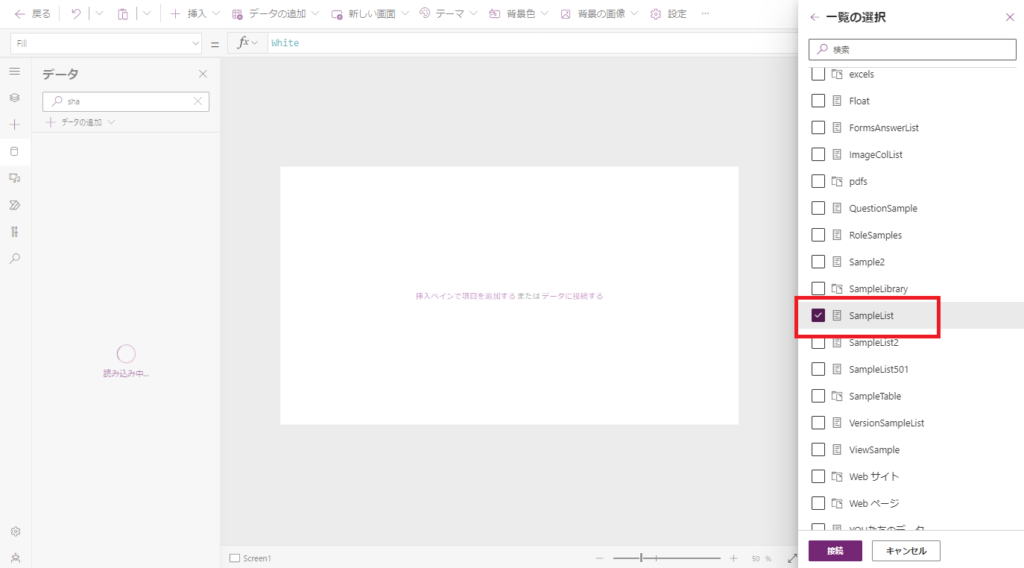
Before building the app, ensure you have the following ready in SharePoint Online (SPO).
Why? The Attachment Control in Power Apps is only accessible via a Form control connected to a SharePoint list (or Dataverse table). We need this list solely to grab that control.
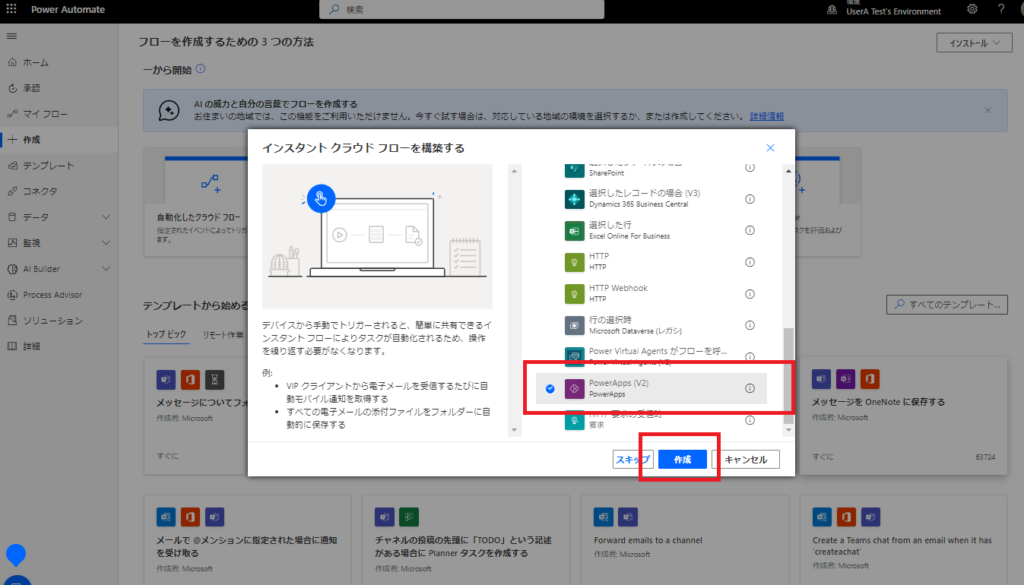
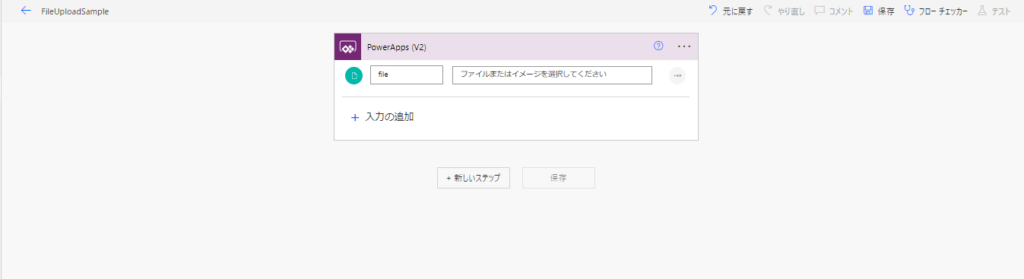
Step 2: Create the Power Automate Flow
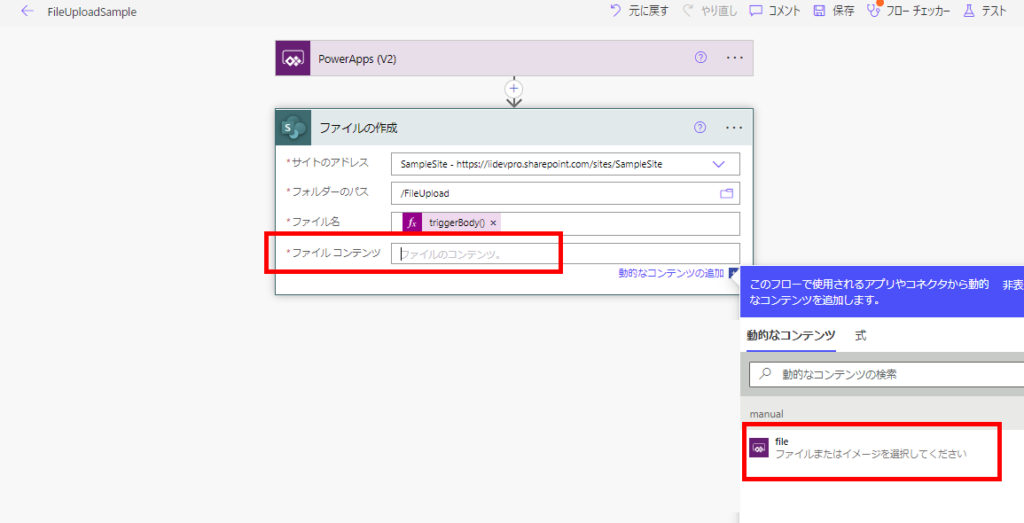
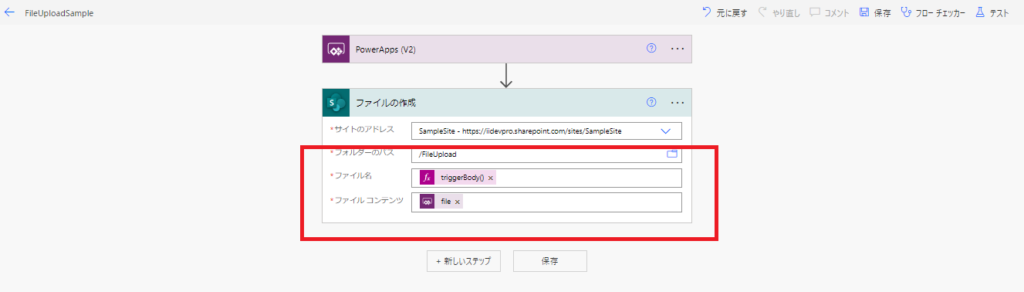
We will create a flow that receives file data from Power Apps and creates a file in SharePoint.
Note: The screenshots below use the Classic Designer. The steps apply similarly to the New Designer.
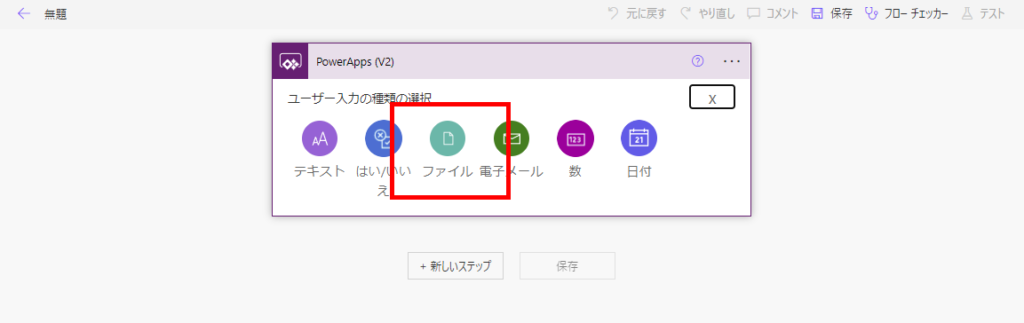
You can rename this parameter (e.g., “FileContent”) for clarity.
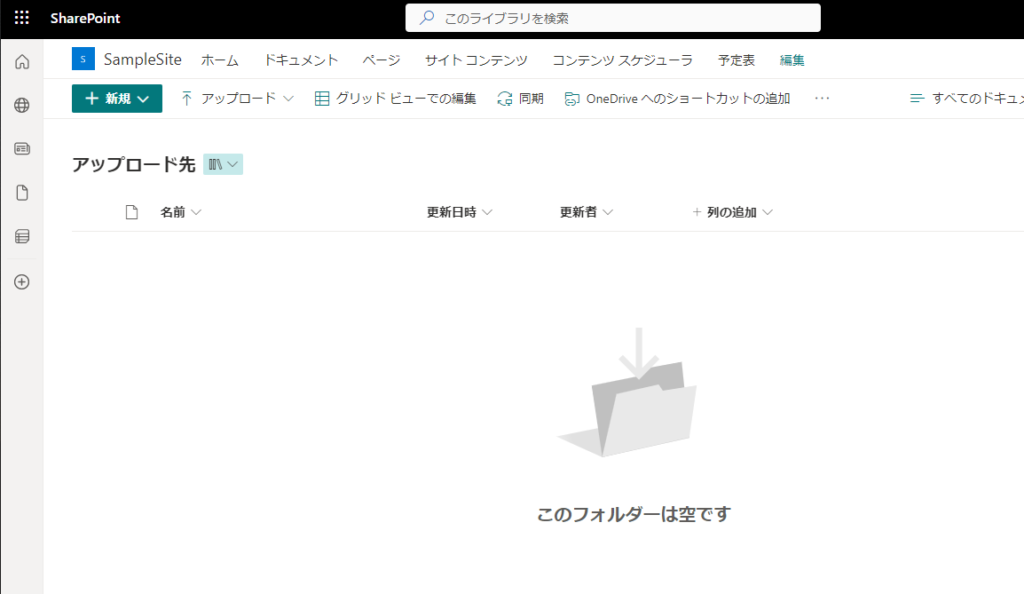
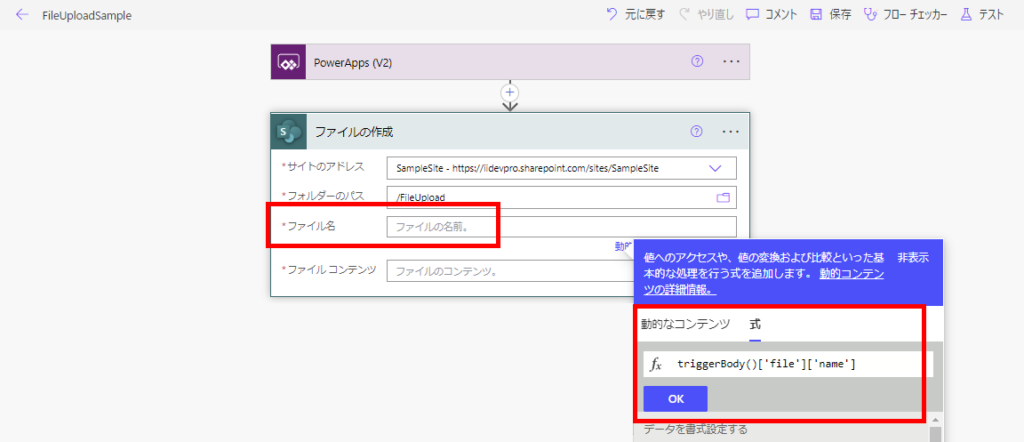
- Site Address & Folder Path: Select your target library.
- File Name: Use the expression
triggerBody()['file']['name'](Dynamic content from the V2 trigger).
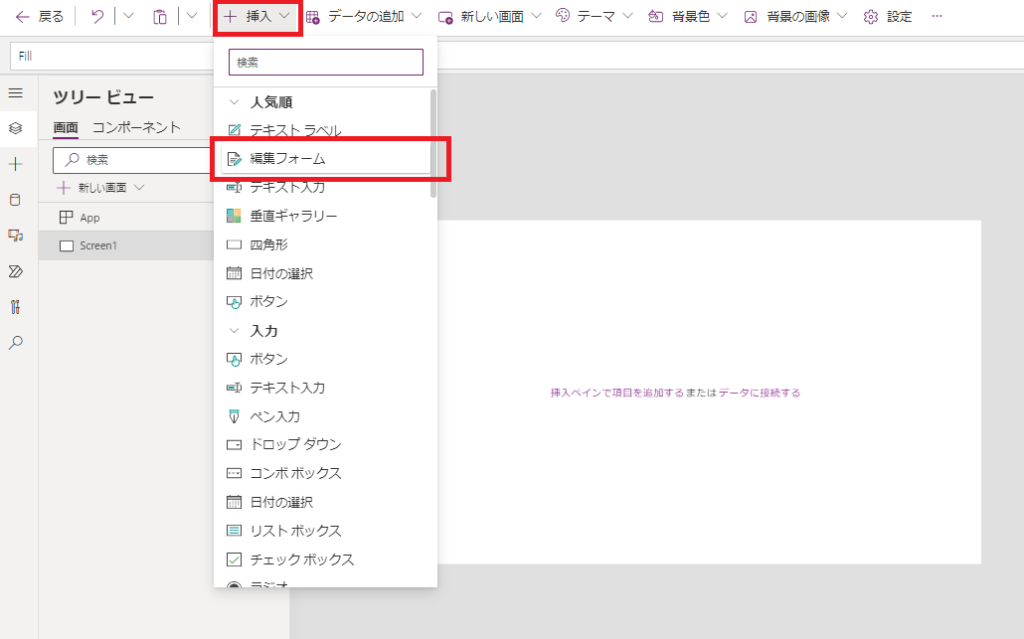
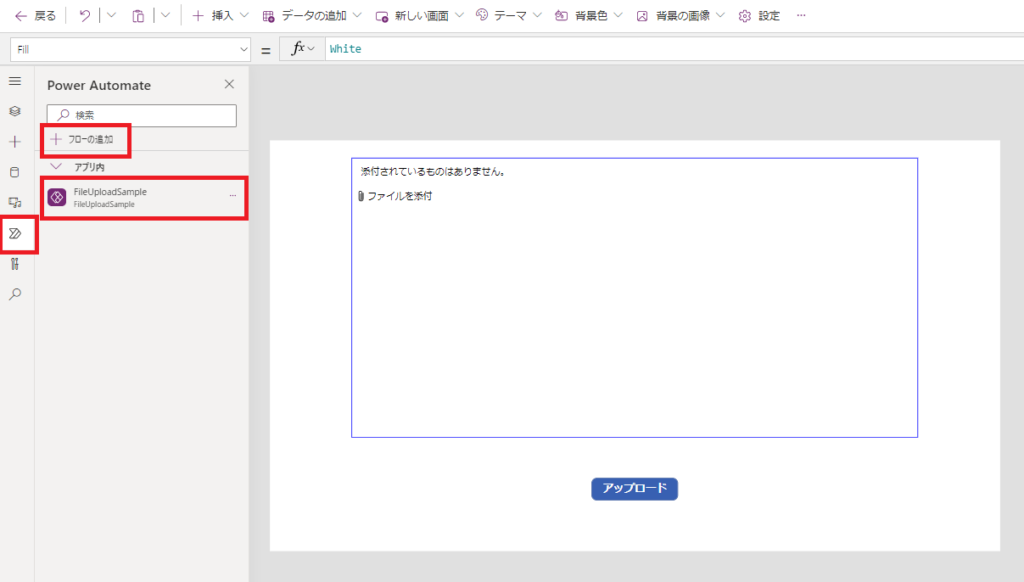
Step 3: Create the Power Apps UI
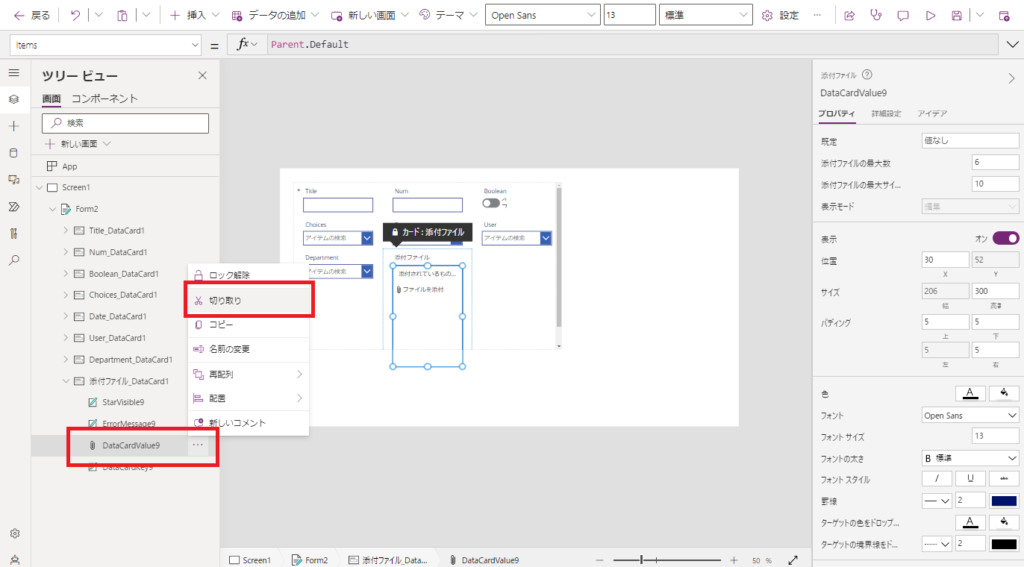
Now, let’s extract the Attachment Control.
Tip: Resolve any errors in the properties pane (remove references to
Parent.Default) and set the Items property to blank.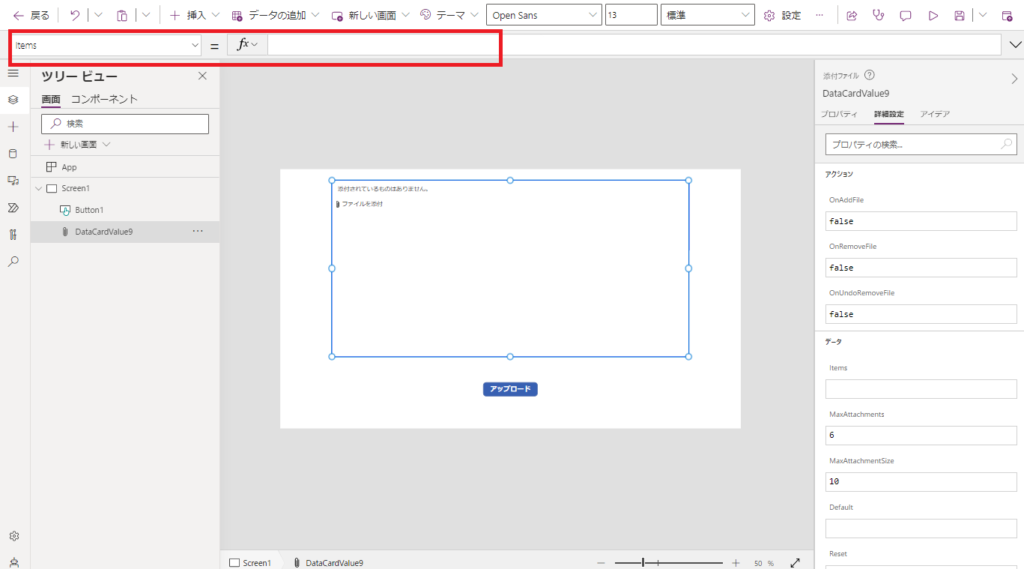
Step 4: Connect Flow to App
1 (for single file upload).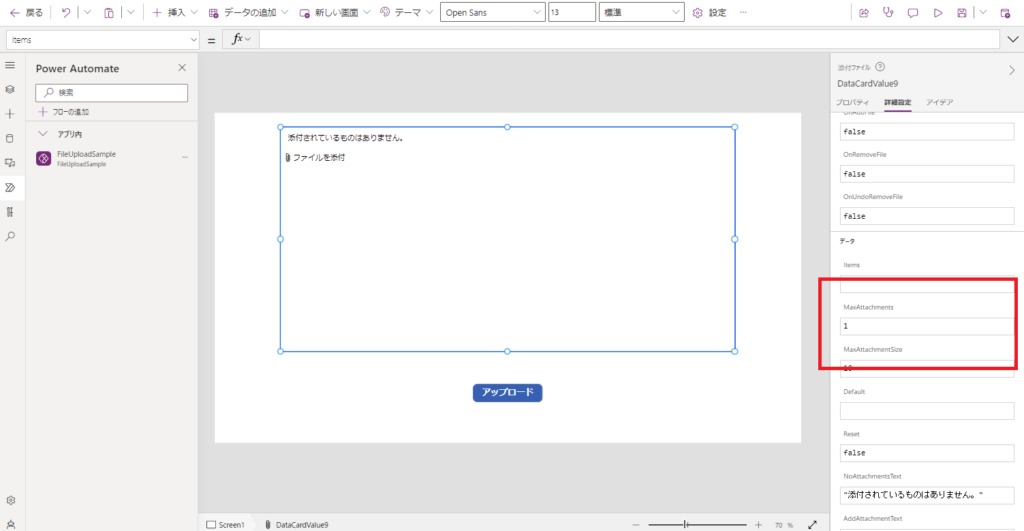
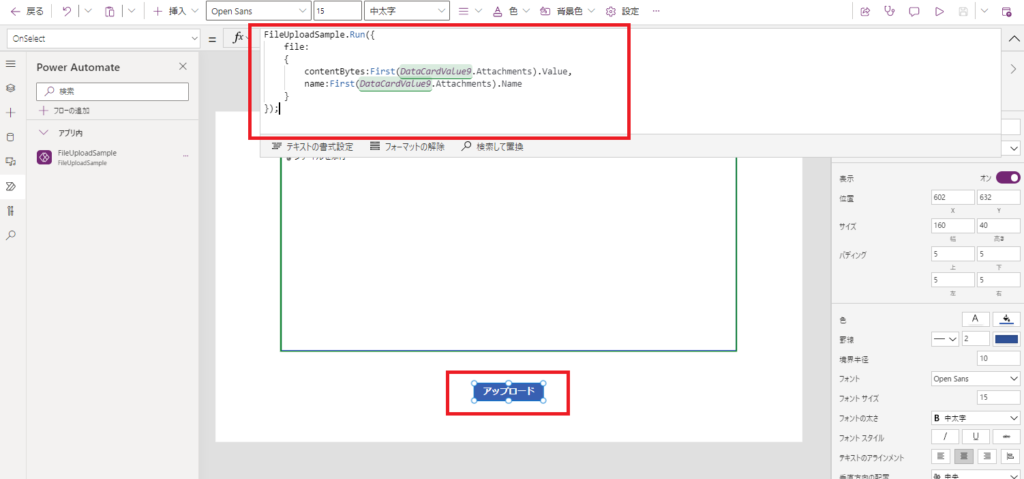
// Replace 'FlowName' and 'AttachmentControlName' with your actual names
FlowName.Run({
    file: {
        contentBytes: First(AttachmentControlName.Attachments).Value,
        name: First(AttachmentControlName.Attachments).Name
     }
});
Testing

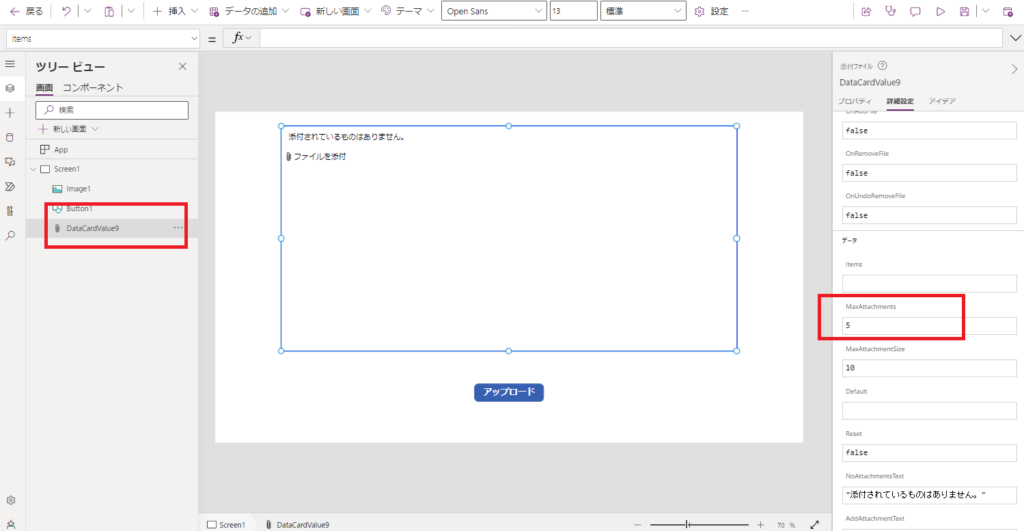
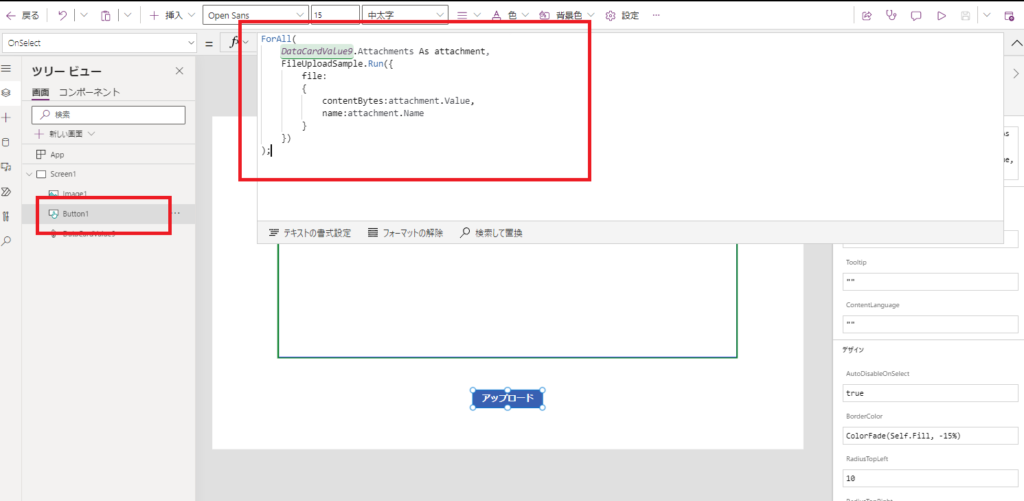
Bonus: Uploading Multiple Files
To handle multiple attachments, we need to loop through the files using ForAll.
ForAll(
    AttachmentControlName.Attachments As file,
    FlowName.Run({
        file: {
            contentBytes: file.Value,
            name: file.Name
        }
    })
);
Limitations & Considerations
- File Size: This method is suitable for small to medium files (typically under 50MB). Larger files may cause the Flow to time out.
- Overwrite: If a file with the same name exists, SharePoint will overwrite it by default.
- Performance: Using
ForAlltriggers a separate Flow run for each file. For bulk uploads, consider passing a JSON array to Flow instead.
While you can also upload files by converting images to Data URI, I prefer the V2 Trigger method for its simplicity and reliability with various file types (PDF, Excel, Docx).
コメント