SharePointのドキュメントライブラリ上のExcelを操作する必要が出て、Excelに関するアクションを調べたので、その内容まとめ。
ワークシートの操作
ワークシートの作成

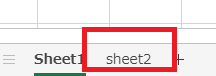
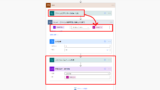
シートを作成するアクション。実行すると画像のようにExcelにシートが増える。

ワークシートの取得

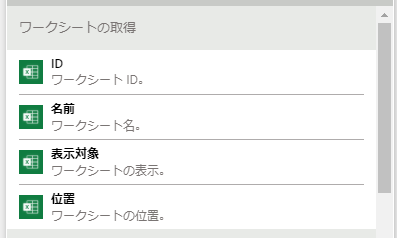
名前の通りワークシートを取得するアクション。実行すると画像のように「ID」「名前」「表示対象」「位置」の情報が取得できる。

テーブル(表)の操作
テーブルの作成

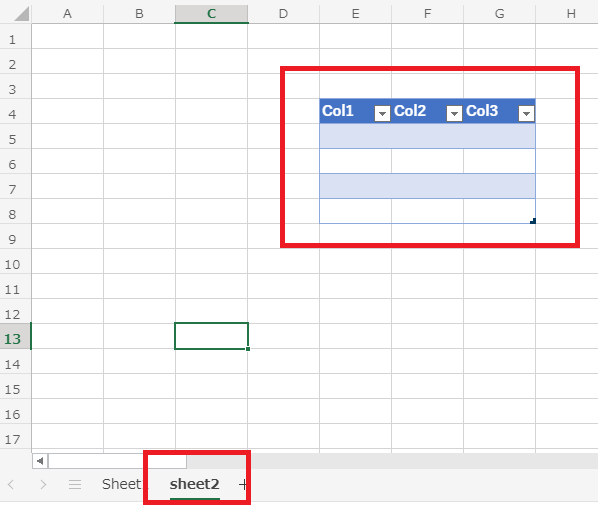
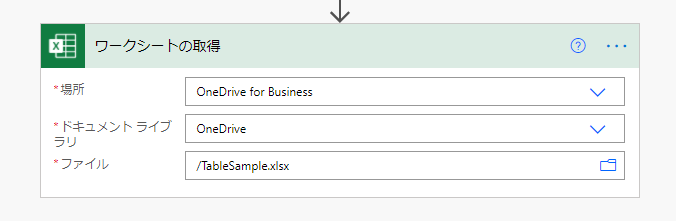
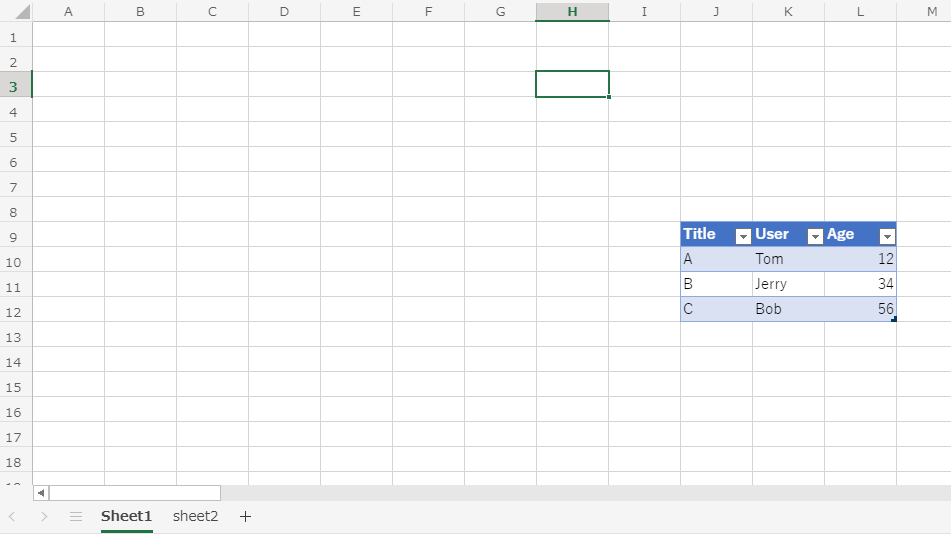
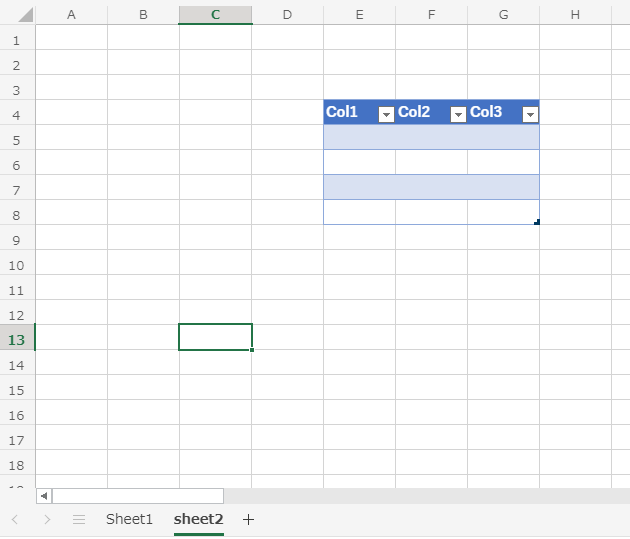
Excelの中にテーブルを作成するアクション。実行すると以下の画像のように、Excel上にテーブルが作成される。
※[票の範囲]に「!」を使えばシートの指定も可能。
※[票の範囲]に「!」を使えばシートの指定も可能。
テーブルの取得
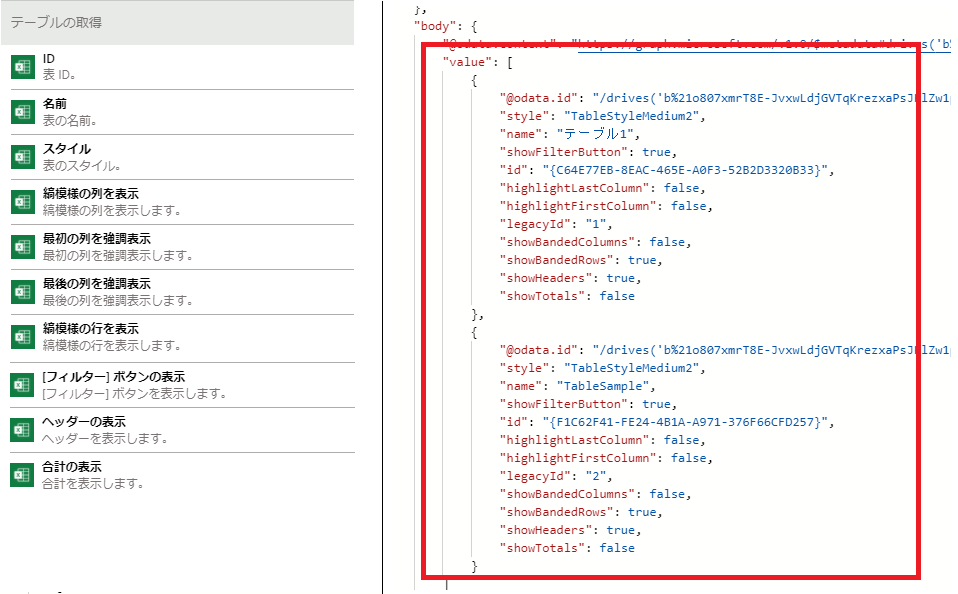
Excelの中のテーブルをすべて取得する。対象のExcelにテーブルが2つある場合、
配列でテーブルが2つ取得できる。
表に行を追加する
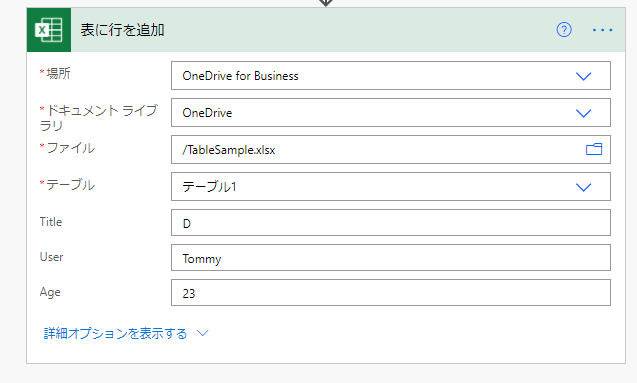
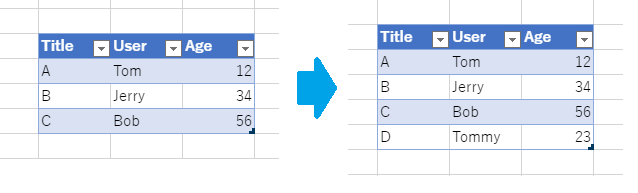
テーブルに行を追加するアクション。実行すると、指定したテーブルに行を追加できる。
行の取得
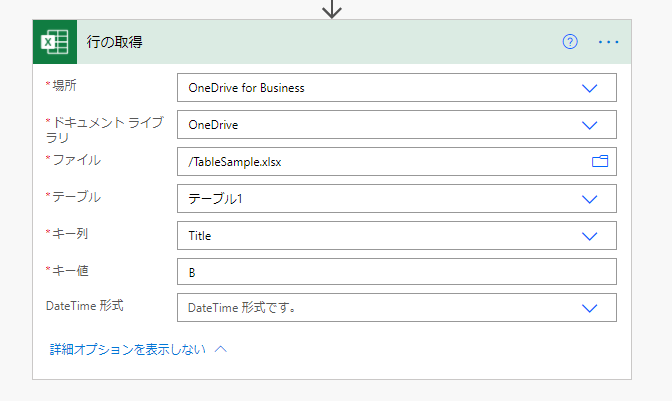
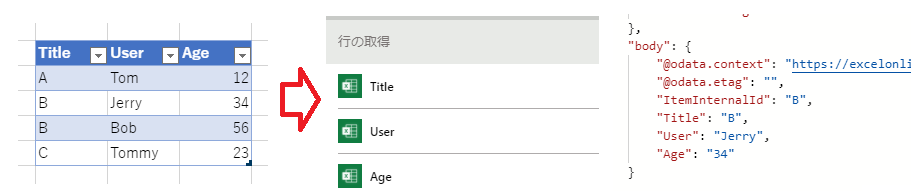
キーとなる列とその値を指定し、テーブルから行を取得する。例として「Title」列が「B」の行を取得すると、以下の実行結果になる。
※LookUpのように、条件に一致する行が2つ以上あった場合は最初の行のみ取得できる。
※LookUpのように、条件に一致する行が2つ以上あった場合は最初の行のみ取得できる。
行の更新

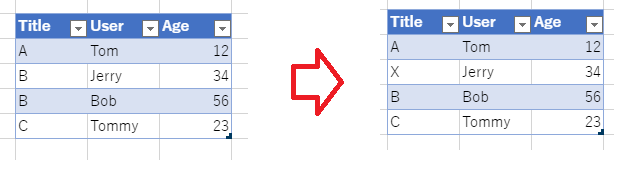
テーブルの中の行を更新するアクション。更新する対象は、取得と同様にキー列で指定する。
取得と同様に、条件に一致する行が2つ以上ある場合も、最初に見つけた行しか更新しない。
取得と同様に、条件に一致する行が2つ以上ある場合も、最初に見つけた行しか更新しない。
行の削除
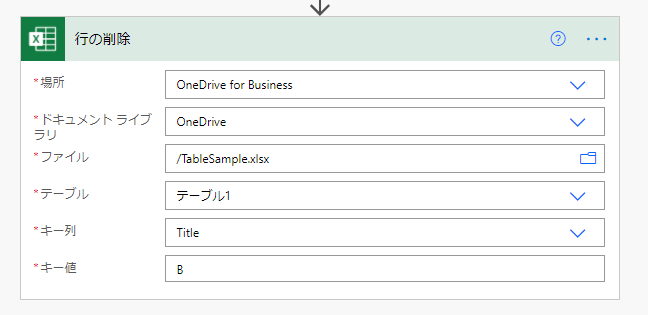
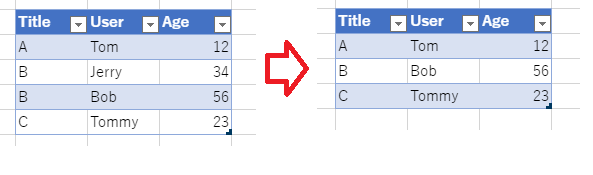
テーブルの中の行を削除する。これまで同様、対象はキー列で指定する。
条件に一致する行が2つ以上あっても消されるのは最初の行のみ。
条件に一致する行が2つ以上あっても消されるのは最初の行のみ。
表内の存在する行を一覧表示
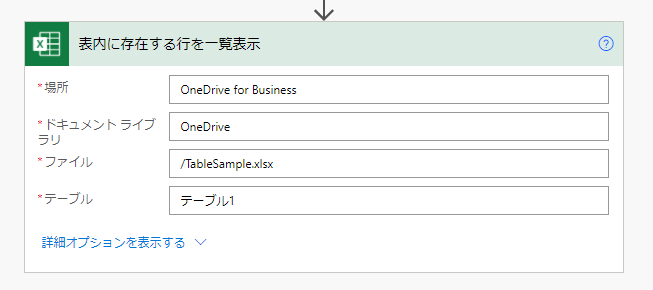
テーブル内の行を全部取得する。一覧の取得なのでこの値を使う場合はApply to eachが入る。
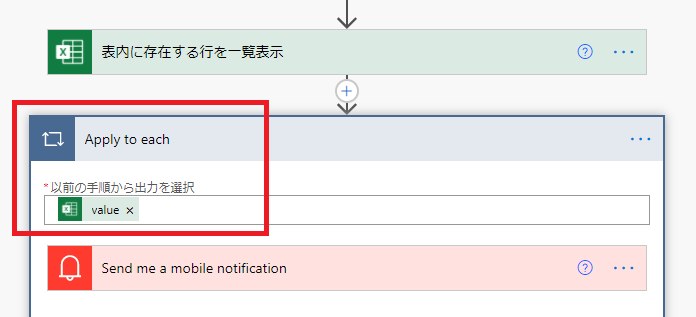
実行するとこんな感じ。
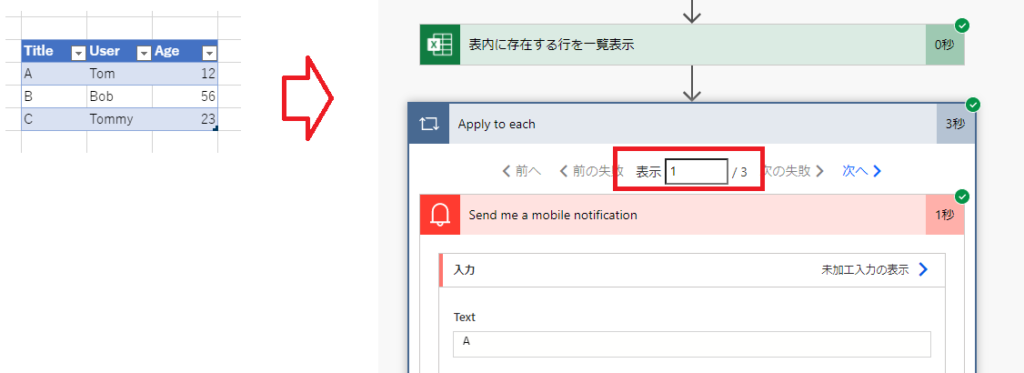
テーブルの行の全削除や全探索をするときに使用。
表にキー列を追加
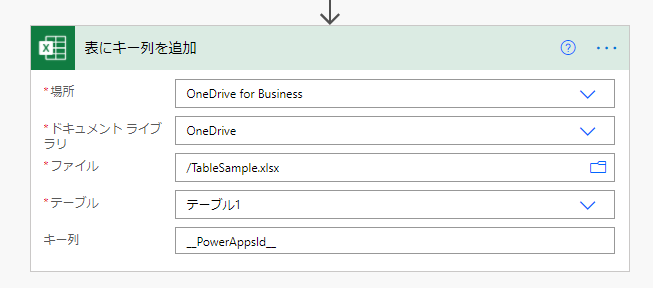
テーブルにキー列を追加する。実行するとこんな感じ。
※「キー列」とは書いてあるけど、普通に列を追加するだけ(だと思う)。

※「キー列」とは書いてあるけど、普通に列を追加するだけ(だと思う)。
コメント