Why you need this:
In this post, I provide copy-paste ready TypeScript codes for the following missing actions:
✅ Copy a worksheet (Duplicate)
✅ Rename a worksheet
✅ Move a worksheet (Reorder)
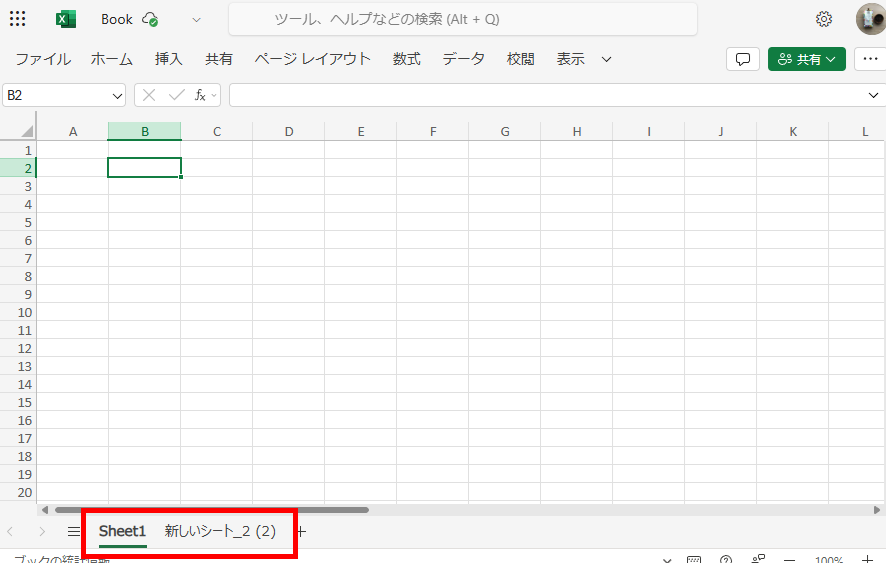
✅ Delete a worksheet
✅ Add a new worksheet
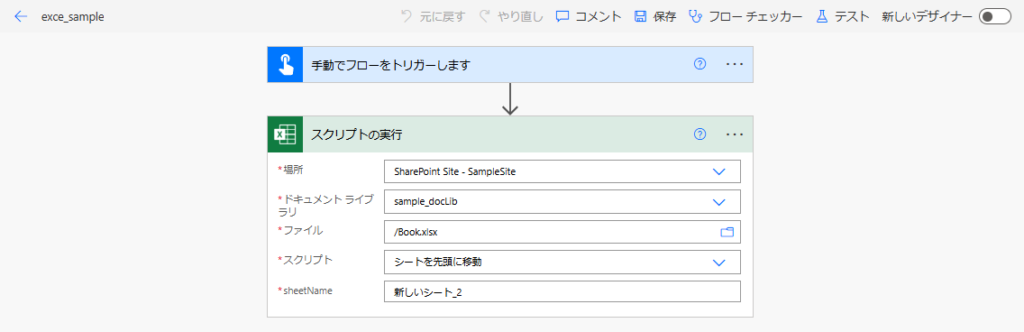
Just copy the code below and paste it into your Excel Online “Automate” tab!
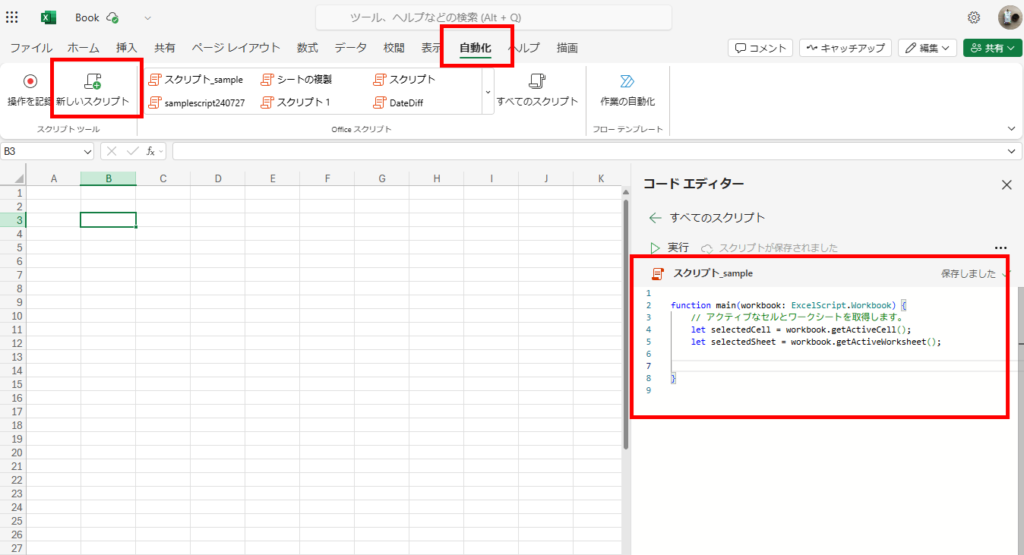
Office Script
Office Script is a TypeScript/JavaScript-based programming feature that allows you to automate tasks in Excel Online.
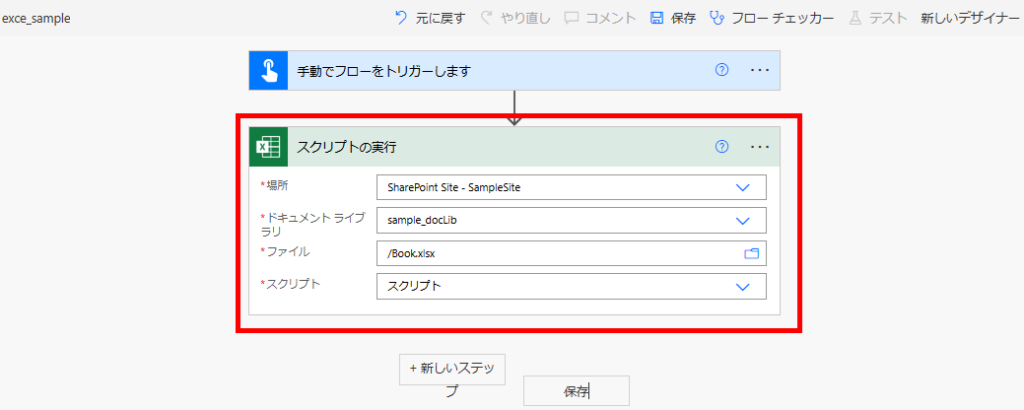
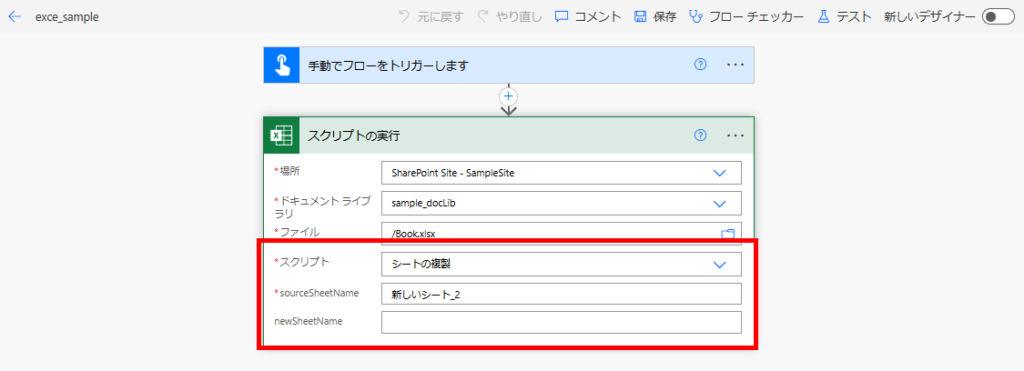
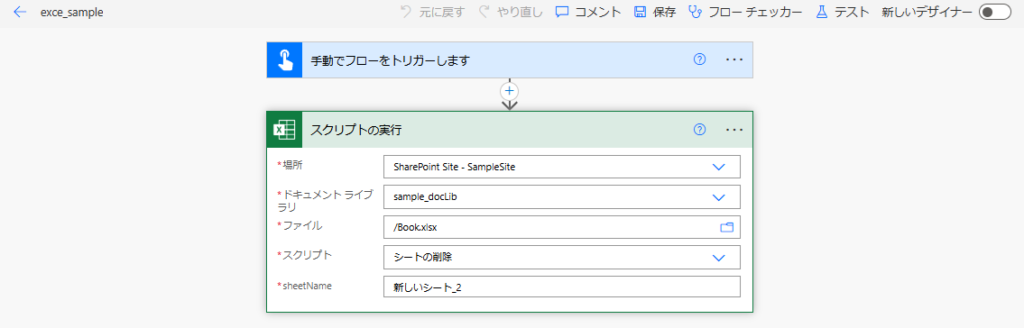
Users can record and edit code to automate complex data processing, and by integrating with Power Automate, it’s possible to achieve automation of even broader workflows.

In this article, I’ve compiled operations related to Excel sheets.
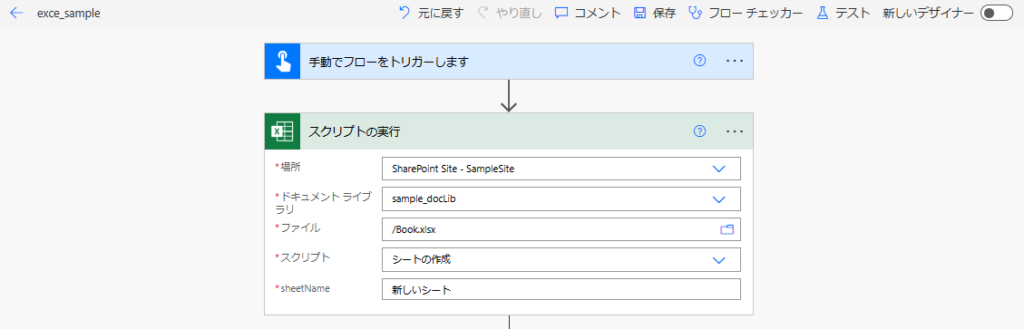
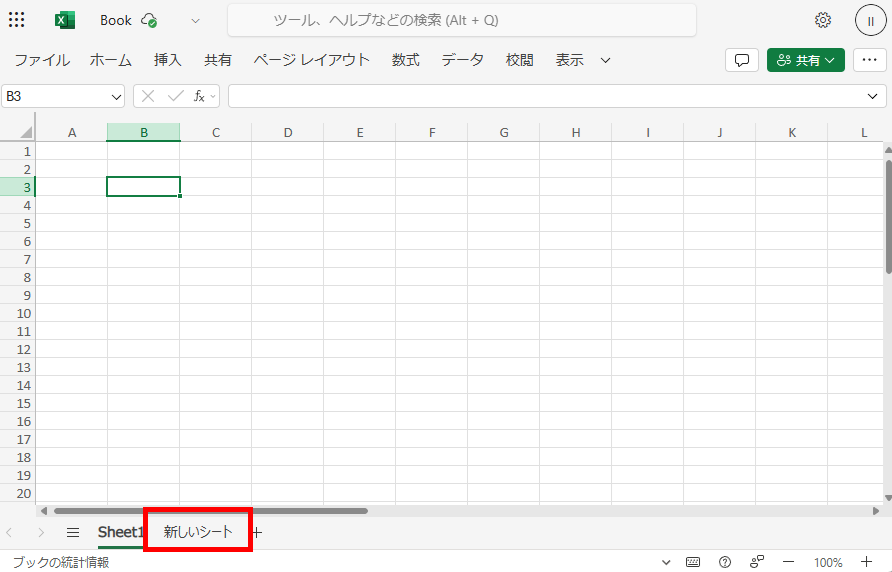
Preparation

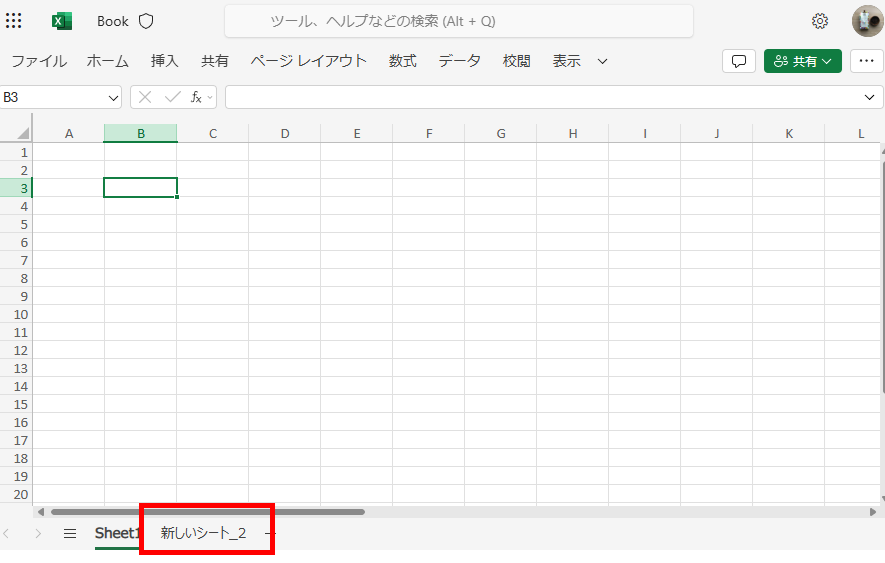
Creating a Sheet
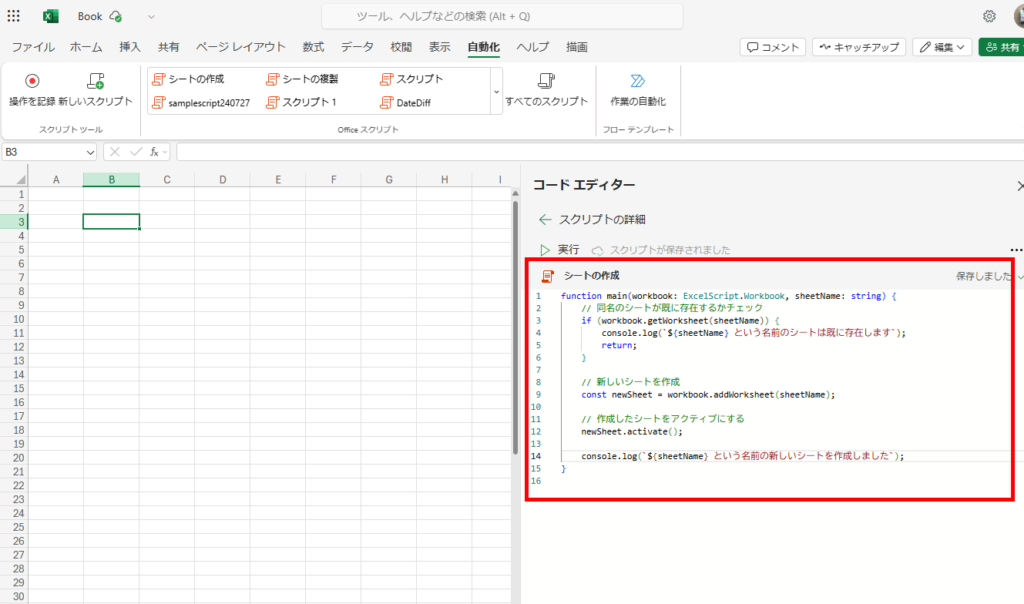
function main(workbook: ExcelScript.Workbook, sheetName: string) {
    // Check if a sheet with the same name already exists
    if (workbook.getWorksheet(sheetName)) {
        console.log(A sheet named ${sheetName} already exists`);
        return;
    }

    // Create a new sheet
    const newSheet = workbook.addWorksheet(sheetName);

    // Activate the created sheet
    newSheet.activate();

    console.log(`Created a new sheet named ${sheetName}`);
}
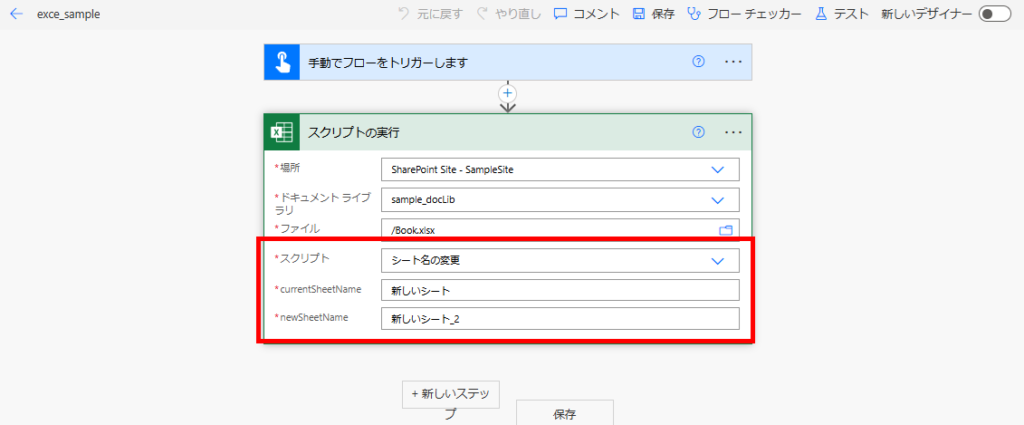
Renaming a Sheet
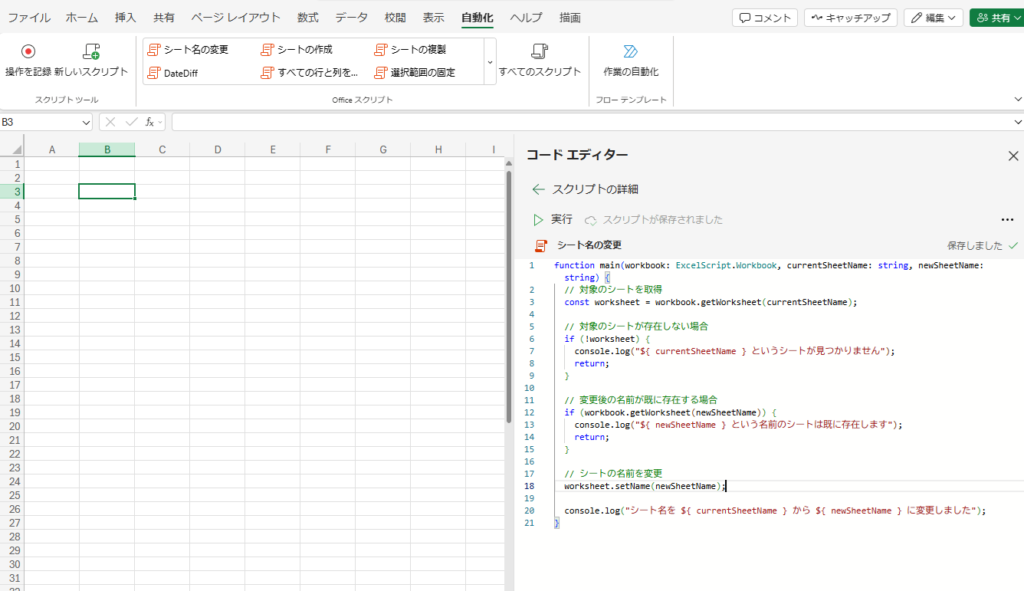
function main(workbook: ExcelScript.Workbook, currentSheetName: string, newSheetName: string) {
  // Get the target sheet
  const worksheet = workbook.getWorksheet(currentSheetName);

  // If the target sheet does not exist
  if (!worksheet) {
    console.log(`Sheet named ${ currentSheetName } not found`);
    return;
  }

  // If the new name already exists
  if (workbook.getWorksheet(newSheetName)) {
    console.log(`A sheet named ${ newSheetName } already exists`);
    return;
  }

  // Rename the sheet
  worksheet.setName(newSheetName);

  console.log(`Sheet name changed from ${ currentSheetName } to ${ newSheetName }`);
}
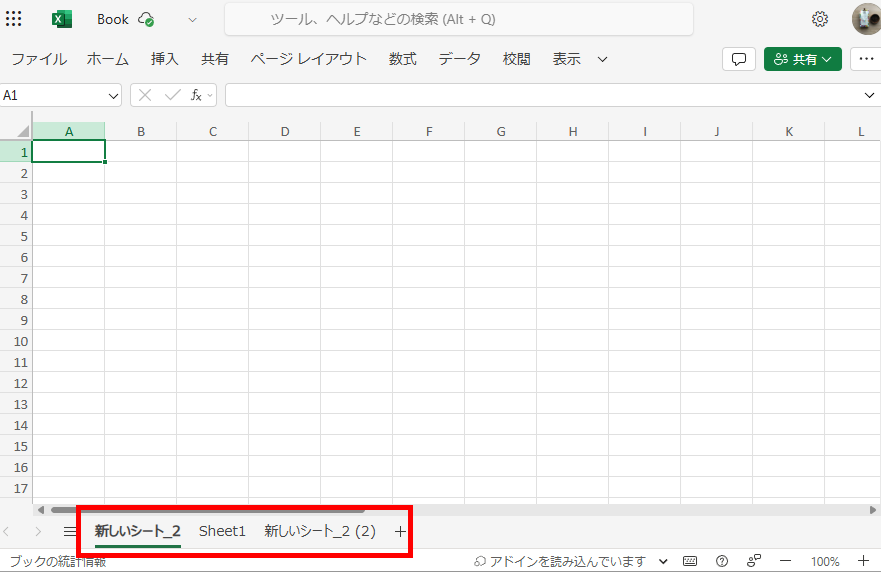
Copying a Sheet
※ By adding “?” to a parameter, you can make it optional.
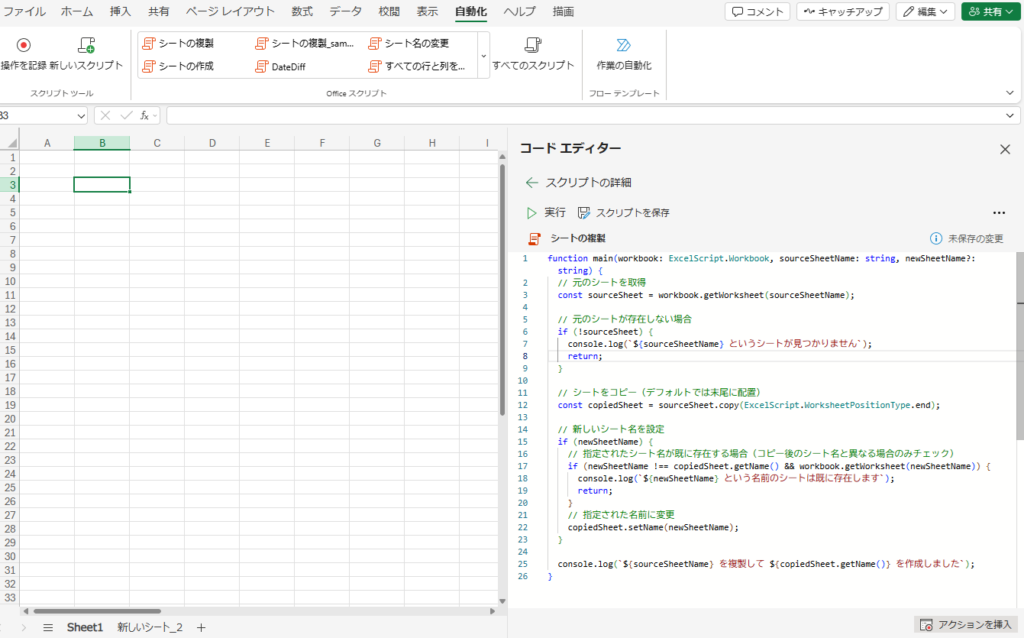
function main(workbook: ExcelScript.Workbook, sourceSheetName: string, newSheetName?: string) {
// Get the source sheet
const sourceSheet = workbook.getWorksheet(sourceSheetName);
// If the source sheet does not exist
if (!sourceSheet) {
console.log(`Sheet named ${sourceSheetName} not found`);
return;
}
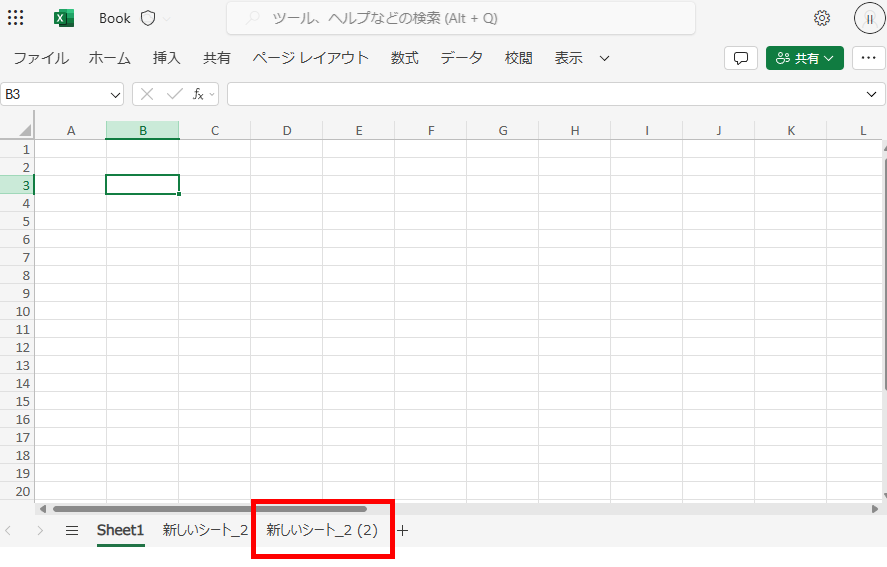
// Copy the sheet (by default, placed at the end)
const copiedSheet = sourceSheet.copy(ExcelScript.WorksheetPositionType.end);
// Set the new sheet name
if (newSheetName) {
// Check if the specified sheet name already exists (only if it's different from the copied sheet's name)
if (newSheetName !== copiedSheet.getName() && workbook.getWorksheet(newSheetName)) {
console.log(`A sheet named ${newSheetName} already exists`);
return;
}
// Rename the copied sheet
copiedSheet.setName(newSheetName);
}
console.log(`Duplicated ${sourceSheetName} and created ${copiedSheet.getName()}`);
}
Moving a Sheet
To move a sheet, use the setPosition function of the Worksheet.
Moving to the Beginning

function main(workbook: ExcelScript.Workbook, sheetName: string) {
    // Get the target sheet
    const sheet = workbook.getWorksheet(sheetName);

    // If the sheet does not exist
    if (!sheet) {
        console.log(`Sheet named ${sheetName} not found`);
        return;
    }

    // Move the sheet to the top (position 0 is the first)
    sheet.setPosition(0);

    console.log(`Moved ${sheetName} to the top`);
}
Moving to the End
To move a sheet to the end, get the total number of sheets and specify that number minus 1.
function main(workbook: ExcelScript.Workbook, sheetName: string) {
  // Get the target sheet
  const sheet = workbook.getWorksheet(sheetName);

  // If the sheet does not exist
  if (!sheet) {
    console.log(`Sheet named ${sheetName} not found`);
    return;
  }

  // Get the number of sheets in the workbook
  const worksheetCount = workbook.getWorksheets().length;

  // Move the sheet to the end (last position is sheet count - 1)
  sheet.setPosition(worksheetCount - 1);

  console.log(`Moved ${sheetName} to the end`);
}
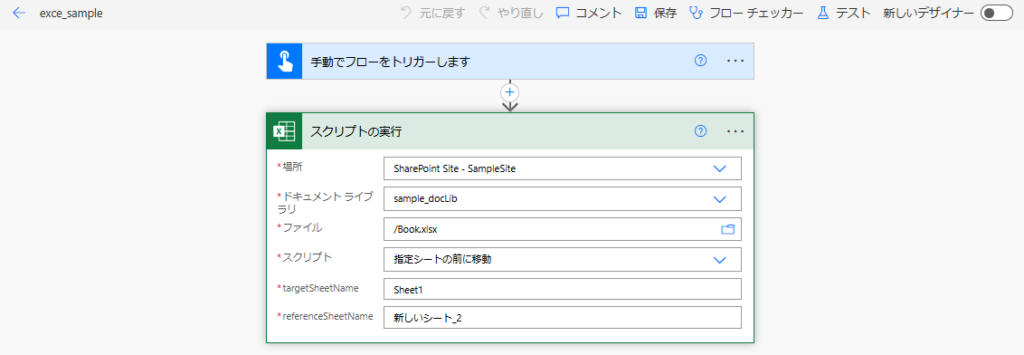
Moving Before a Specific Sheet
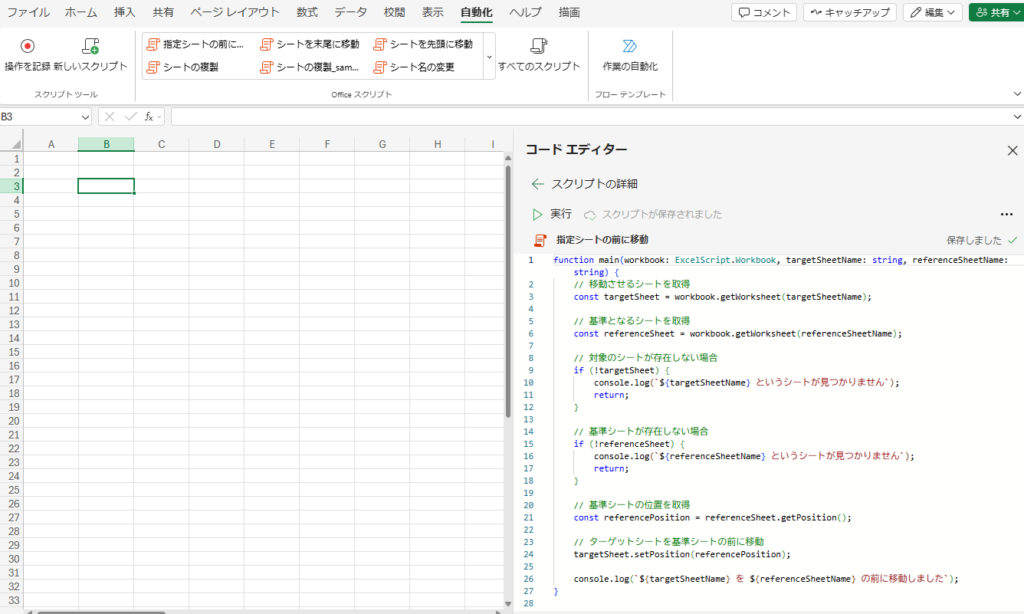
function main(workbook: ExcelScript.Workbook, targetSheetName: string, referenceSheetName: string) {
  // Get the sheet to be moved
  const targetSheet = workbook.getWorksheet(targetSheetName);

  // Get the reference sheet
  const referenceSheet = workbook.getWorksheet(referenceSheetName);

  // If the target sheet does not exist
  if (!targetSheet) {
    console.log(`Sheet named ${targetSheetName} not found`);
    return;
  }

  // If the reference sheet does not exist
  if (!referenceSheet) {
    console.log(`Sheet named ${referenceSheetName} not found`);
    return;
  }

  // Get the position of the reference sheet
  const referencePosition = referenceSheet.getPosition();

  // Move the target sheet before the reference sheet
  targetSheet.setPosition(referencePosition);

  console.log(`Moved ${targetSheetName} before ${referenceSheetName}`);
}
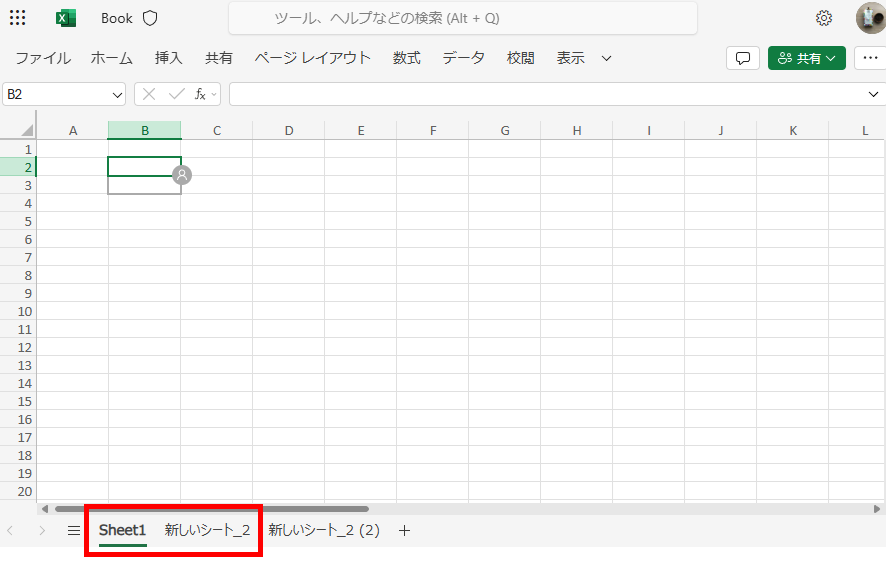
Deleting a Sheet
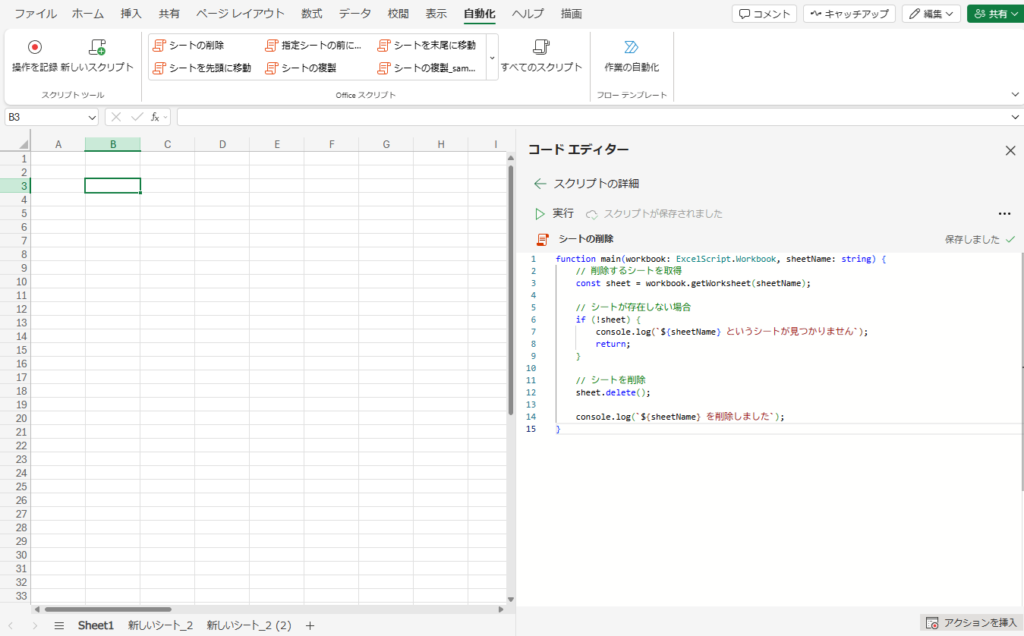
function main(workbook: ExcelScript.Workbook, sheetName: string) {
    // Get the sheet to be deleted
    const sheet = workbook.getWorksheet(sheetName);

    // If the sheet does not exist
    if (!sheet) {
        console.log(`Sheet named ${sheetName} not found`);
        return;
    }

    // Delete the sheet
    sheet.delete();

    console.log(`Deleted ${sheetName}`);
}
Bonus: How to Detect Errors
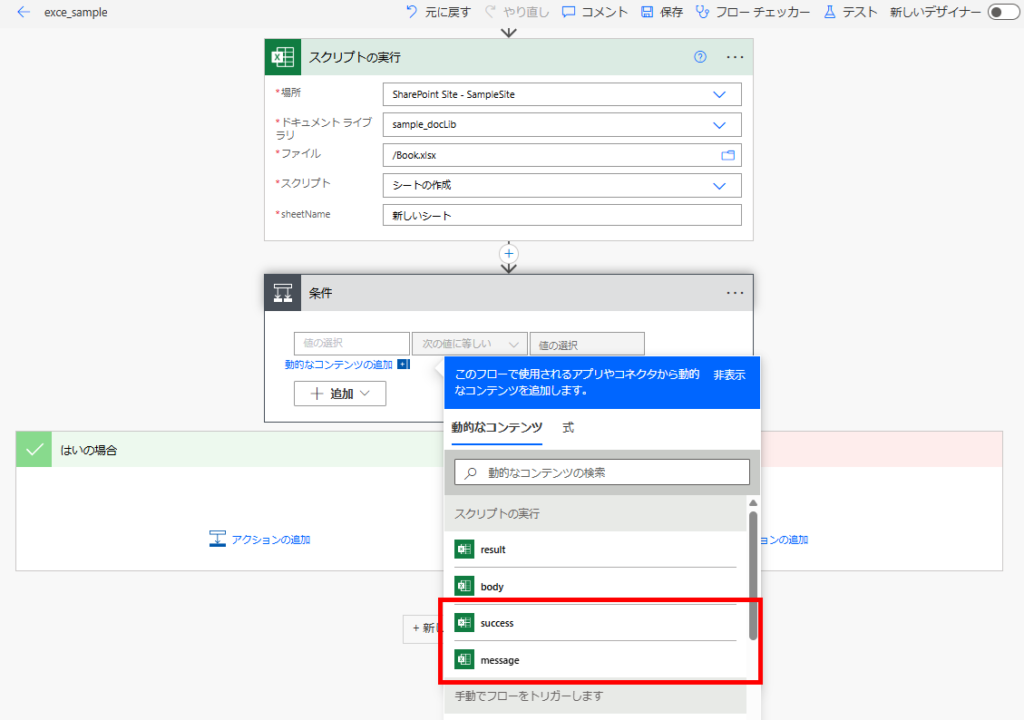
In Office Script, you can pack return values into a result object, allowing you to write error handling processes on the Power Automate side.
For example, the following code declares returning a boolean “success” and a string “message (error message)” to Power Automate.
function main(workbook: ExcelScript.Workbook, sheetName: string): { success: boolean, message: string } {
    try {
        // Check if the sheet name is empty
        if (!sheetName || sheetName.trim() === "") {
            return {
                success: false,
                message: "Sheet name is not specified"
            };
        }

        // Check if a sheet with the same name already exists
        if (workbook.getWorksheet(sheetName)) {
            return {
                success: false,
                message: `A sheet named ${sheetName} already exists`
            };
        }

        // Create a new sheet
        const newSheet = workbook.addWorksheet(sheetName);

        // Activate the newly created sheet
        newSheet.activate();

        // Return success message
        return {
            success: true,
            message: `Created a new sheet named ${sheetName}`
        };
    } catch (error) {
        // Handle unexpected errors
        return {
            success: false,
            message: `An error occurred: ${error.message || error}`
        };
    }
}
コメント