Power Apps Component Frameworkを使うとTypeScriptでPower Appsのコンポーネントを作成できるとのこと。
今回は前回作成したソリューションzipファイルをインポートし、作成したコンポーネントをキャンバスとかモデル駆動型とかで使ってみる。
事前準備:環境の設定を変更
Power Apps Component Frameworkをキャンバスアプリで使うには、まず環境の設定を変更する必要がある。
[設定]→[管理センター]を押して、
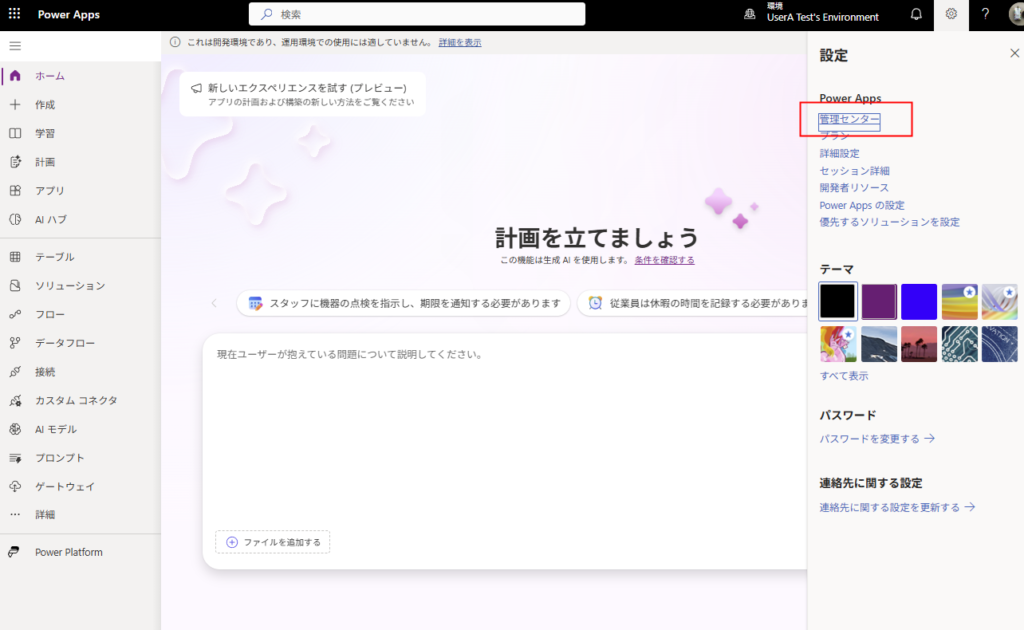
環境を選択し[設定]を押す。
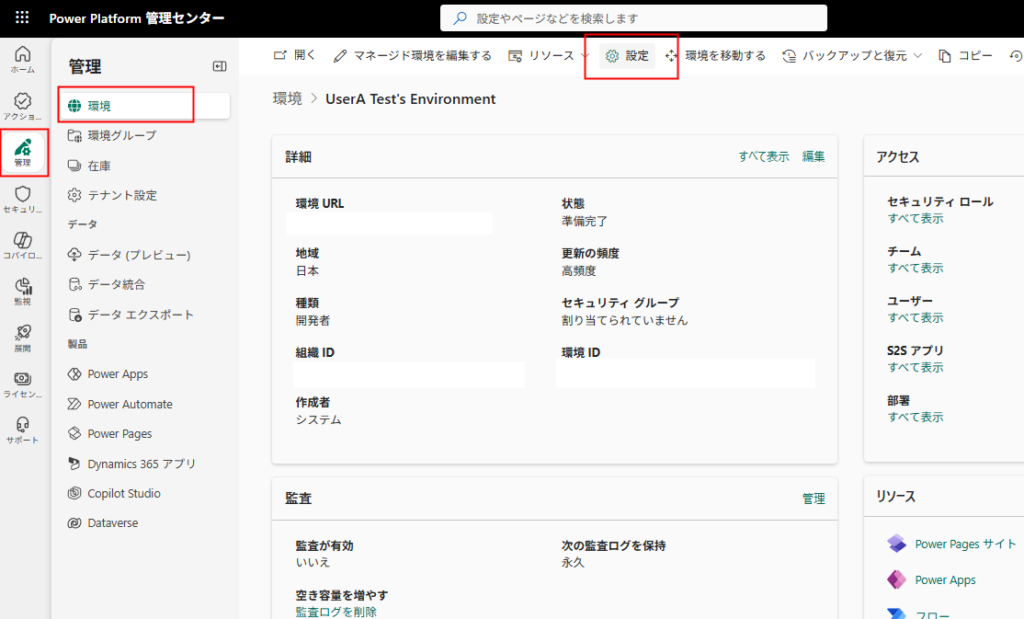
[製品]の[機能]を選択し、
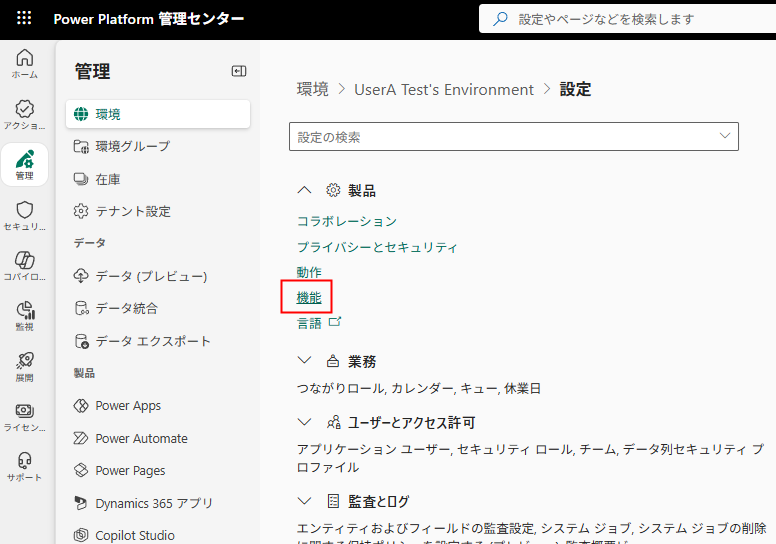
[コードコンポーネントでキャンバスアプリの公開を許可する]が[オン]になっていることを確認。もしオフの場合はオンに変更して保存を押す。

これで設定は完了。
ソリューションをインポート
そしたらまずは、前回作成したソリューションzipファイルを環境にインポートする。
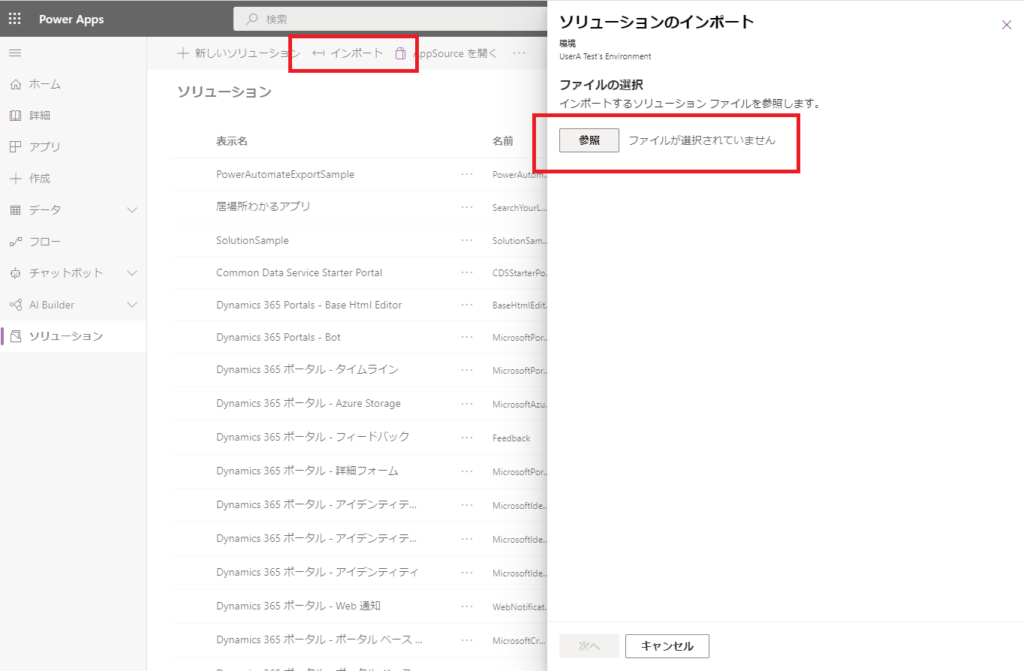
上記の設定を行った環境の[ソリューション]を開いて、[インポート]→[参照]を押下。
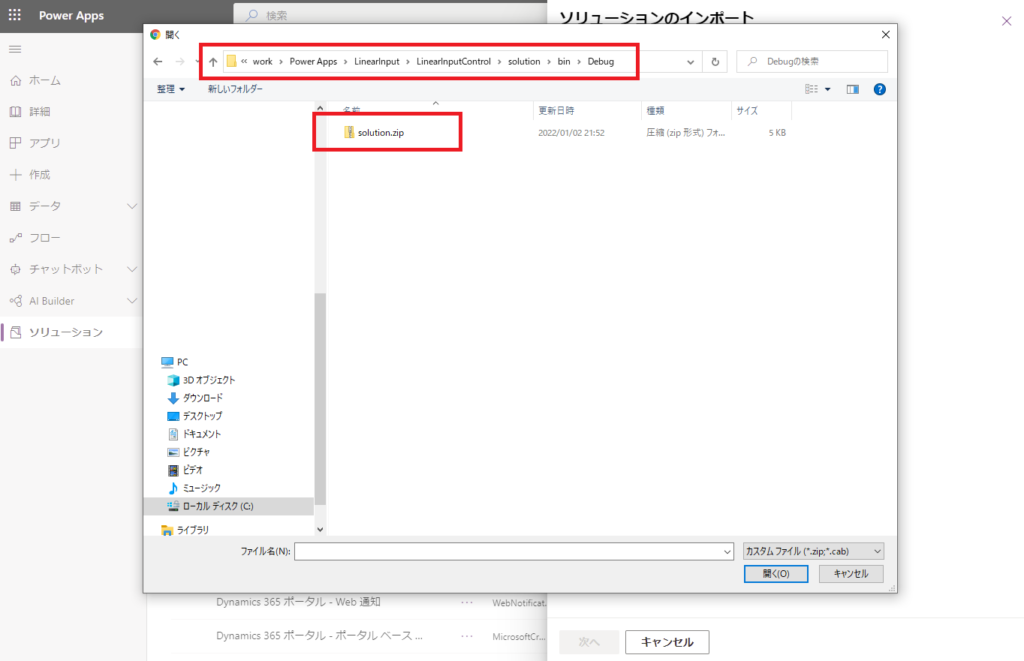
前回作成したzipファイルを選んで、
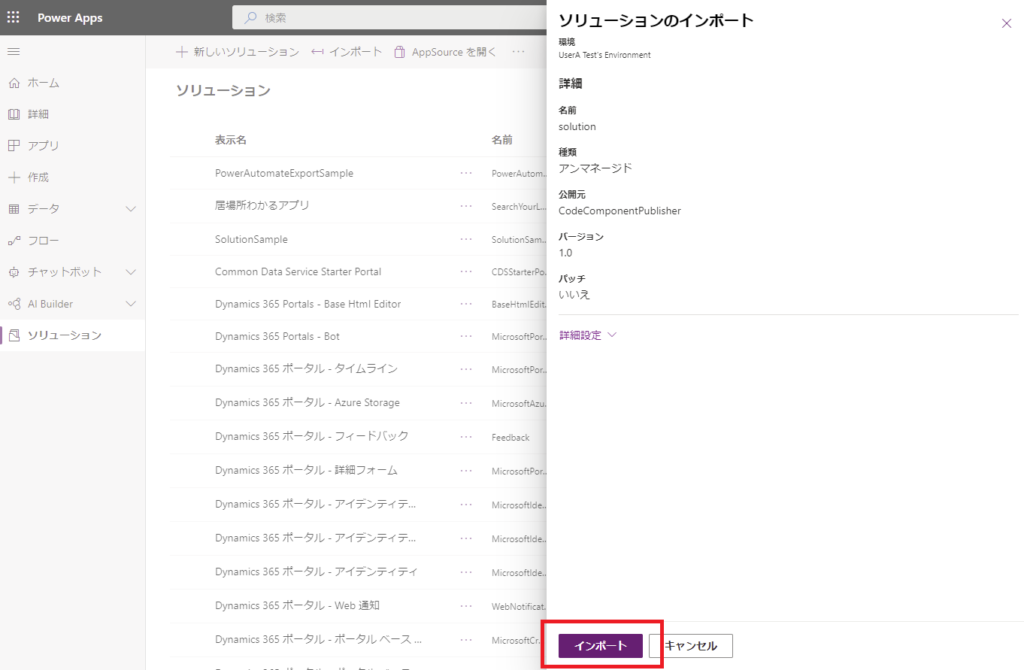
インポート!
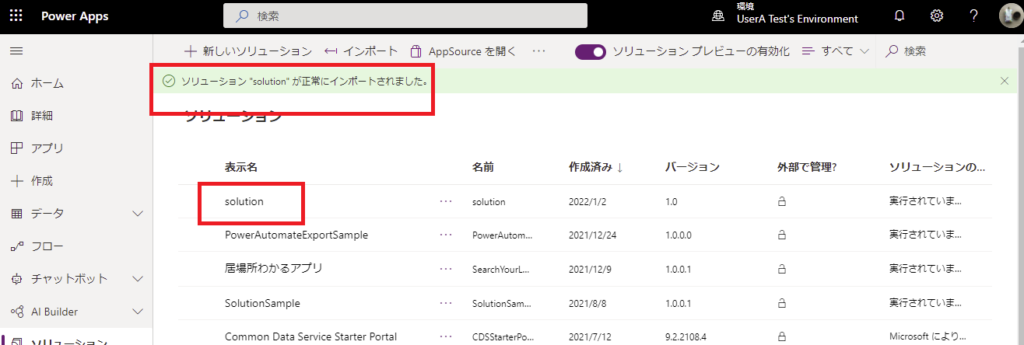
無事にインポートが完了するはず。
キャンバスアプリで使ってみる
まずはキャンバスアプリで作成したコンポーネントを使ってみる。
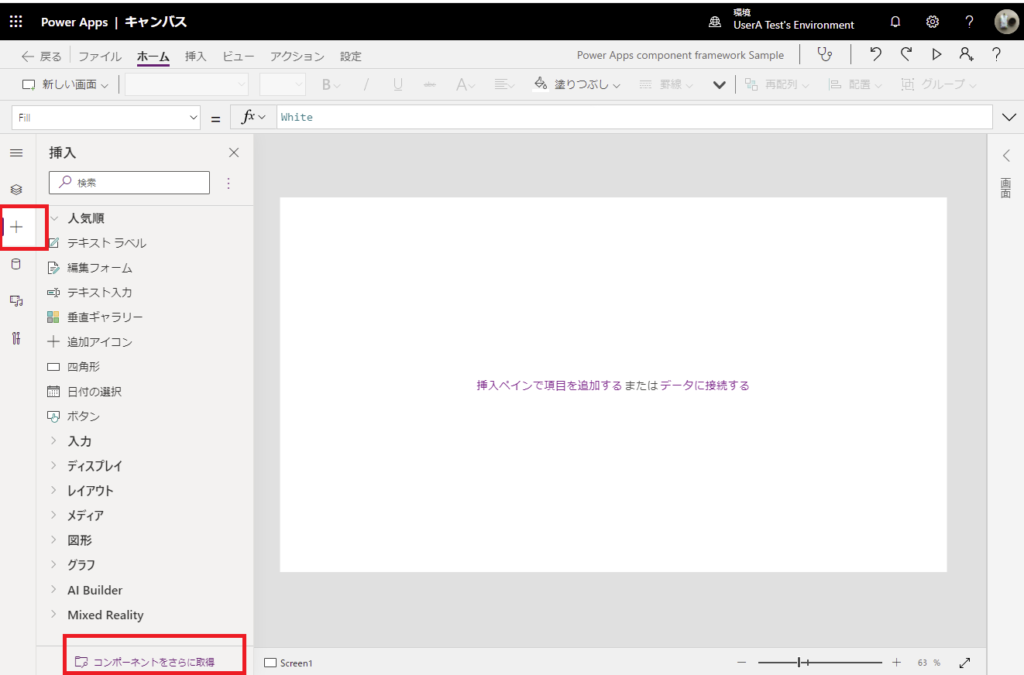
左のタブの[+]を押して、[コンポーネントをさらに取得]を押下。
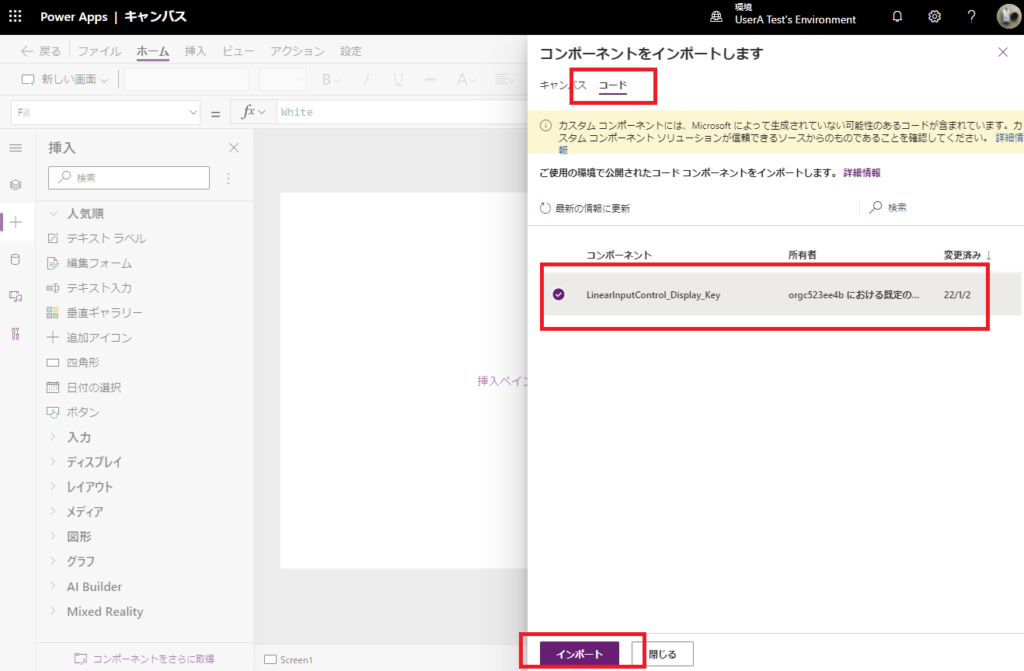
[コード]タブを選ぶと作成したコンポーネントが表示されるので、[インポート]を押下。
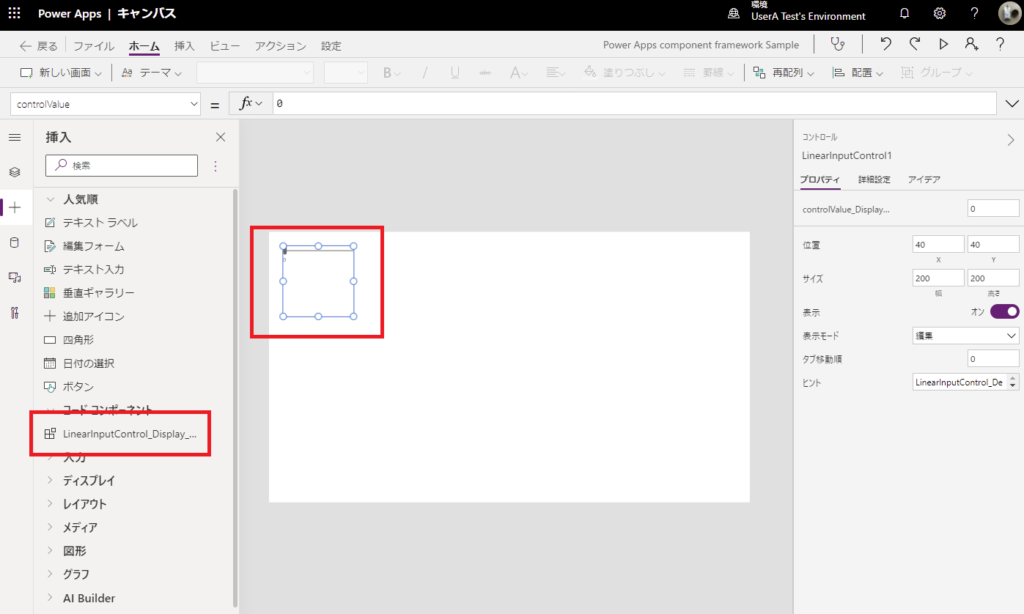
するとこんな感じでキャンバスアプリに作成したコンポーネントが表示される!
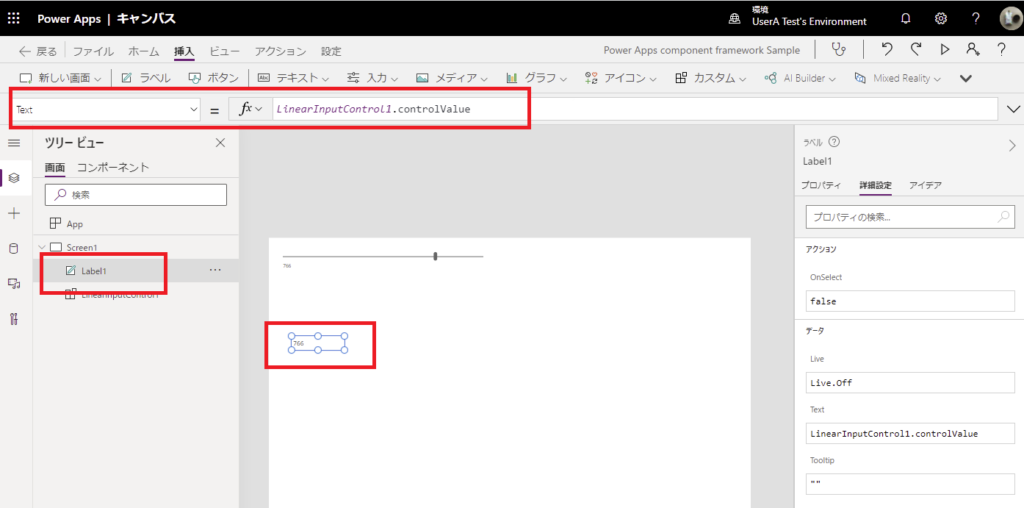
こんな感じでラベルとバインドすることもできるし、
OnChangeプロパティにこんな式を書いてやれば、
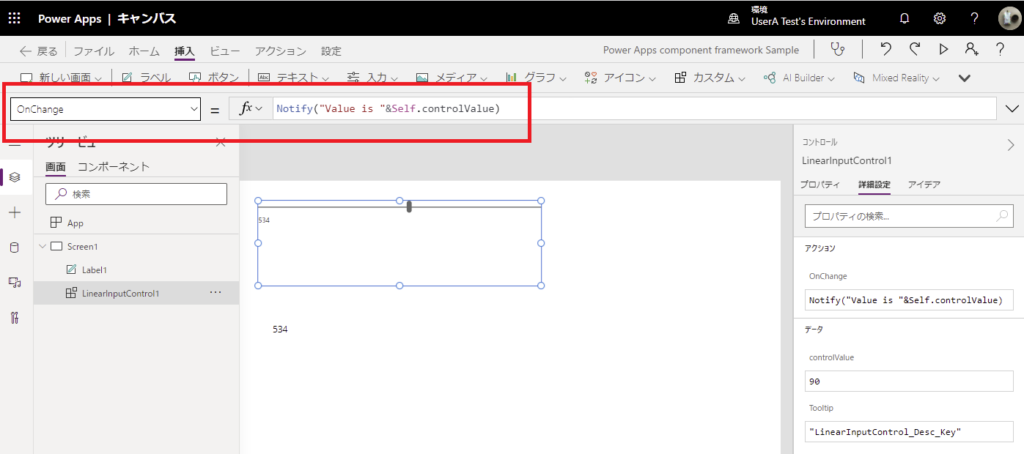
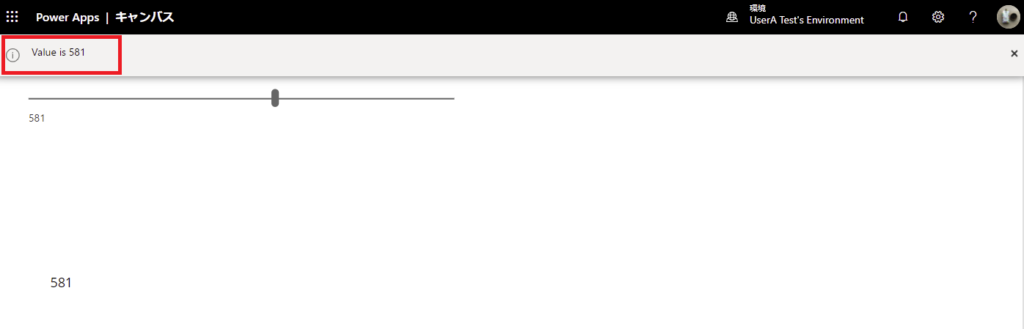
スライダーの値が変わるたびにNotifyが表示される!
Power Apps Studioで作ったカスタムコンポーネントと違って、OnChangeみたいな動作のプロパティを定義できるのがかなり大きなポイントかなと。
イベントプロパティを作れると色々と便利なコンポーネントが作れそう!
モデル駆動型アプリで使ってみる
続いてモデル駆動型アプリで作成したコンポーネントを使ってみる。
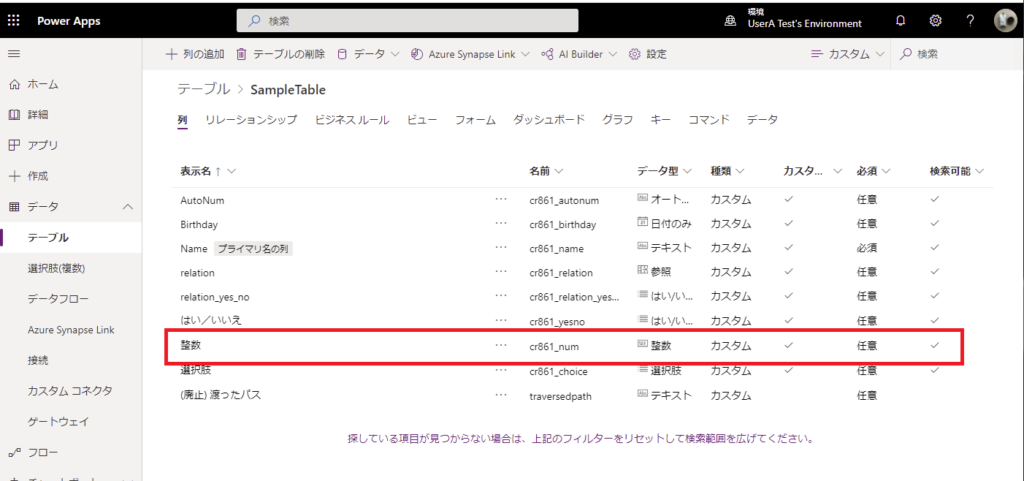
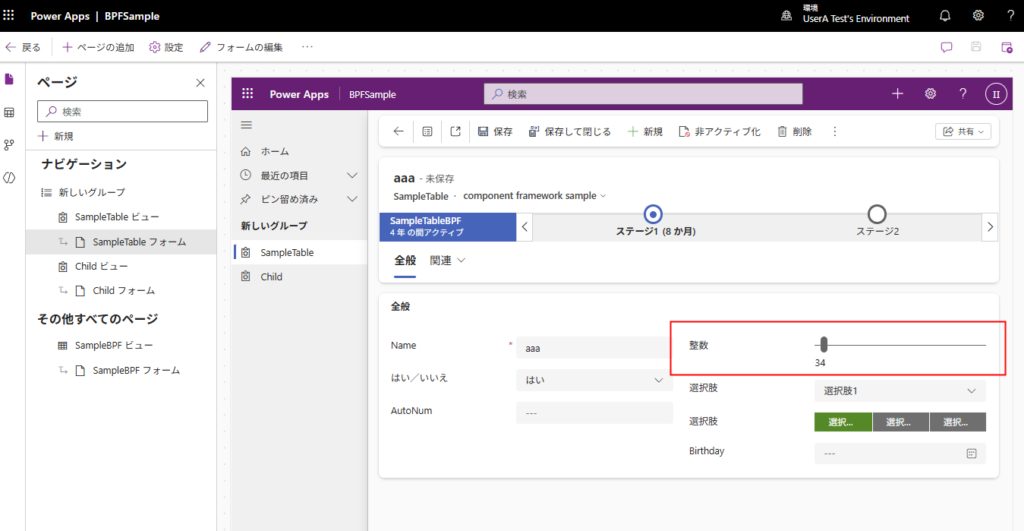
今回はこんな感じで整数型の列を持つテーブルのフォームを、整数をスライダーで選択できるようにしてみる。
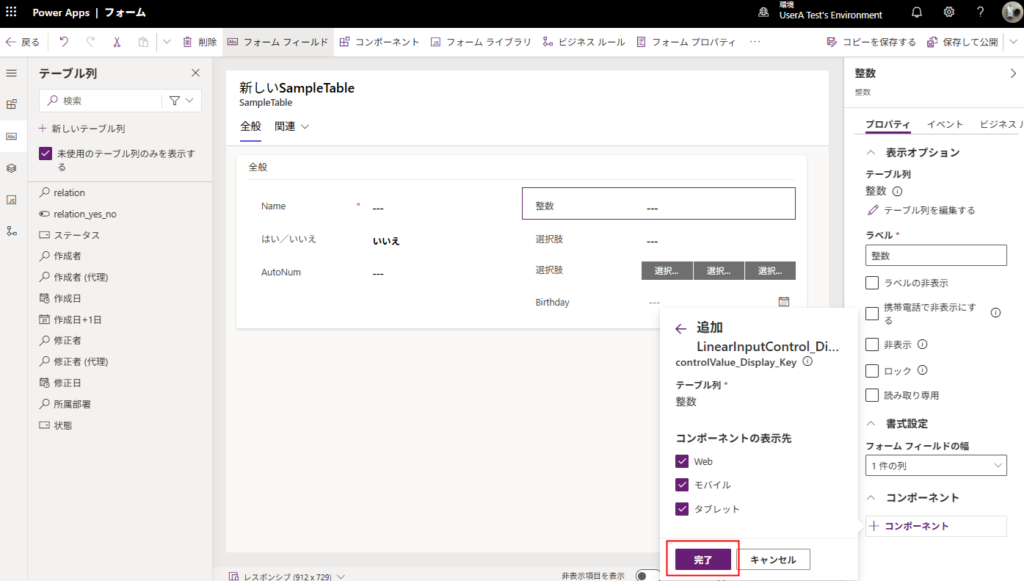
対象のテーブルのメインフォームを開いて、列を追加。そしたら画面右下の[コンポーネント]から作成したコンポーネントを選ぶ。
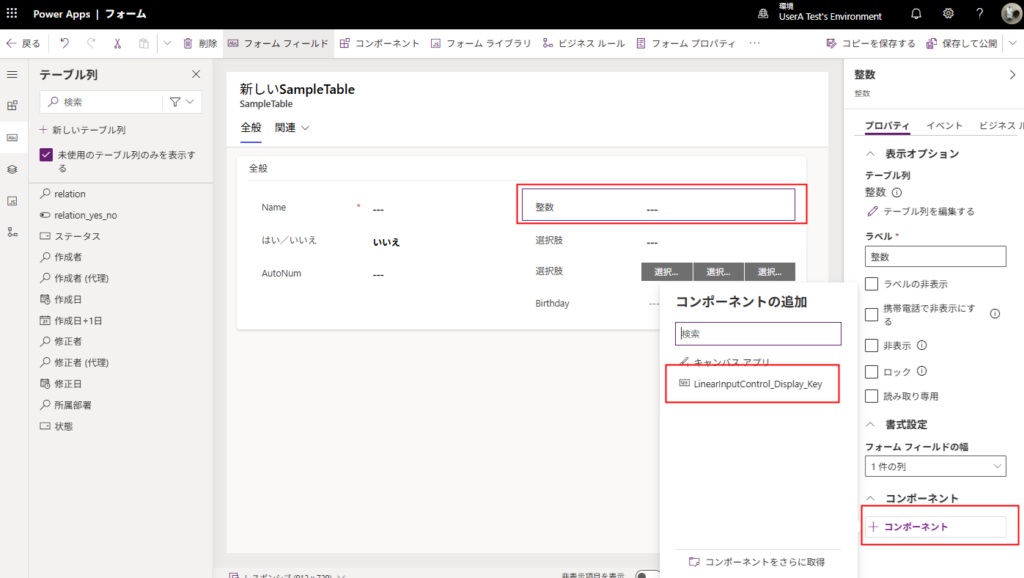
表示先(今回はすべて)を選択して、[完了]を押す。
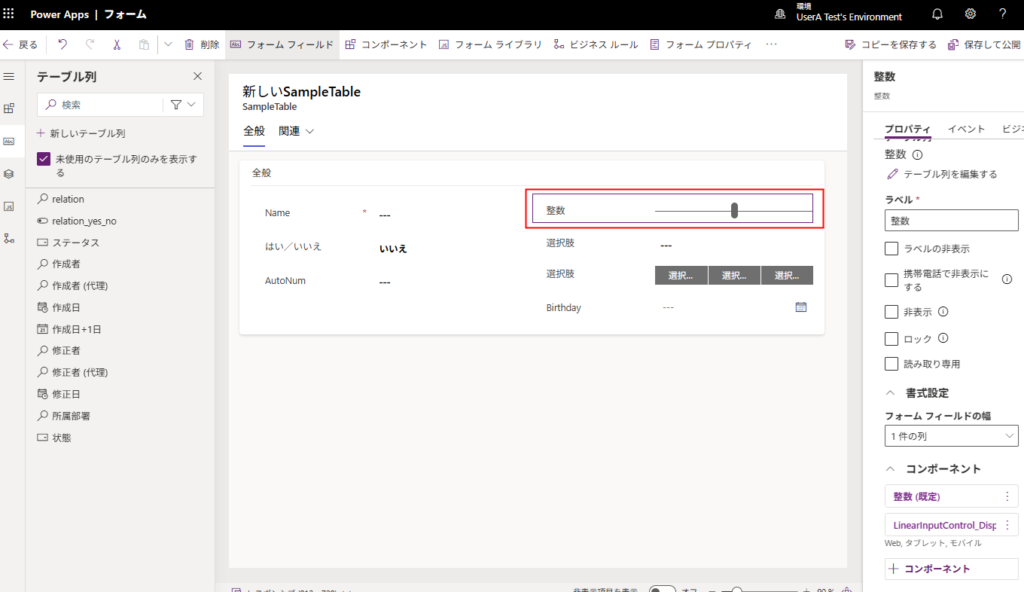
するとフォームに作成したコンポーネントが表示されるので、[保存して公開]を押す。
するとモデル駆動型アプリでもコンポーネントを利用することができる。
こんな感じで色々と便利なコンポーネントが作成できそうなので、Power Apps Component Frameworkは非常におすすめ。
コメント