This guide explains how to link two dropdown menus in a Power Apps Canvas App so that the options in the second dropdown change based on the selection in the first one.
This common pattern is often called “Cascading Dropdowns” or “Dependent Dropdowns.”
Prerequisites: SharePoint List Setup
First, we need a data source that defines the relationship between the two categories. We will use a SharePoint list for this example.
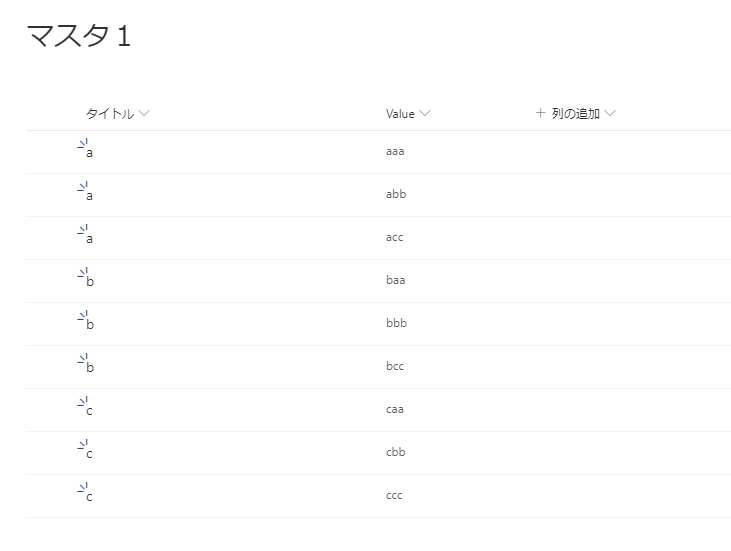
Create a list (e.g., “MasterList”) with two columns to hold your category data.
In this example:
- Title: The parent category (Selection 1)
- Value: The child option (Selection 2)
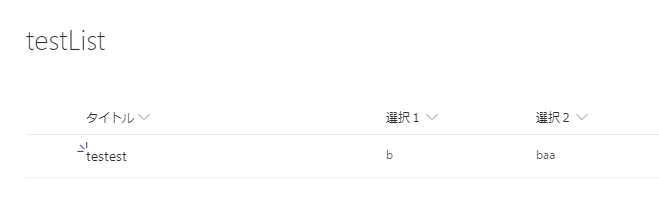
Create the list where users will save their data. Add two columns for “Selection 1” and “Selection 2”.
Step-by-Step Implementation in Power Apps
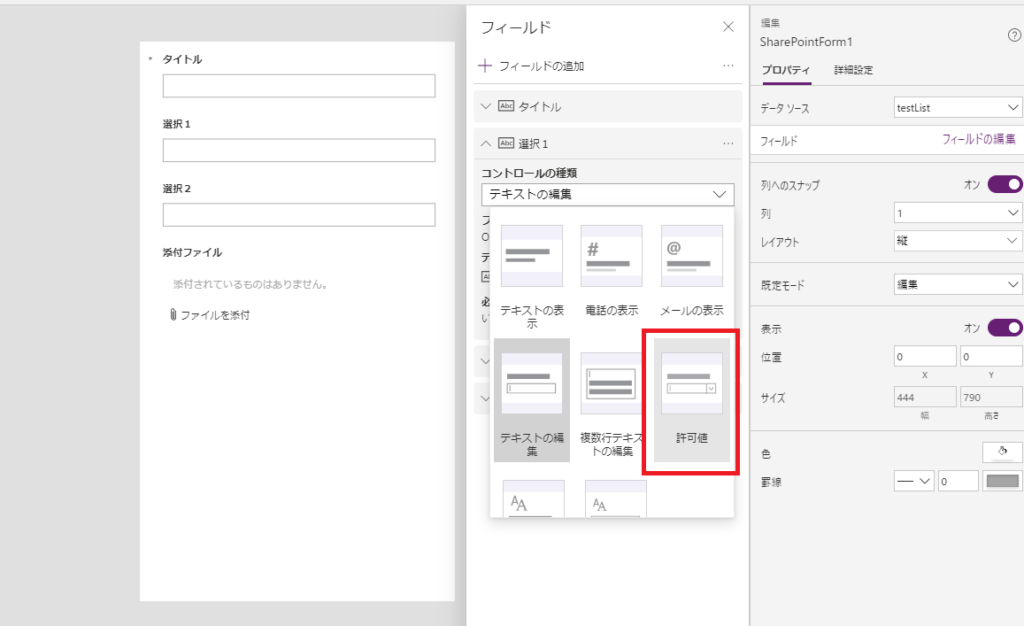
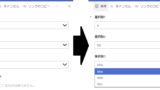
1. Change Text Input to Dropdown
By default, Power Apps may create “Text Input” fields. We need to change these to “Allowed Values” to use Dropdowns.
2. In the right properties pane, find the fields for “Selection 1” and “Selection 2”.
3. Change the Control Type from “Edit Text” to “Allowed Values”.
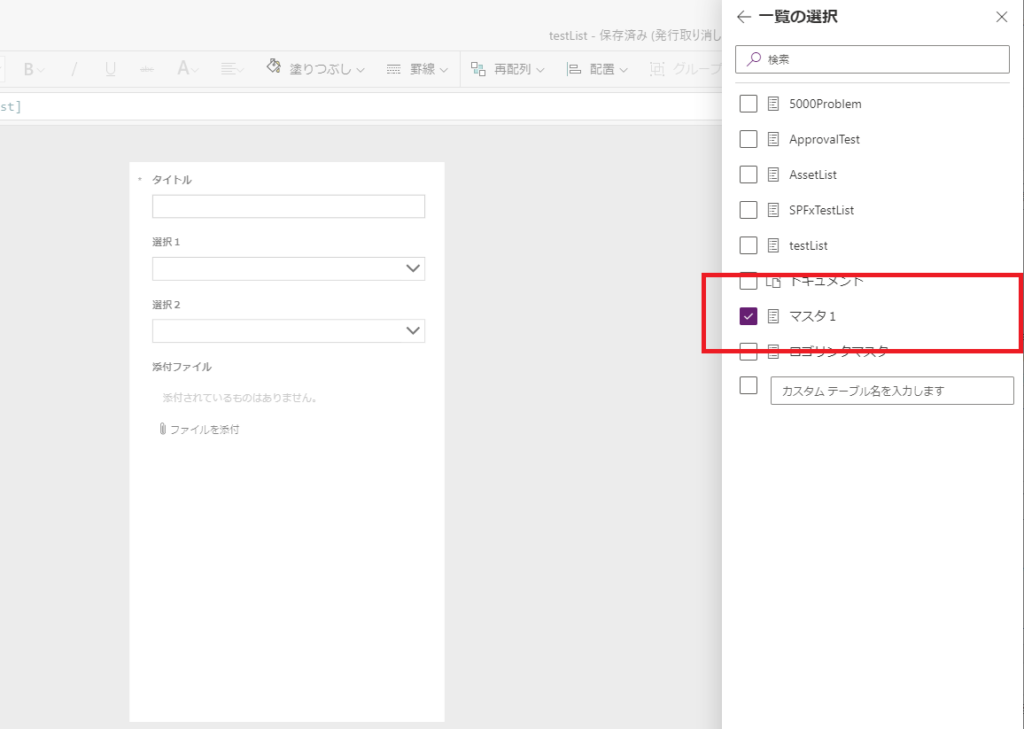
2. Connect to the Master Data Source
Add your “MasterList” (the one with the categories) as a data source in your app.
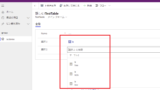
3. Configure the Parent Dropdown (Selection 1)
We want the first dropdown to show unique values from the “Title” column of our Master List.
2. Set the Items property to:
Distinct(MasterList, Title)
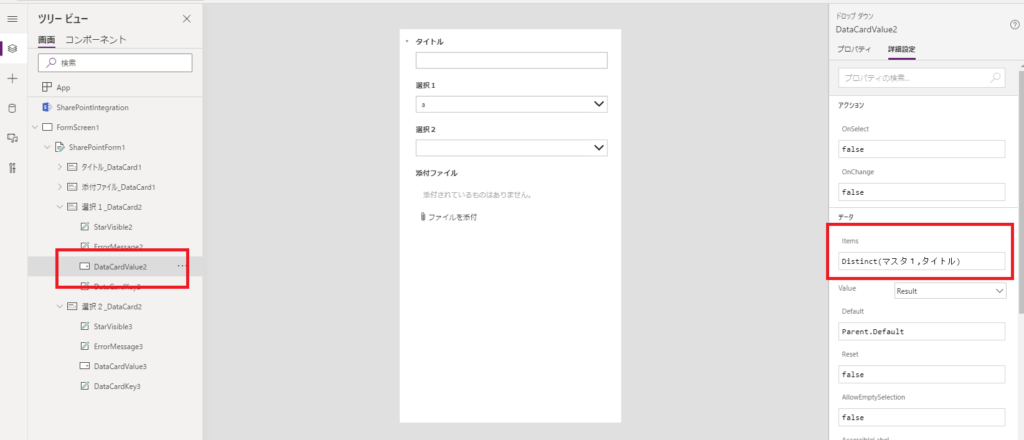
Note: The Distinct function removes duplicate values, so even if your list has multiple rows for category “A”, it will only appear once in the dropdown.
If you see an error on the DataCard’s
Update property, it’s because the dropdown now outputs a Result record. Update the DataCard’s Update property to:DataCardValueX.Selected.Result (where DataCardValueX is your dropdown name).
4. Configure the Child Dropdown (Selection 2)
Now, we filter the second dropdown based on what is chosen in the first one.
1. Select the second Dropdown (Selection 2).
2. In the properties pane, verify the Items property is unlocked.
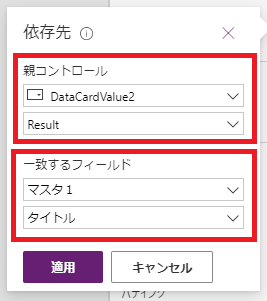
3. Click Depends on.
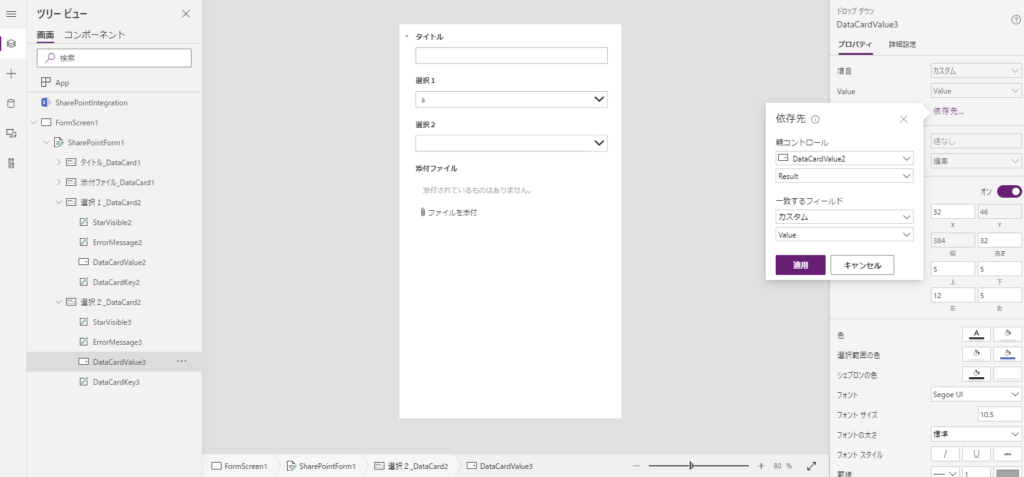
– Parent Control: Choose your first Dropdown (Selection 1).
– Data Source: Choose your “MasterList”.
– Matching Field: Choose the column that matches the parent value (Title).
Power Apps will automatically generate a Filter formula in the Items property for you. It usually looks something like this:
Filter(MasterList, Title = DataCardValueSelection1.Selected.Result)
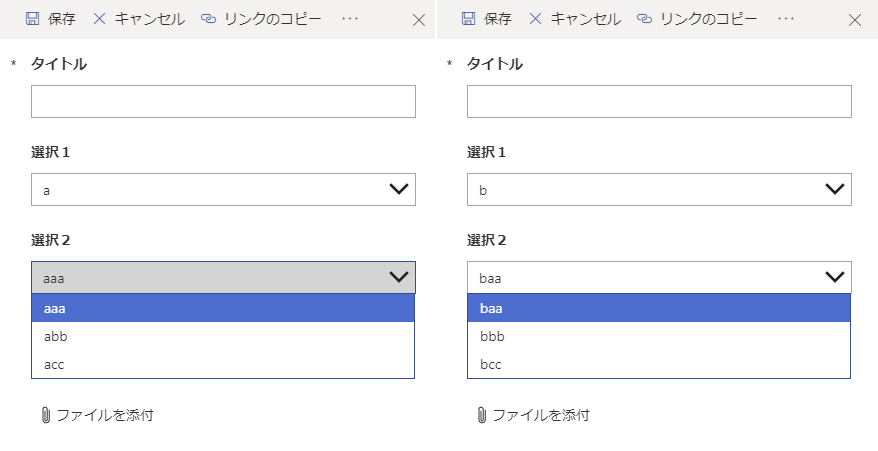
Testing the App
Preview the app. When you change the value in “Selection 1”, the options in “Selection 2” should update automatically.
コメント