How to Get Teams User Presence Status in Power Apps using Graph API
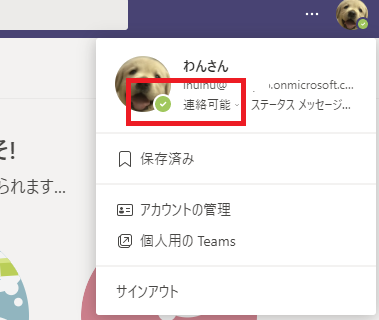
Having received requests to display user status indicators like “Available” (similar to Teams) when showing users in Power Apps, I’ve documented how to retrieve these status indicators through GraphAPI.
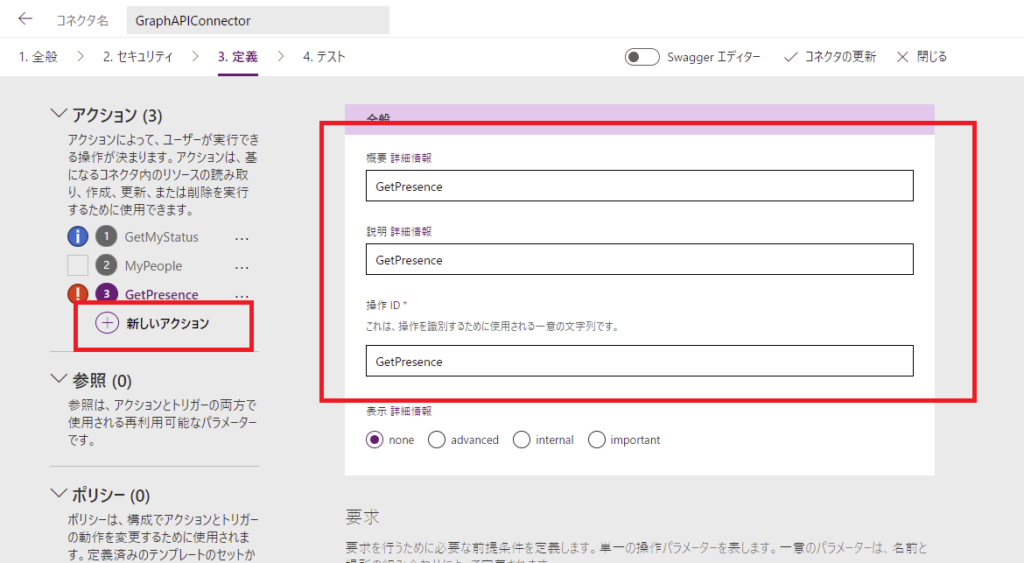
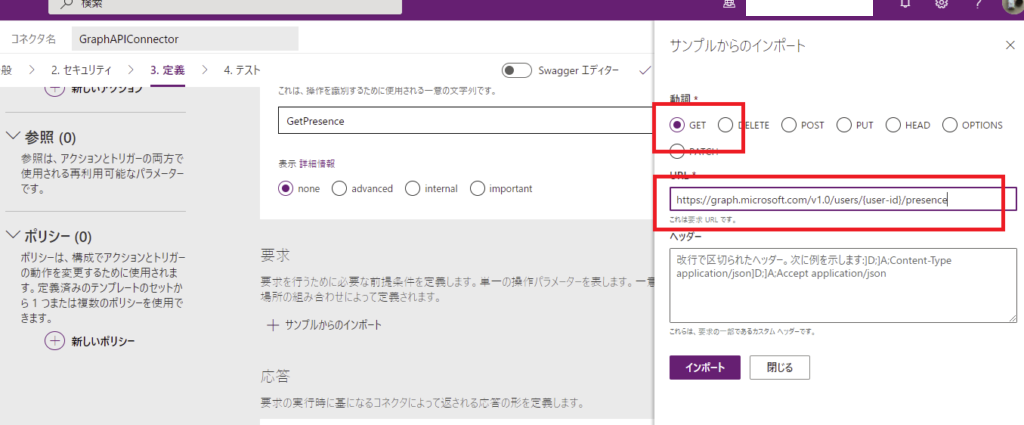
Once you’ve completed the custom connector setup, go to [Definition] → [New action] and enter a name like “GetPresence”. Note: While it’s better to write clear “Summary” and “Description” for other users, we’ll keep it simple for this example.
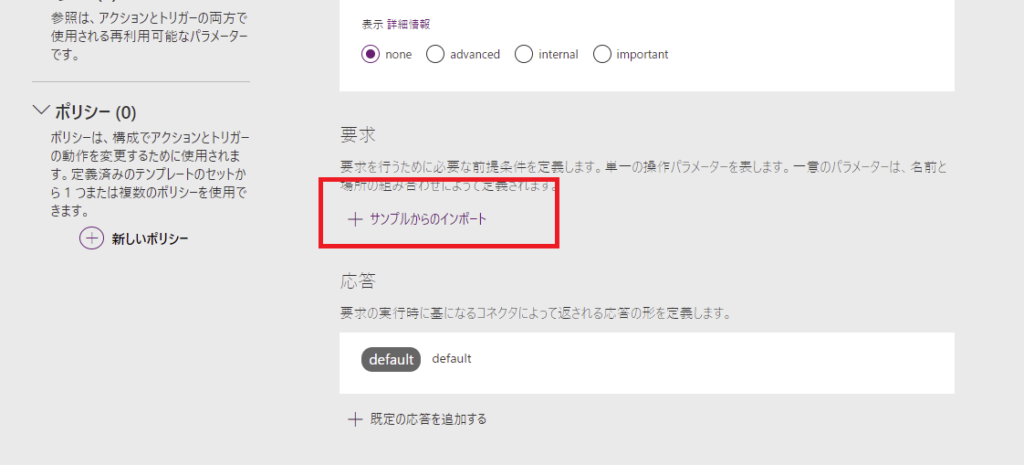
Then select [Request] → [Import from sample]
Select “Get” and enter “https://graph.microsoft.com/v1.0/users/{user-id}/presence” in the “URL” field, then click [Import].
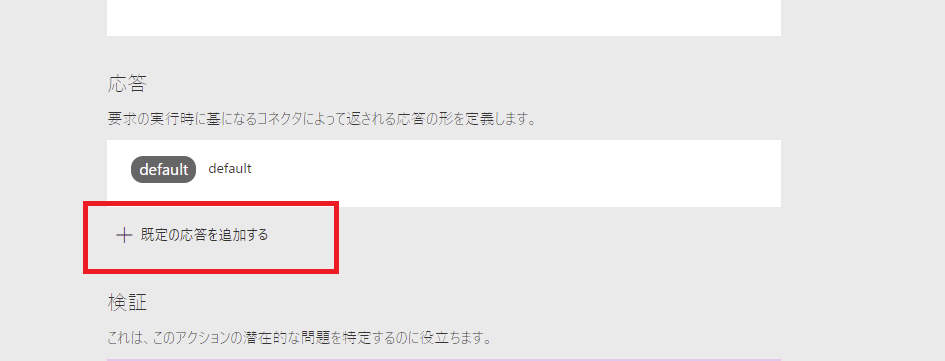
Finally, configure [Response] → [Add default response], but first,
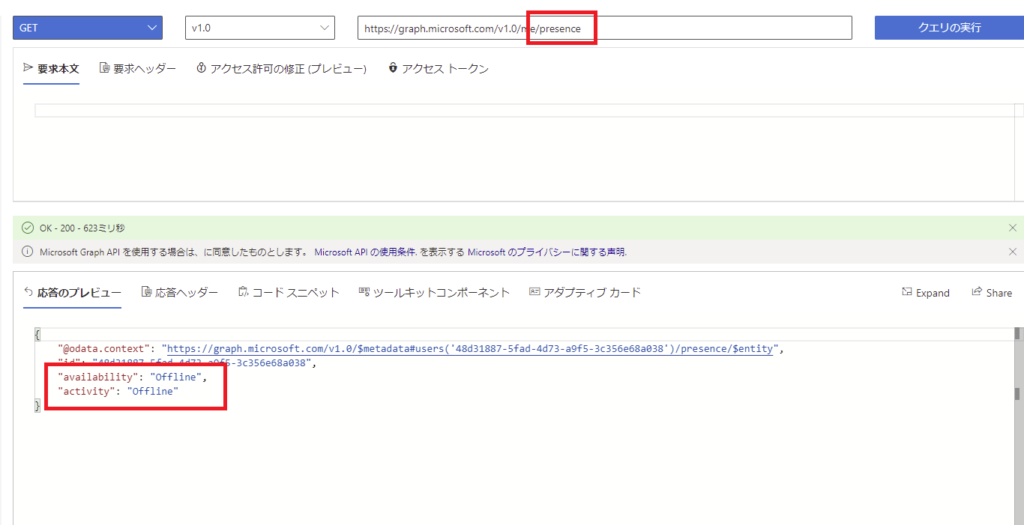
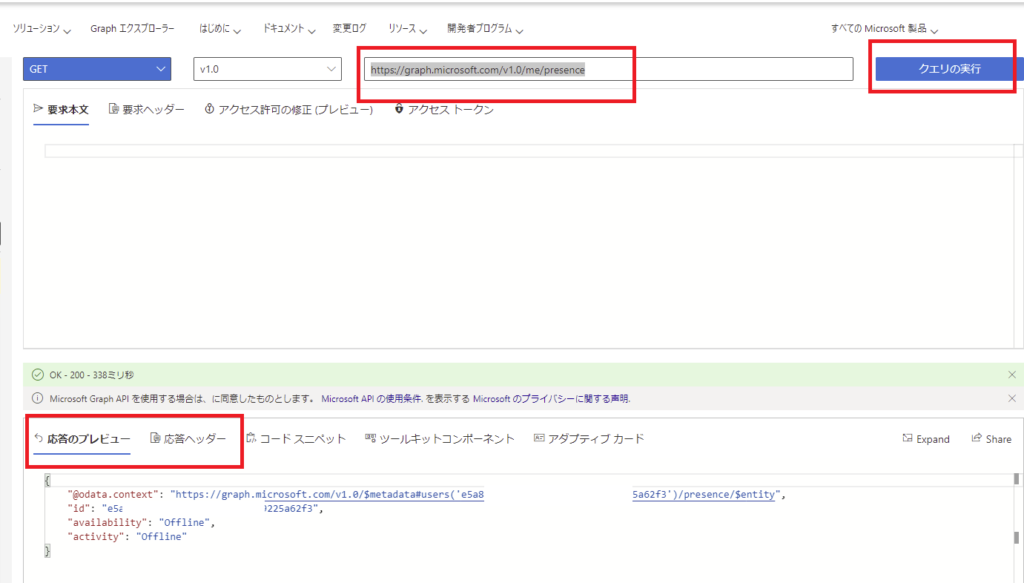
Execute “https://graph.microsoft.com/v1.0/me/presence” in GraphExplorer,
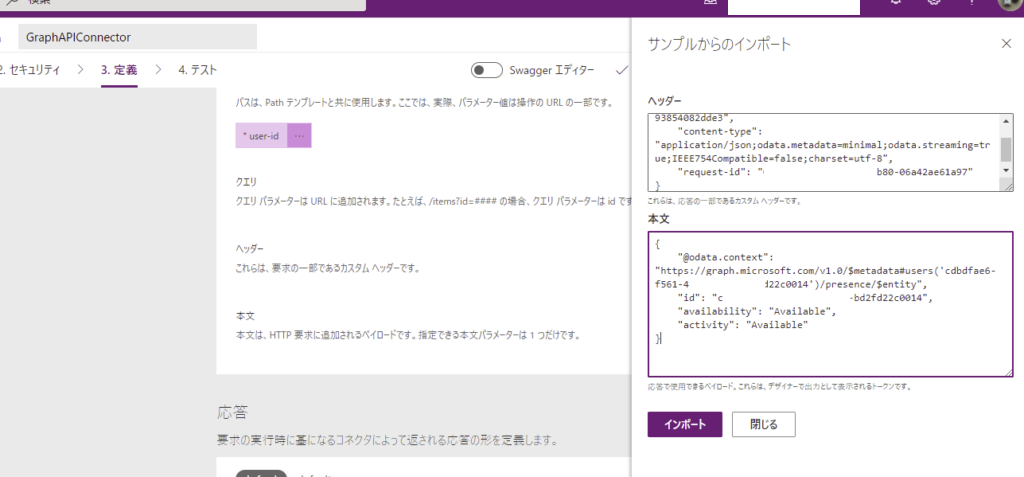
Copy the entire “Response preview” to [Body] and “Response headers” to [Headers].
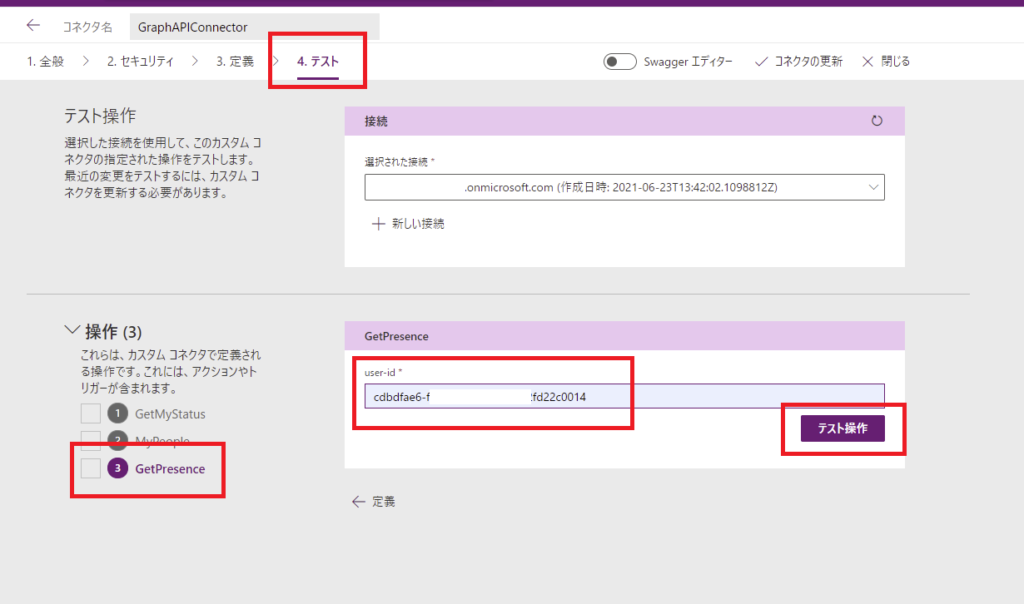
Now that creation is complete, move to [Test], enter any user ID (including your own) in the [user-id] field, and click “Test operation”.
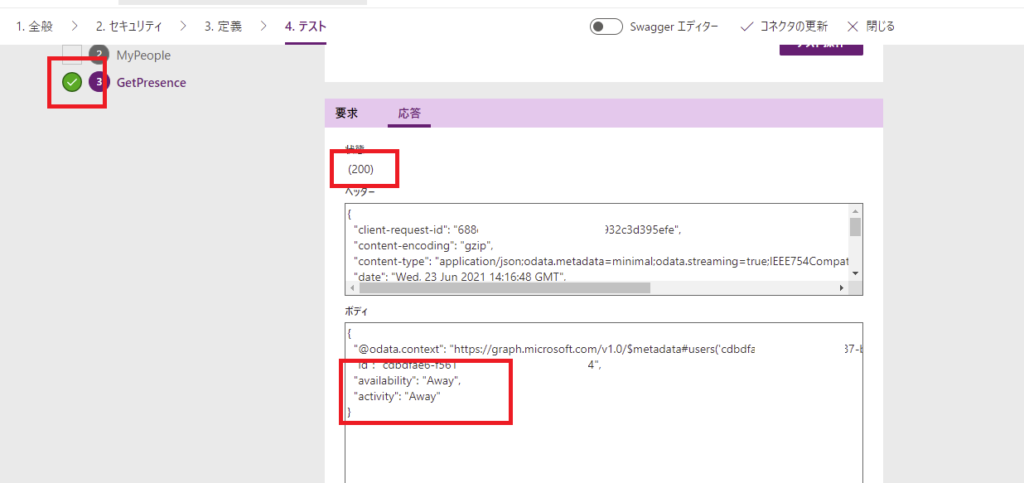
Success! The custom connector creation is now complete!
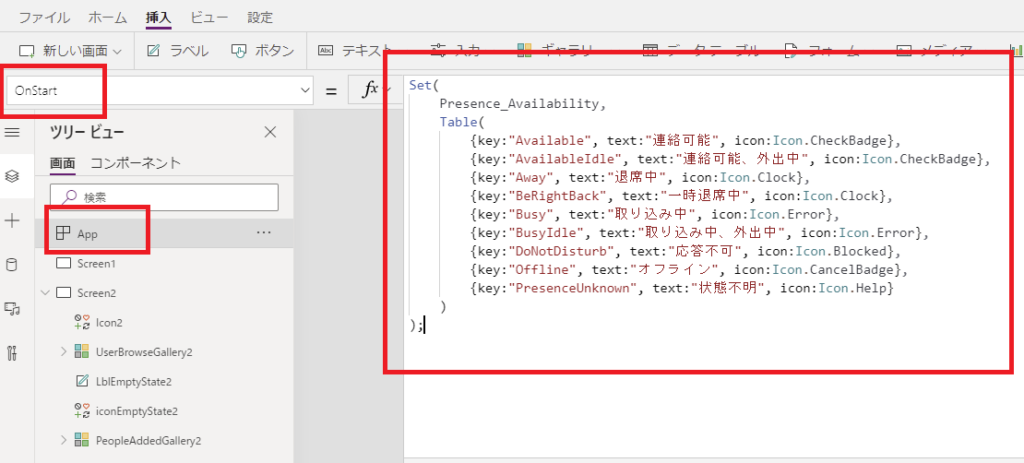
Update January 31, 2025: Using the Avatar Control
With the addition of the “Avatar” to Power Apps modern controls, displaying user information in Power Apps has become much simpler using this Avatar control. For detailed instructions on how to use it, please refer to:
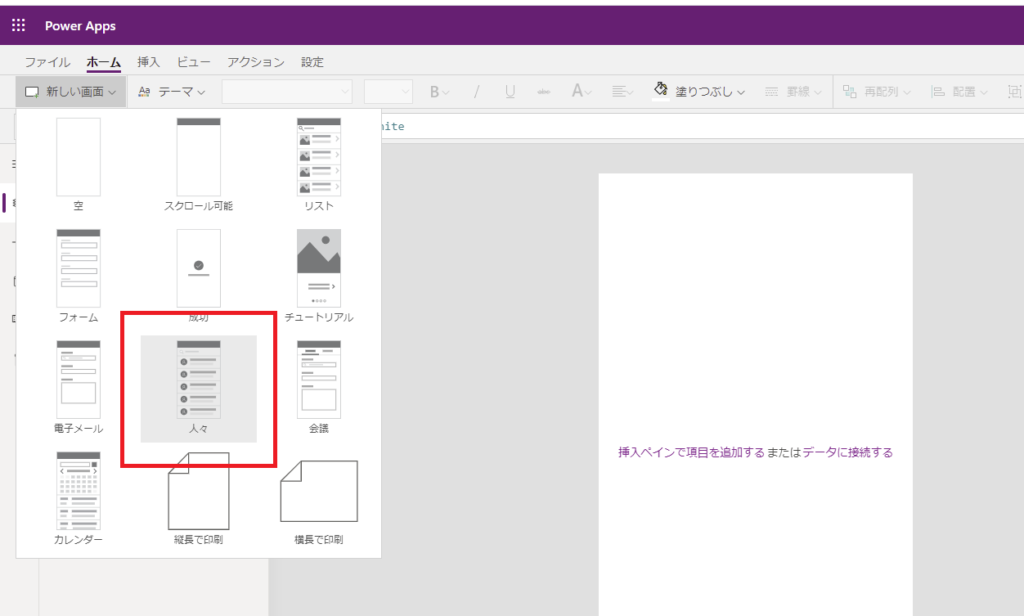
Now, let’s add status display to the “UserBrowseGallery” that shows searched users.
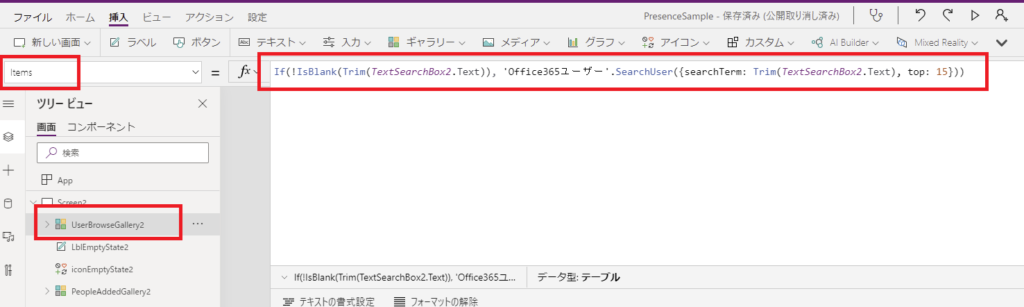
The UserBrowseGallery Items property likely looks like this by default:
Modify it to look like this:
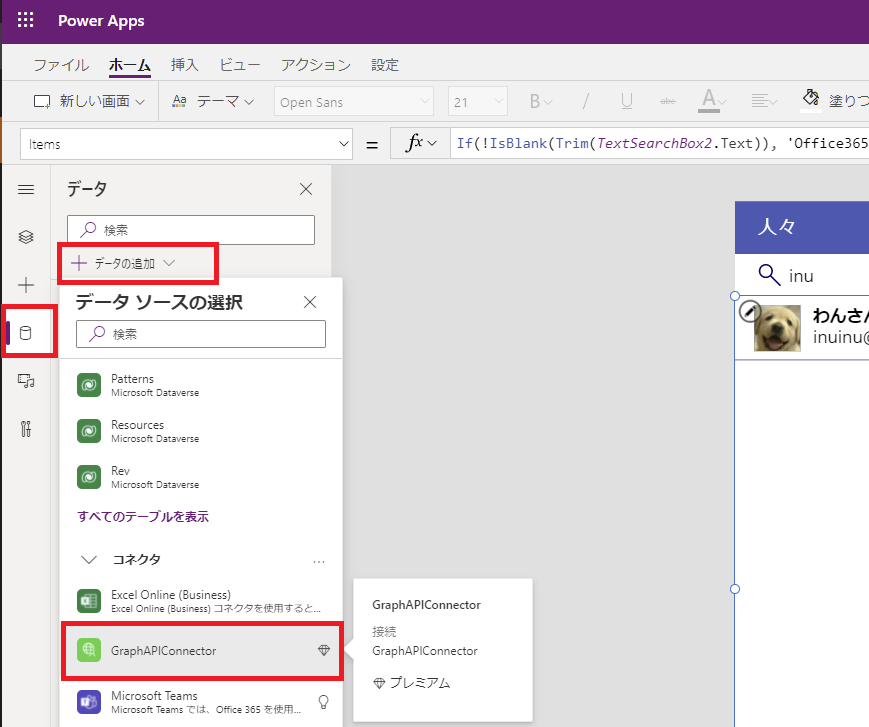
Here’s the code: We’ll add an availability column using AddColumns to the user table retrieved by Office365Users.SearchUser, and populate it with results from GraphAPIConnector.GetPresence.
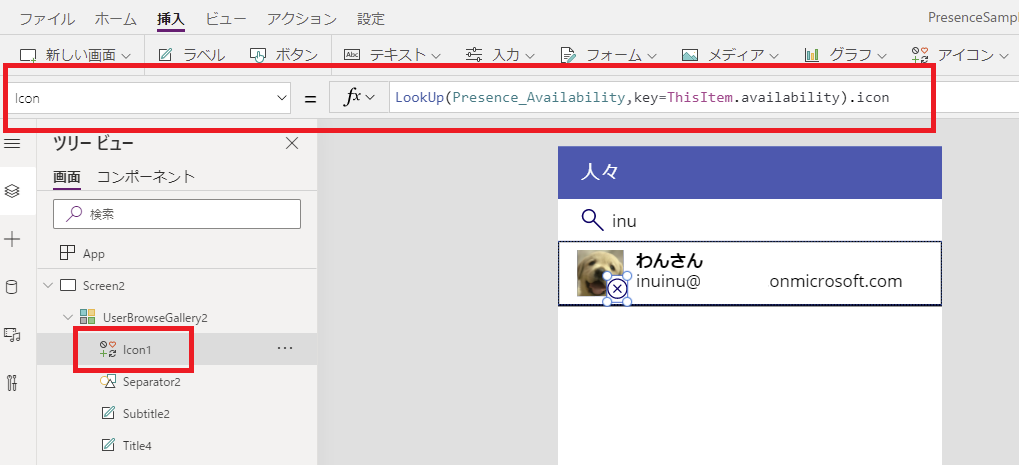
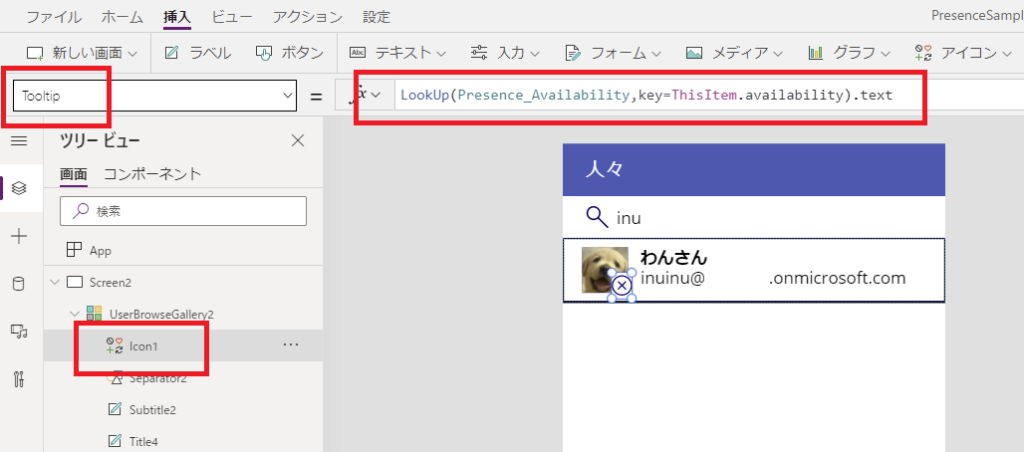
Then, add an icon to UserBrowseGallery and set its Icon property with this formula:
Additionally, set the icon’s Tooltip property with this formula:
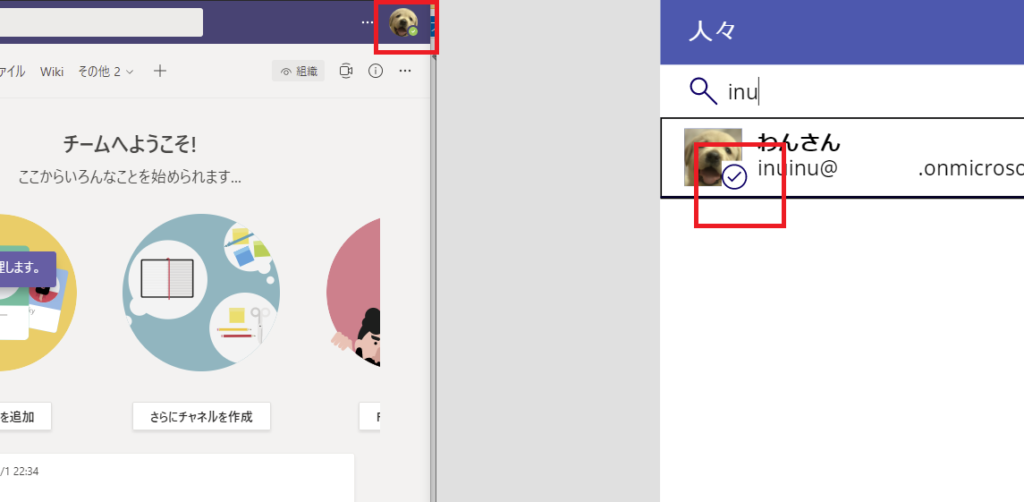
Now the icons will display according to each user’s status!
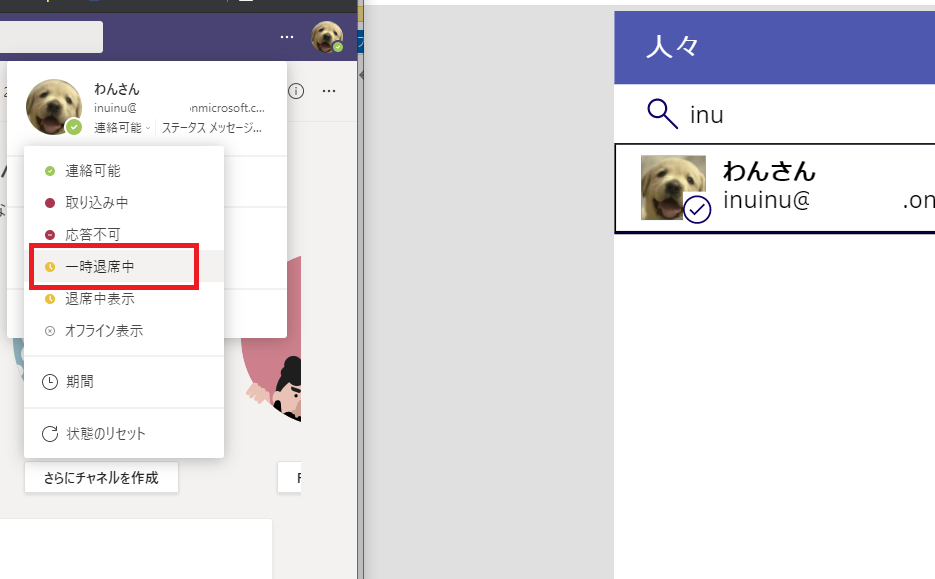
When you change the status to “Be Right Back” and refresh the display by re-entering the search text,
The display updates correctly!
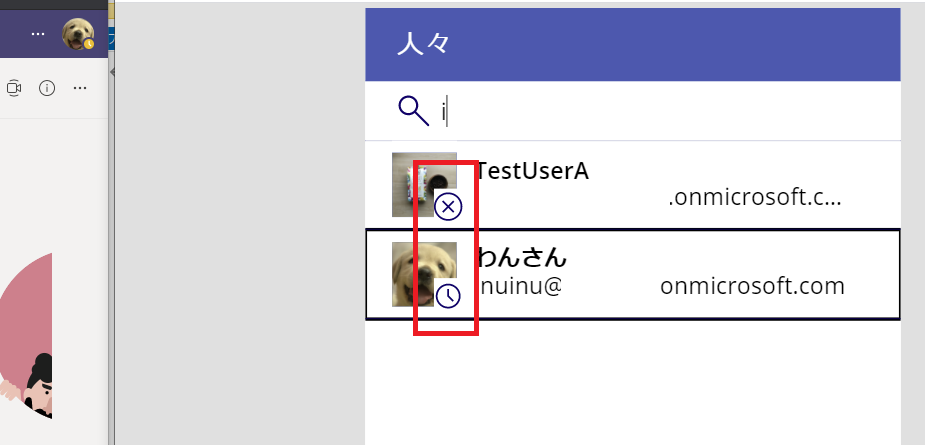
When displaying multiple users, each one shows their individual status!
By incorporating a timer, you can automatically update the status at regular intervals. While we used standard icons in this example, you can create more visually appealing status displays by using custom images!