In this article, I’ll demonstrate how to create an autonomous agent that automatically responds to emails using the recently added “Triggers” feature in Copilot Studio.
Event Triggers
Event triggers function similarly to Power Automate triggers, allowing agents to be activated by events such as “receiving an email” or “data addition/update.”
Since these events, rather than user messages, initiate the agent, you can easily create autonomous agents that operate independently.
Using this feature, I’ll show you how to build an agent that activates when an email is received.
Sample Implementation: Activation upon Email Receipt
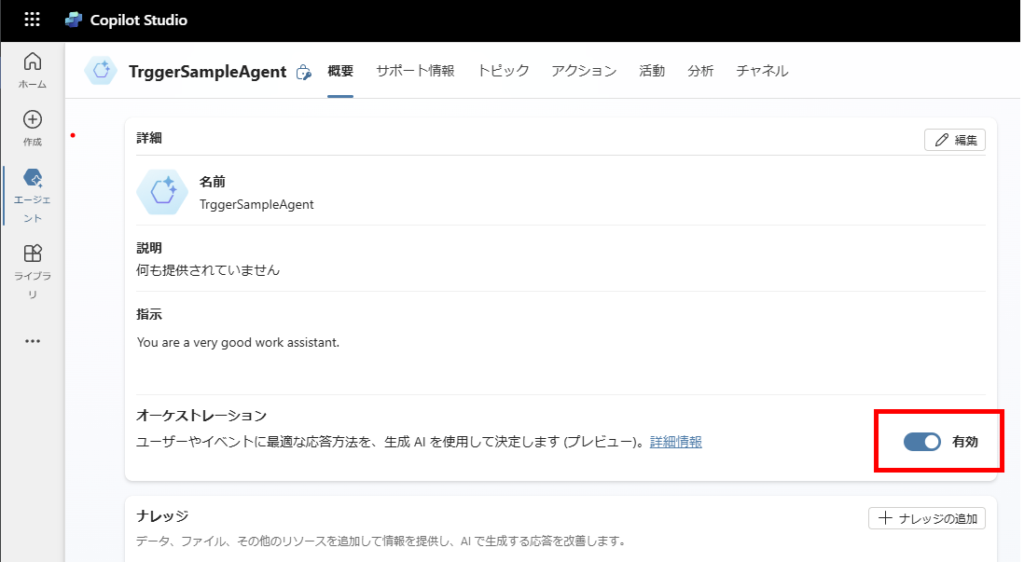
To use this feature, you need to enable the orchestration functionality.
*Note: As of January 3, 2025, this requires the language to be set to English and generative AI to be turned ON.
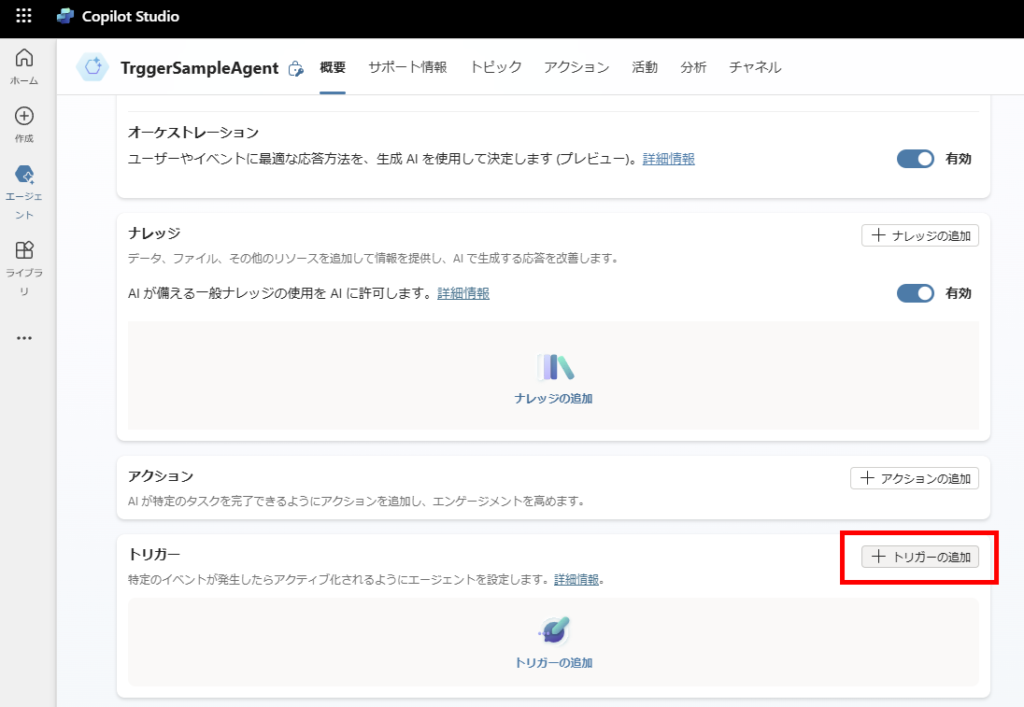
Adding an Event Trigger
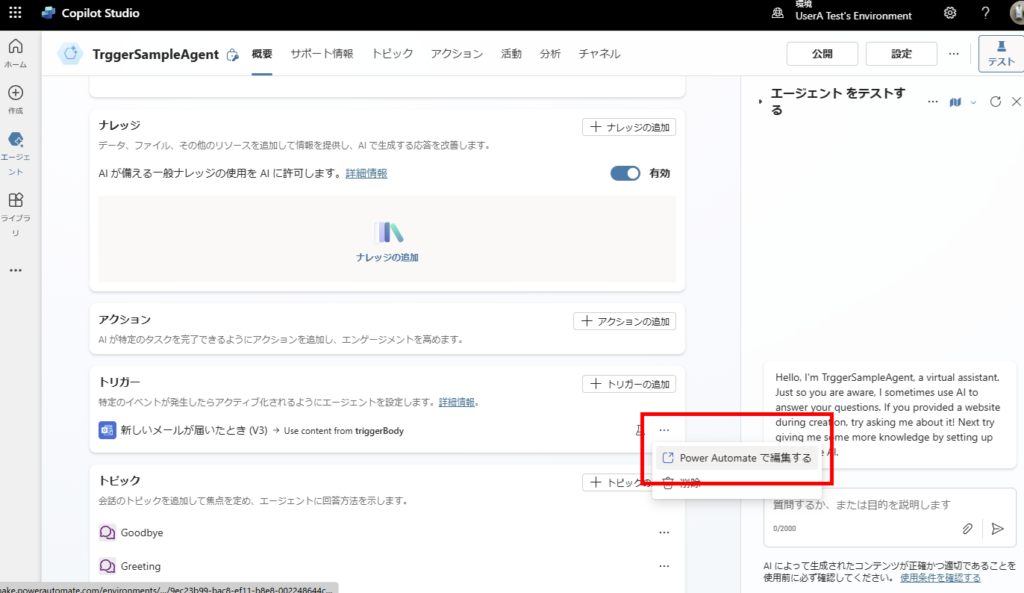
First, click on [Add trigger],
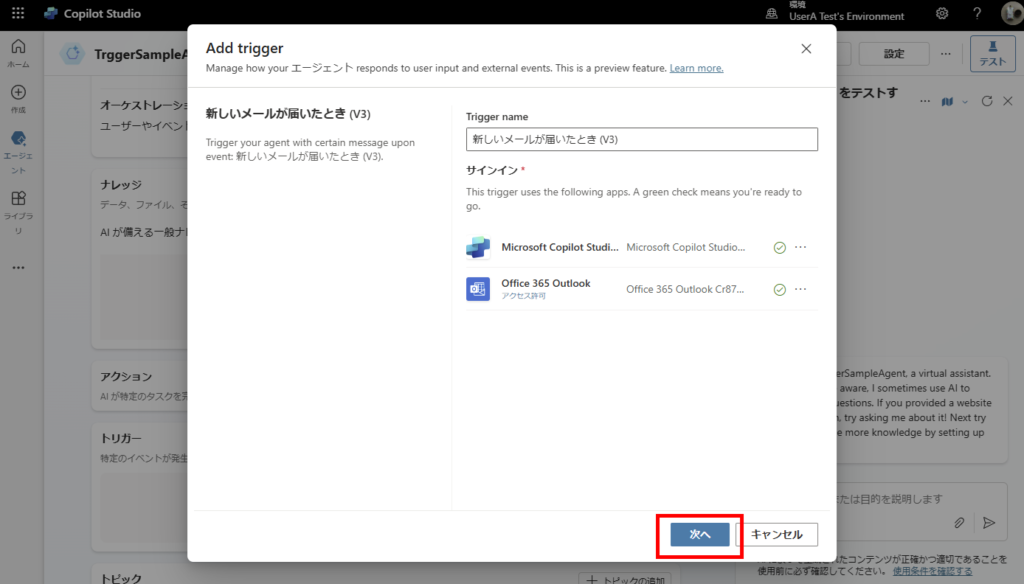
Select “When a new email arrives”,

Once the connection is established, click [Next].
Since this is just a sample, only specify “Mail folder” and click [Create trigger].
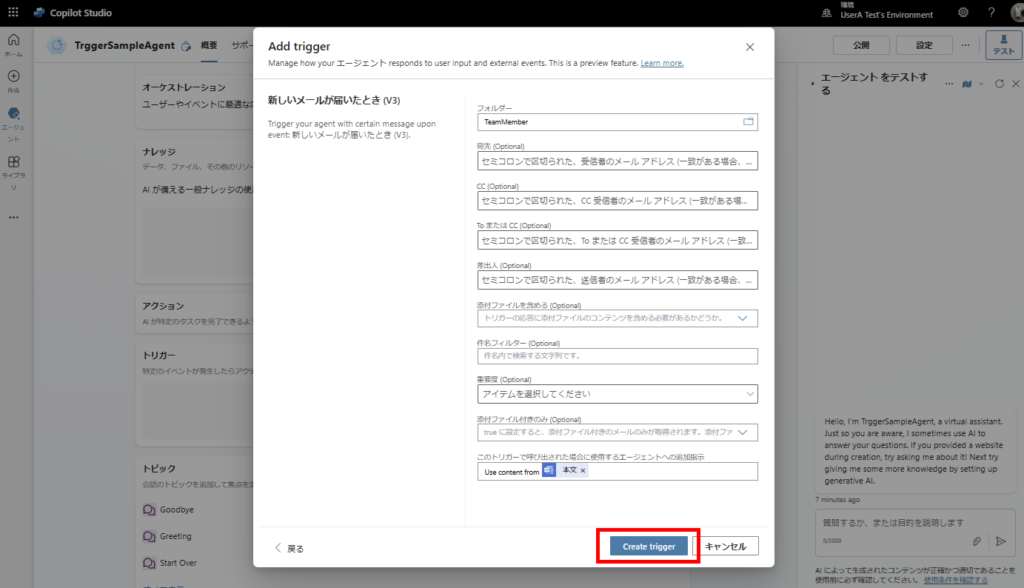
Once the trigger is added, click [Edit in Power Automate].
Power Automate Configuration
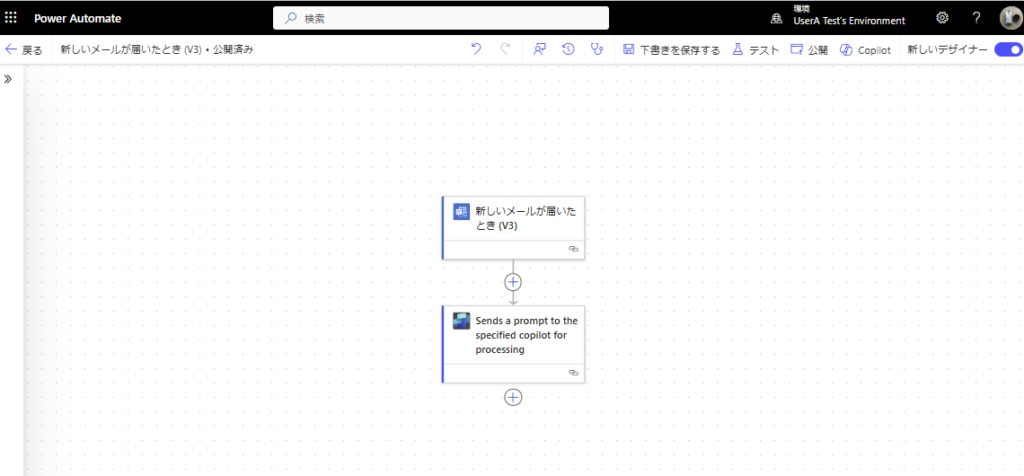
When you open Power Automate, you’ll see that “Trigger” and “Send prompt to Copilot” actions are added by default.
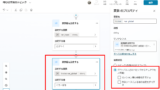
Since we’re creating a flow that notifies Copilot of the received email content, use the [Select] action to narrow down to the minimal necessary information,
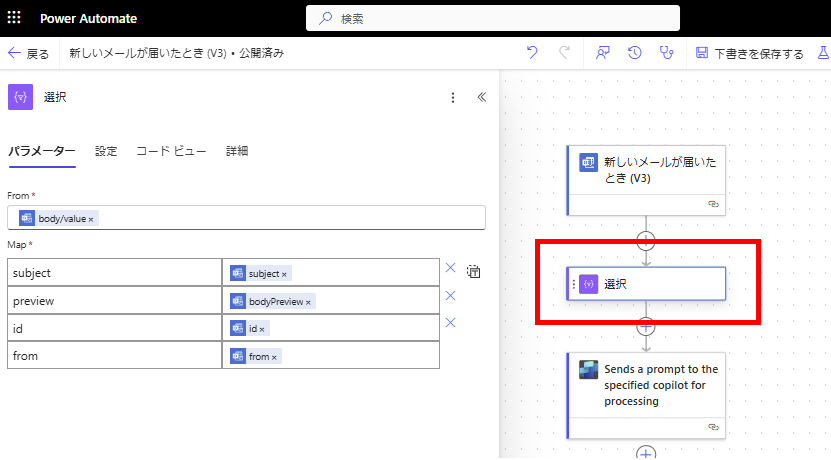
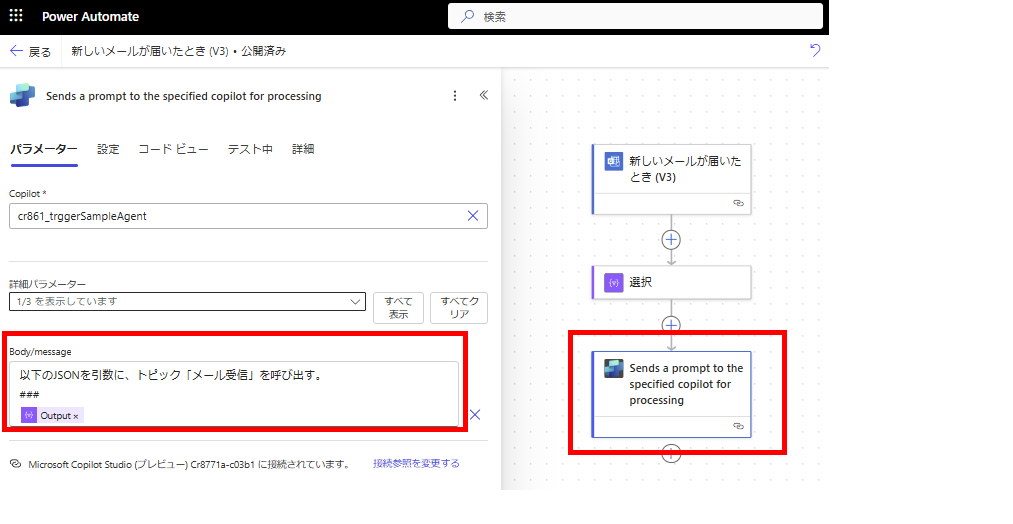
And send a prompt to Copilot. When doing this,
make sure to include “prompt instructions for Copilot” in this Body/message field.
*Note: I got stuck when I initially just passed the output from the “Select” action thinking that was enough information – Copilot didn’t respond at all…
Creating the Topic
When the flow we just created is executed, it sends a prompt to Copilot. Since I wrote “Activate the ‘Email Received’ topic” in the prompt, we need to create this corresponding topic.
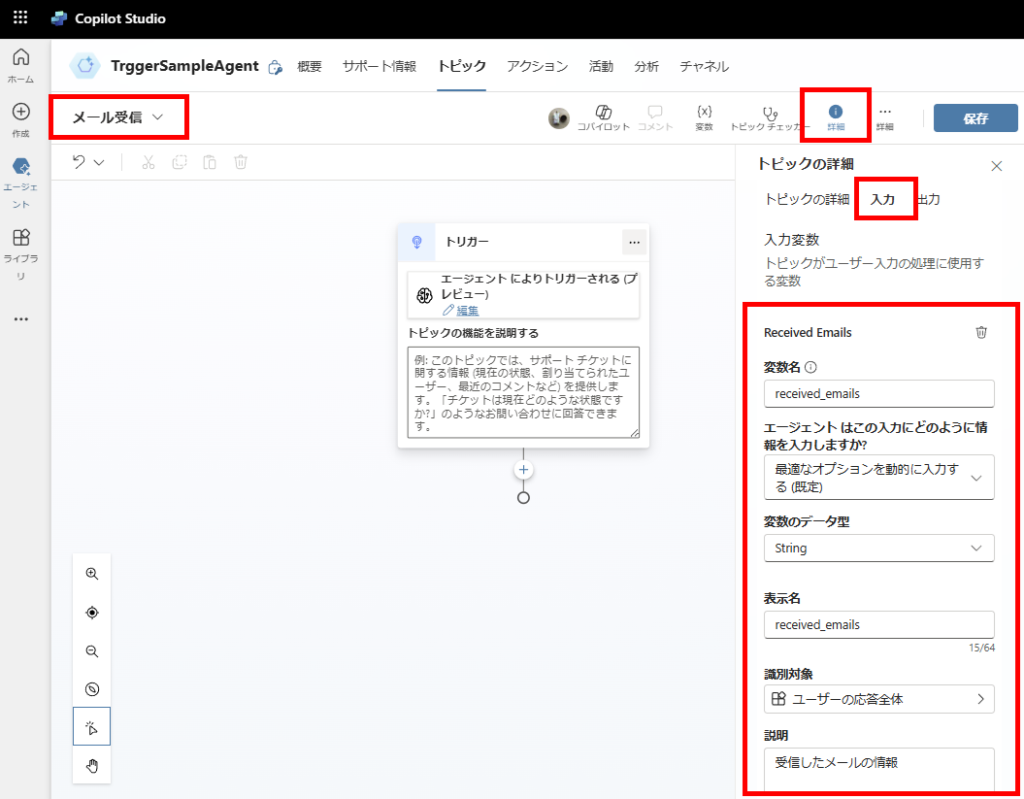
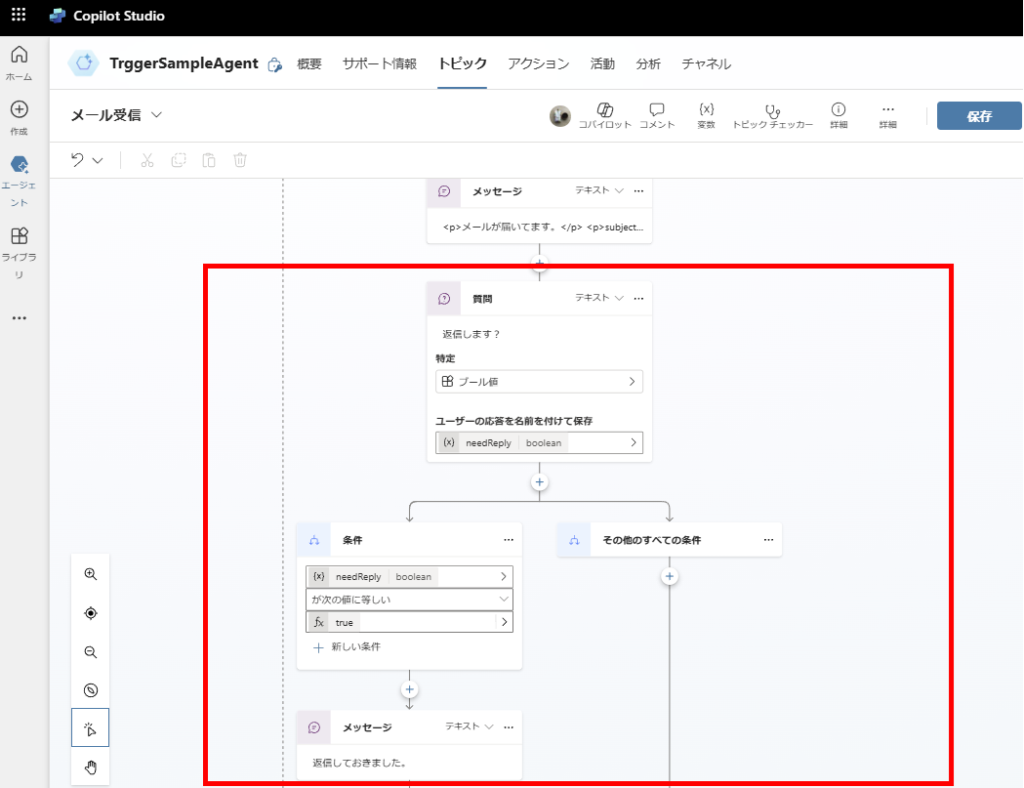
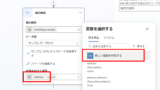
Create a new topic, name it “Email Received”, and create a string argument to receive the output from the [Select] action in Power Automate.
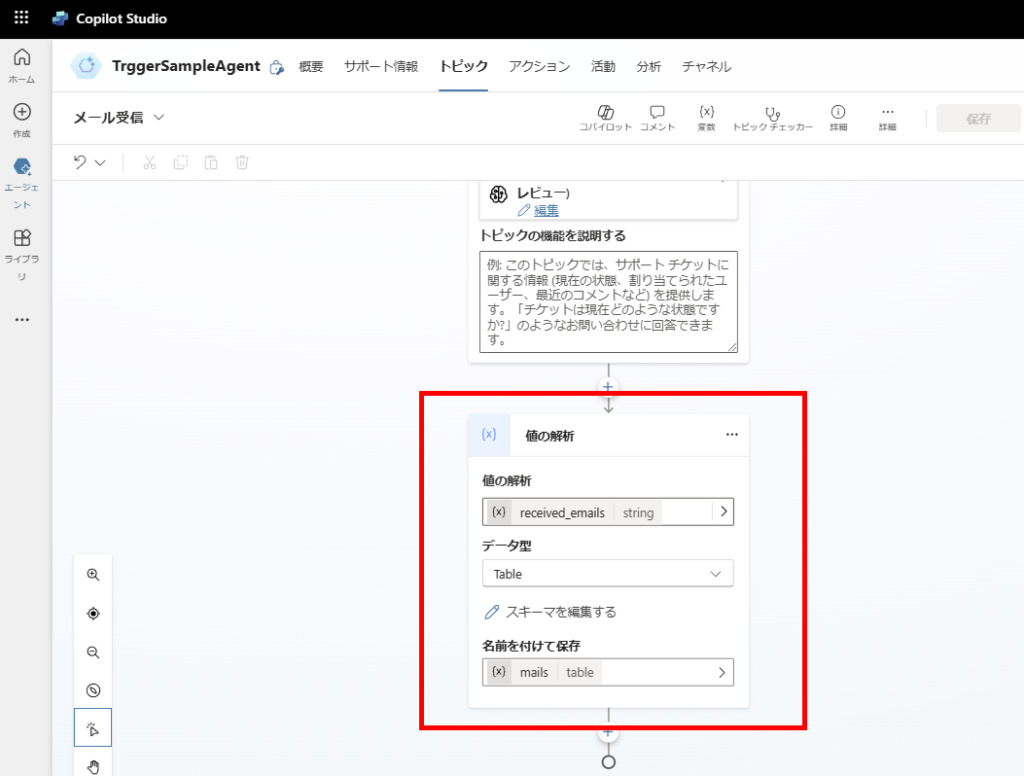
Next, use the [Parse value] node to prepare the string passed from Power Automate to be handled as a JSON object.
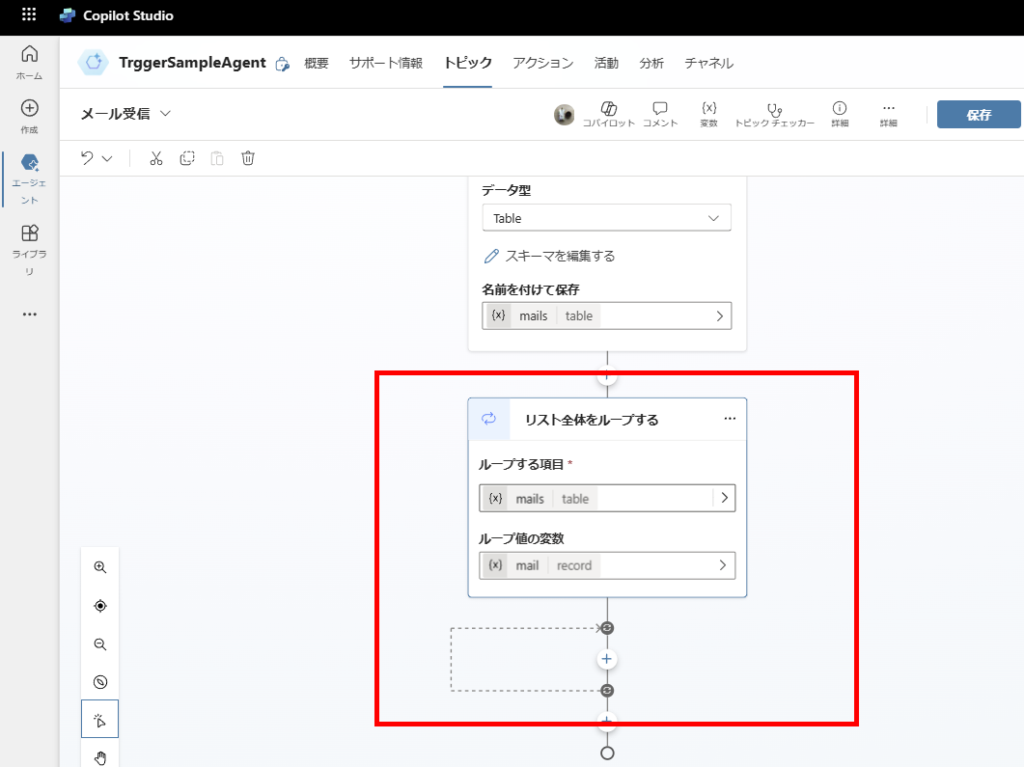
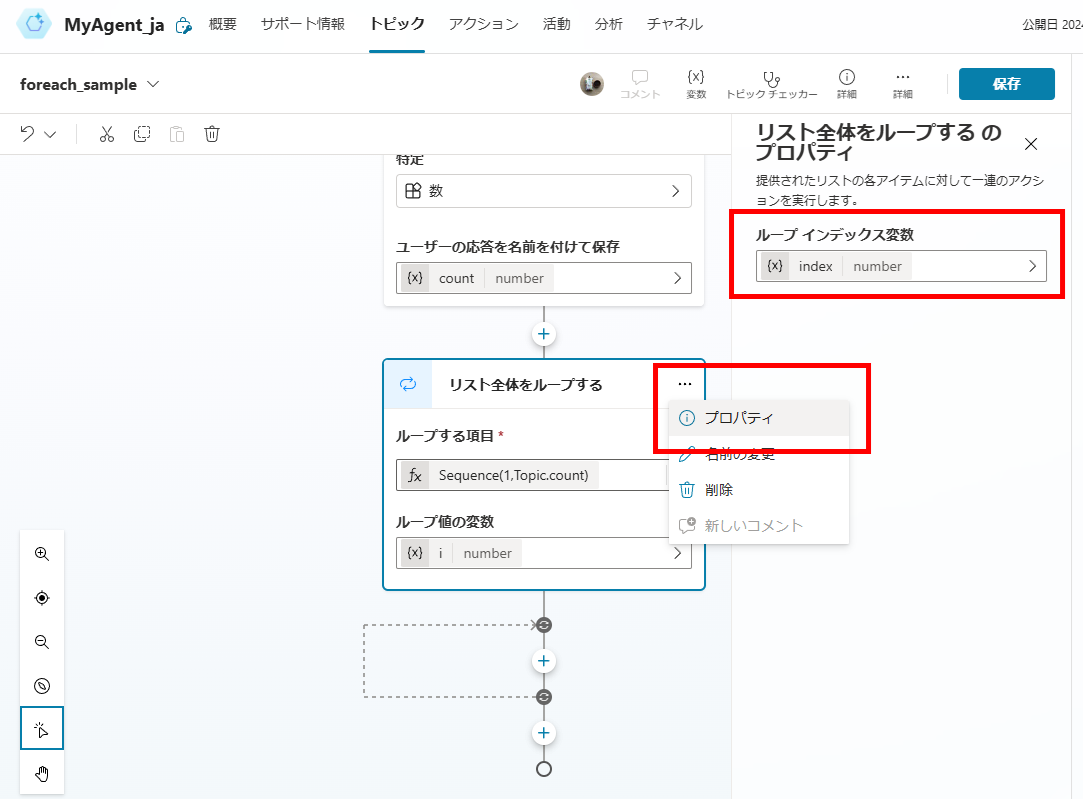
Since the email receipt trigger can pass multiple received emails, add a Foreach to process all of these emails.
Finally, send a message within the loop notifying about the received email,
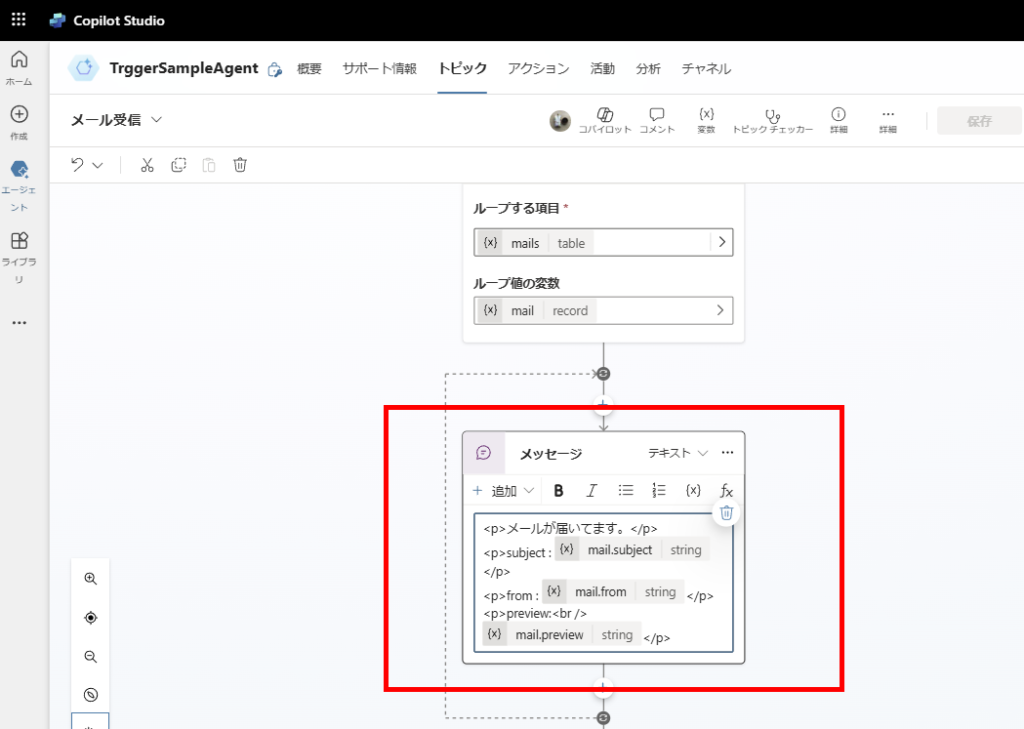
And ask if a reply should be sent to complete the implementation.
Testing
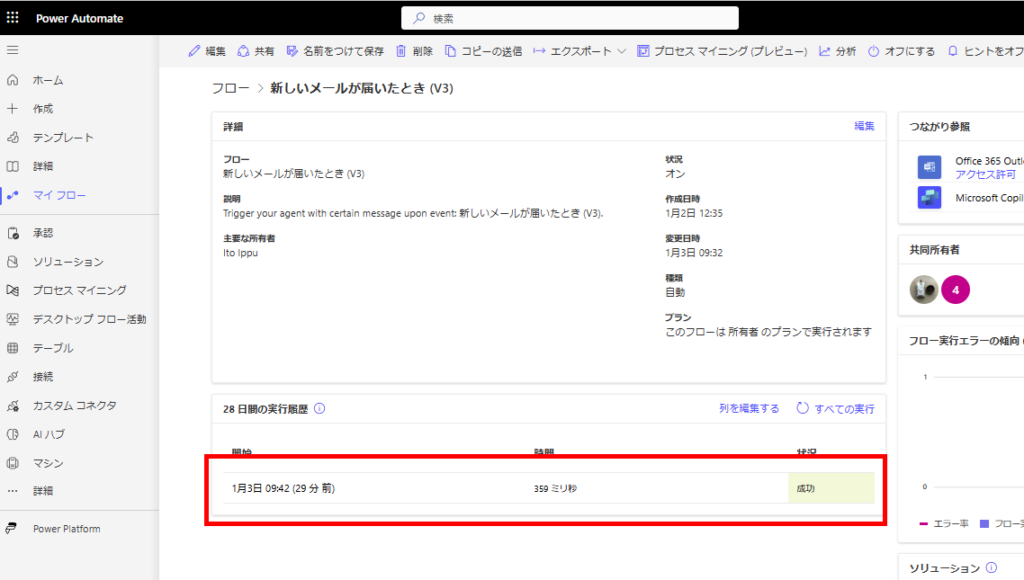
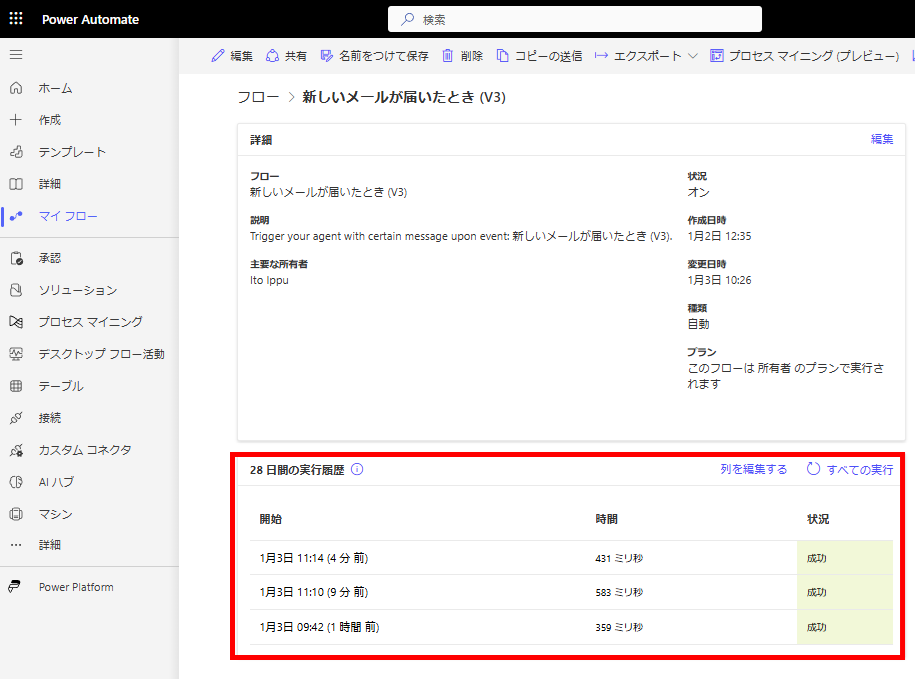
To test the functionality, you need to run the Power Automate flow once beforehand.
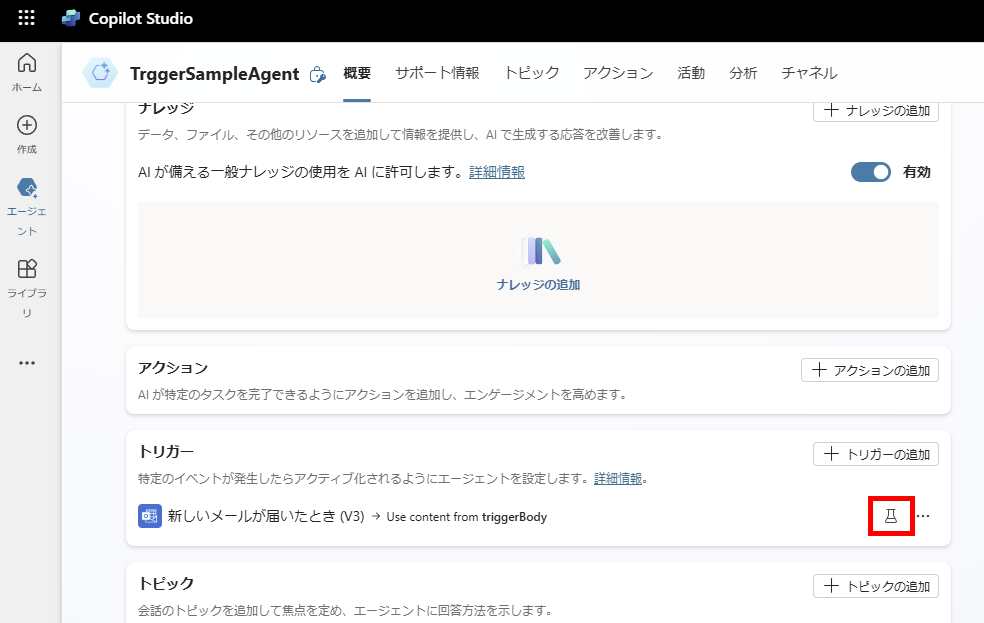
Return to the [Overview] page and click the test trigger icon,
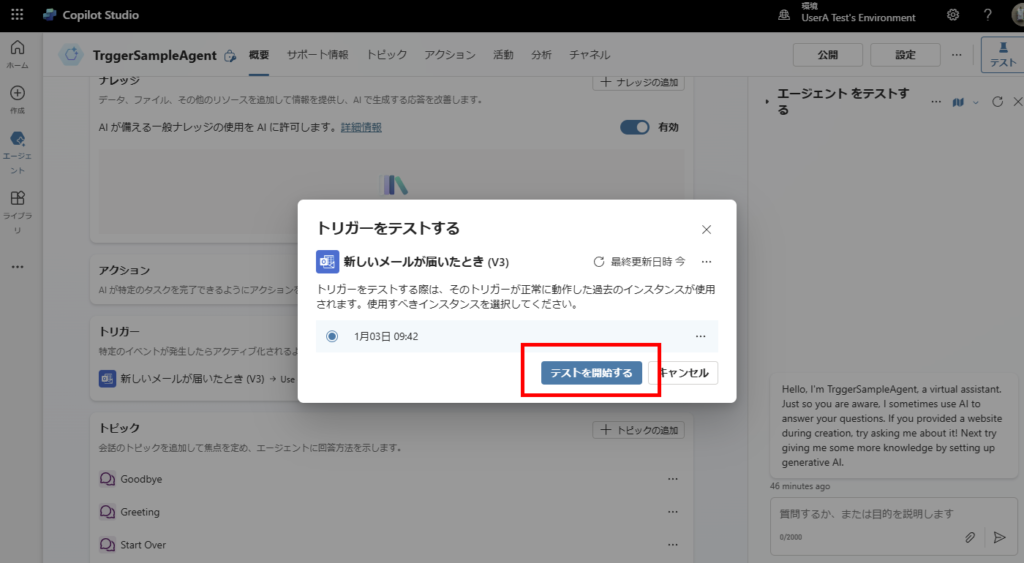
Select the execution history of the Power Automate flow we just ran, and click [Start test].
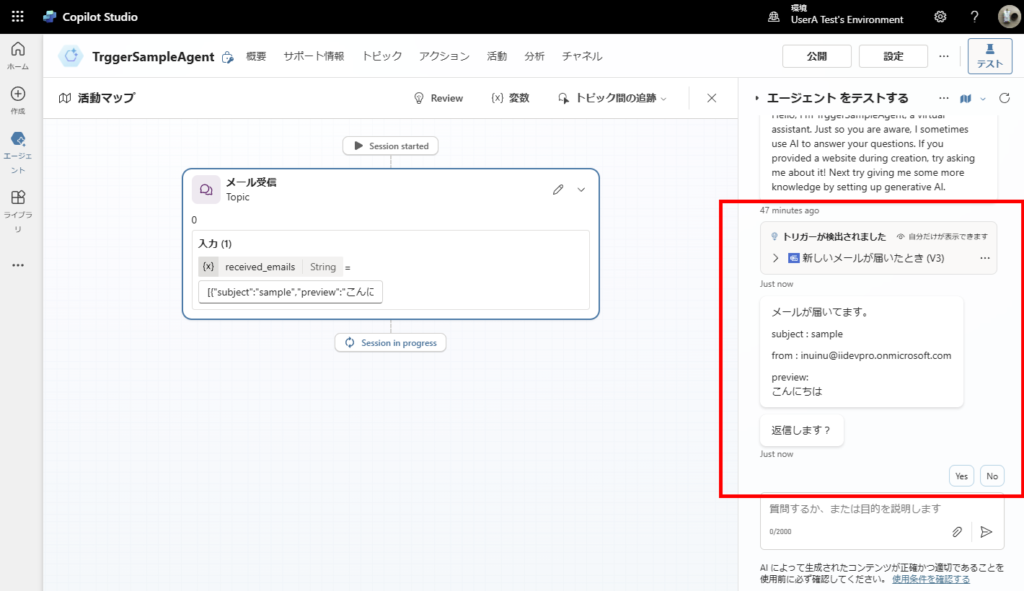
A debug message indicating the trigger has activated will be displayed, followed by the “Email summary” and “Do you want to reply?” messages we created in the topic.
When you click Yes, the left side of the condition branch is executed.
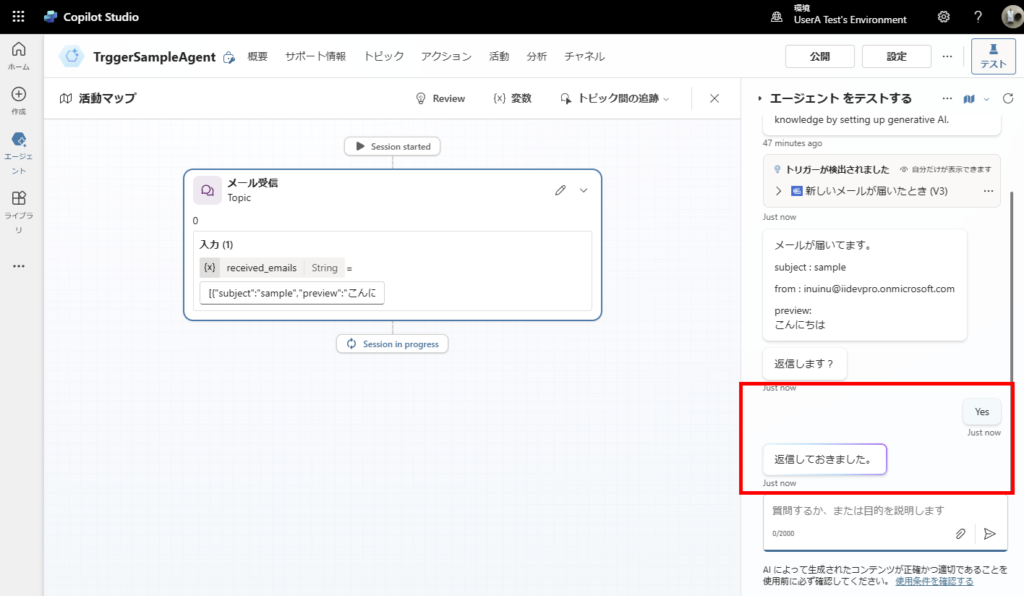
Now you just need to add a Power Automate action to send a reply before the “I’ve replied” message is sent, and you’ll have an agent that automatically replies to emails (in theory).
Of course, receiving this message for every email would be annoying, so you’d need to use AI Builder or another AI service to determine in advance “whether a reply might be necessary.”
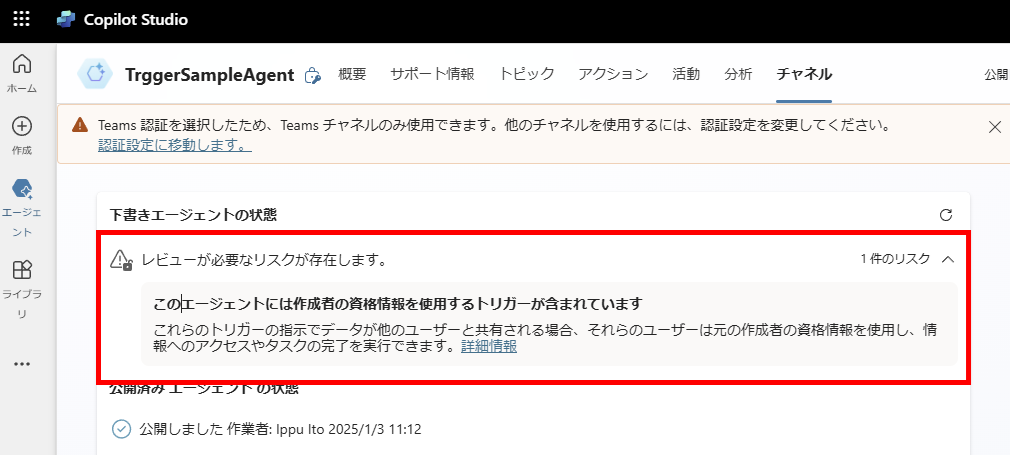
Issue 1: Creator’s Connection is Used
There’s an important caution: with this implementation, it seems that Outlook is accessed using the “creator’s” connection. This means if you share it with other users, they might potentially see your emails.
I’m still exploring methods for deploying this to other users.
Issue 2: Not Working When Executed in Teams
I tried triggering it several times after deploying to Teams,
But for some reason, it’s not working…
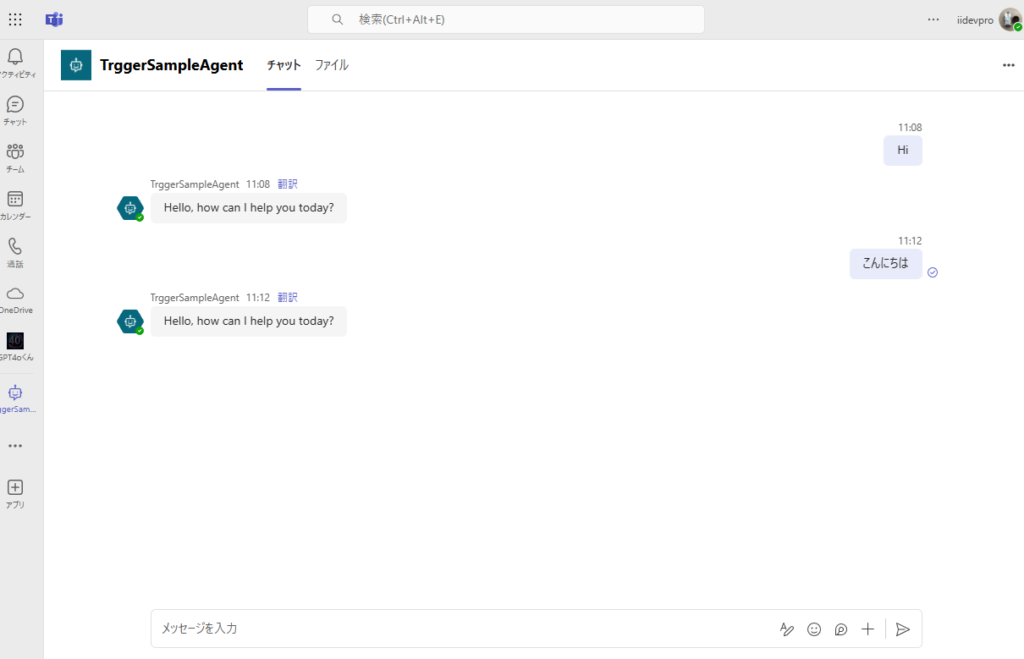
I’m currently investigating this issue as well.
Bonus: There Are Limitations on Knowledge Sources Referenced by Event Triggers
When activated by event triggers, agents may not be able to access the following knowledge sources:
- SharePoint
- Dataverse
- Graph connectors
- AI Builder prompts
Related Articles

コメント