Today, I’ll share my findings on how to properly set values in SharePoint’s “Person or Group” columns – a common challenge I recently faced and solved.
Objective
This guide focuses on setting values in SharePoint lists containing “Person or Group” columns, as shown in the example below:
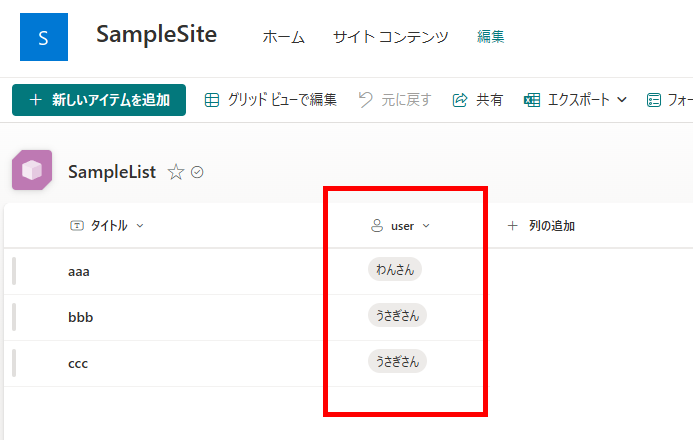
While it’s straightforward to set these values using SharePoint forms, I’ll demonstrate how to accomplish this programmatically using the Patch function in Power Apps.
Adding New Items
To add a new item to the list, use the Patch function as shown below:
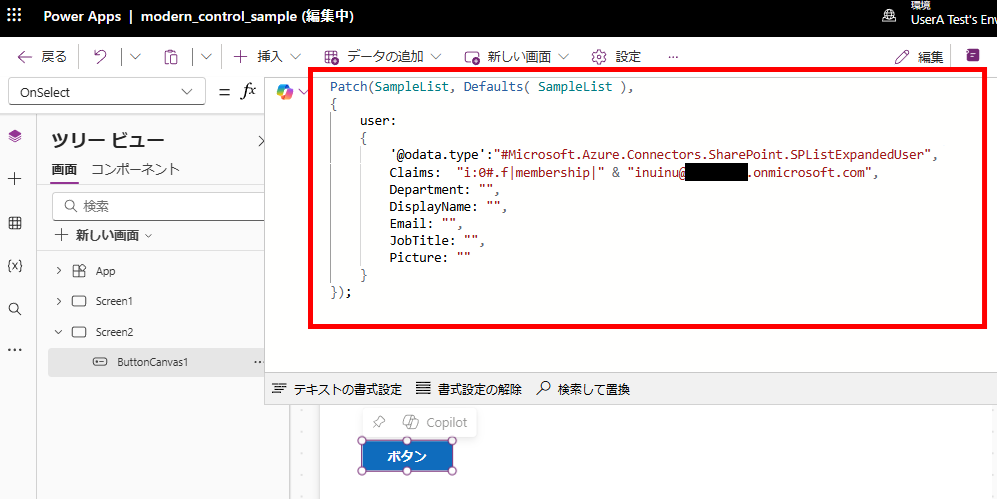
Replace [List Name], [Column Name], and [Target User Email Address] with your specific values. Note: While Department and DisplayName fields are required, their values don’t affect the outcome.
Patch(
    [List Name], Defaults([List Name]),
    {
       [Column Name]: {
           '@odata.type':"#Microsoft.Azure.Connectors.SharePoint.SPListExpandedUser",
           Claims: "i:0#.f|membership|" & "[Target User Email Address]",
           Department: "",
           DisplayName: "",
           Email: "",
           JobTitle: "",
           Picture: ""
    }
});
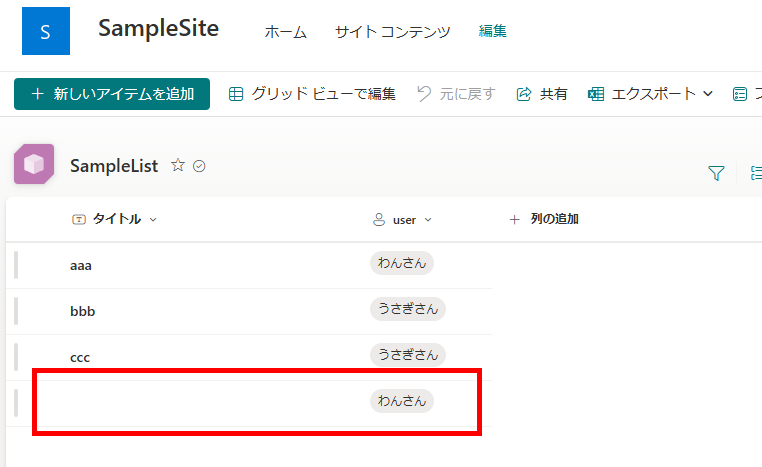
When this formula is executed, the user will be added to the list.
Editing Items
When editing an existing item, instead of using the Defaults function in the second argument, specify the target list item obtained through functions like LookUp, First, or Last.

Replace [List Name], [Target List Item], [Column Name], and [Target User Email Address] with your specific values.
Patch(
    [List Name],
    [Target List Item],
    {
        [Column Name]: {
            '@odata.type': "#Microsoft.Azure.Connectors.SharePoint.SPListExpandedUser",
            Claims: "i:0#.f|membership|" & "[Target User Email Address]",
            Department: "",
            DisplayName: "",
            Email: "",
            JobTitle: "",
            Picture: ""
    }
});
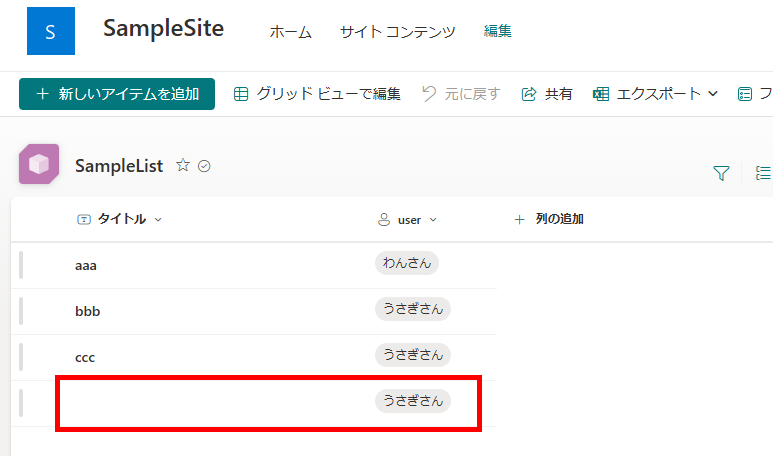
When this formula is executed, the value will change from “Inu-san” (Mr./Ms. Dog) to “Usagi-san” (Mr./Ms. Rabbit).
コメント