Power AppsからPower Automateに値を渡す方法を聞かれる機会があったので、ここにまとめ。
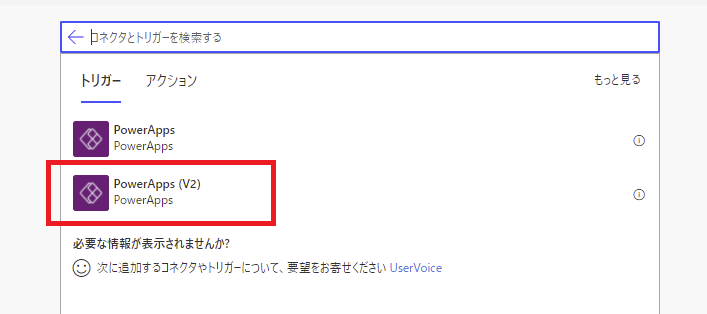
いつのまにかPower Apps(V2)トリガーができていたので、今回はそっちを使ってみる。
Power Apps V2トリガーを使った基本的な引数の渡し方
今回使用するのがこちらのPower Apps(V2)トリガー
Power Automate側で引数を受け取る準備
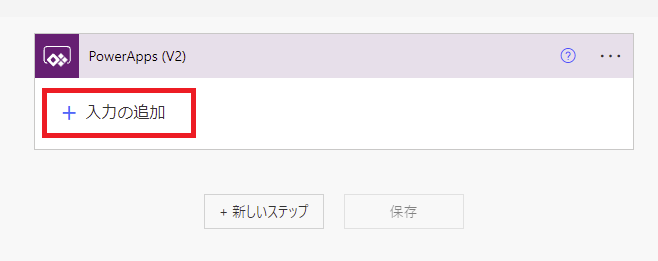
トリガーを配置するとこんな感じで「入力の追加」が出てくるのでクリックして、
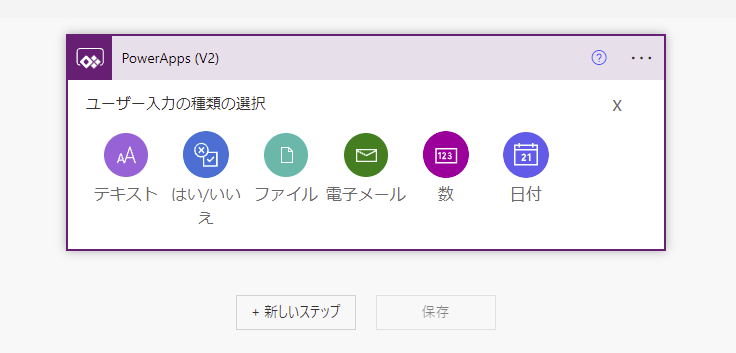
まずはPower Appsから渡す値(引数)のデータの型を選ぶ(今回の例ではテキスト)。
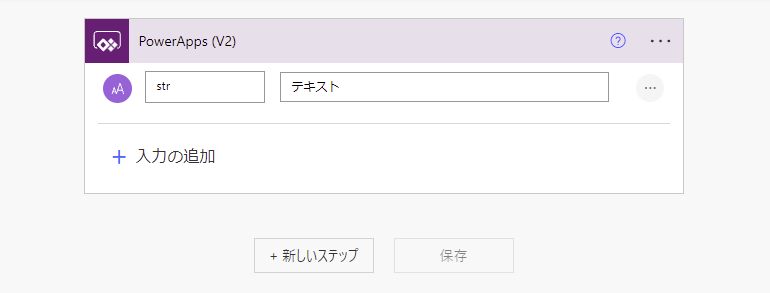
するとこんな感じのテキストボックスが表示されるので、左側に渡す値の変数名、右側にその説明を入力する。
今回は単純な例として渡された値を変数に入れる。
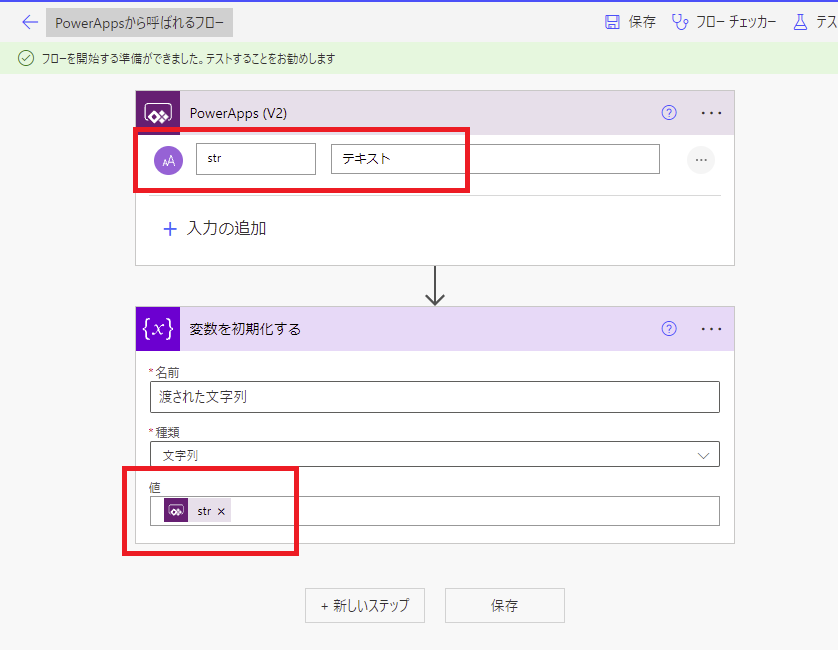
これでPower Automate側の準備は完了。
Power Apps側から引数を渡す
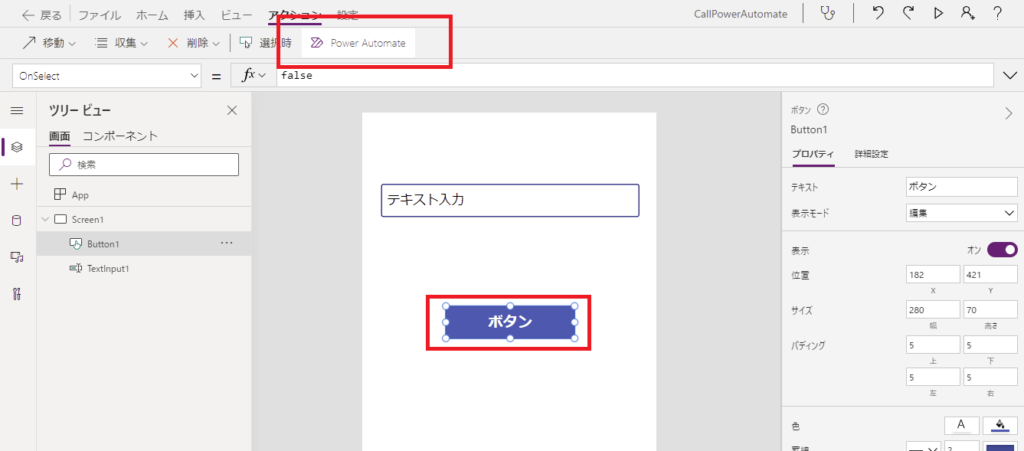
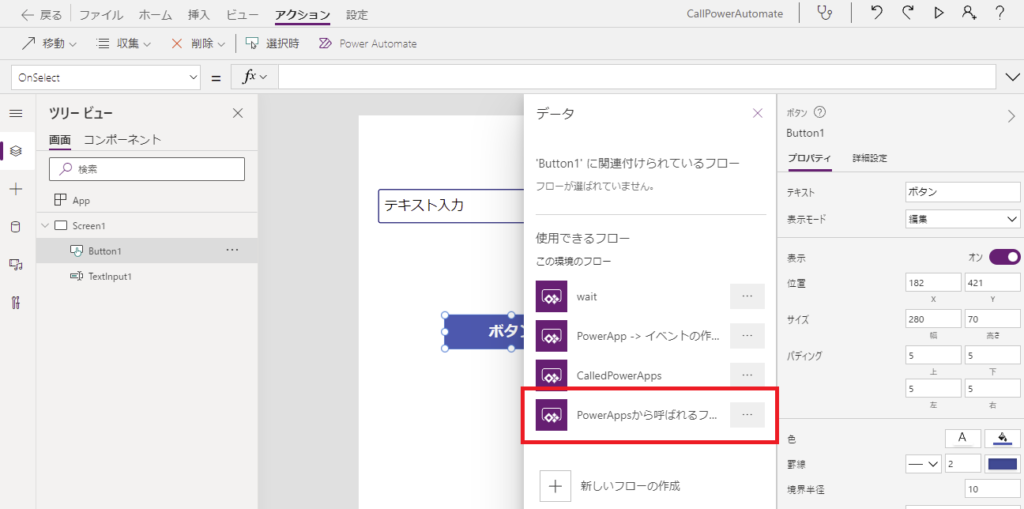
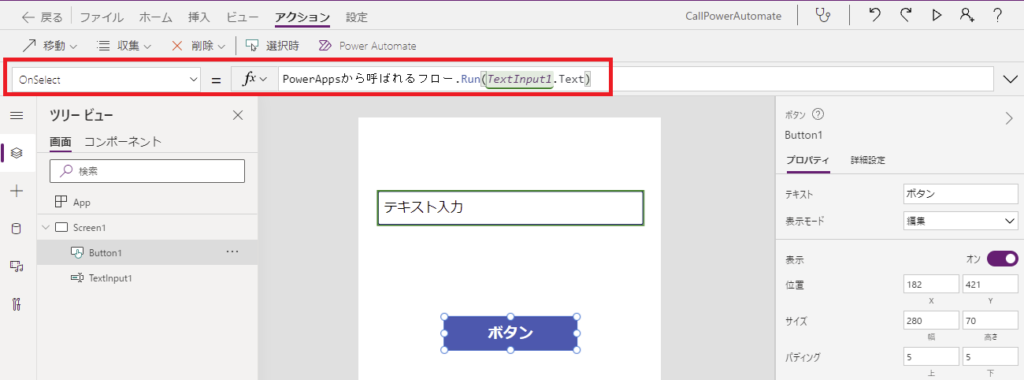
Power Apps側はこんな感じでテキストボックスとボタンを置いて、ボタンを選択して[Power Automate]メニューをクリック。
さっき作ったPower Automateを選ぶと、
こんな感じで引数(渡す値)を要求されるので、
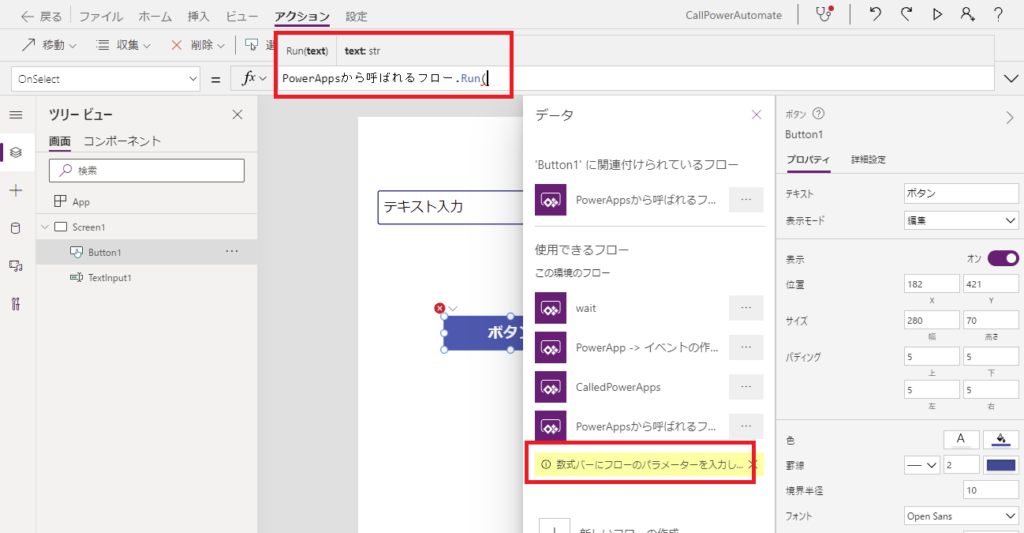
渡したい値(今回はテキストボックスの中身)を設定してあげる。
※渡す値はPower Automateが要求しているデータ型(今回はテキスト)と一致させる
※渡す値はPower Automateが要求しているデータ型(今回はテキスト)と一致させる
これでPower Apps側の準備も完了!
動かしてみる
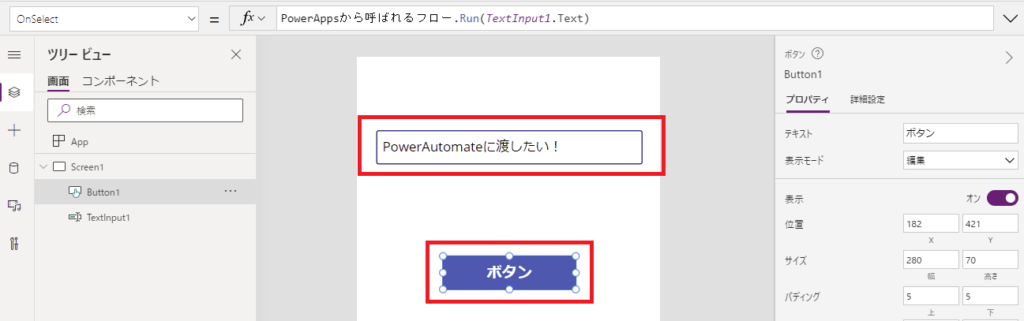
Power Apps側でこんな感じでテキストボックスに文字列を打ち込んで、ボタンを押す。
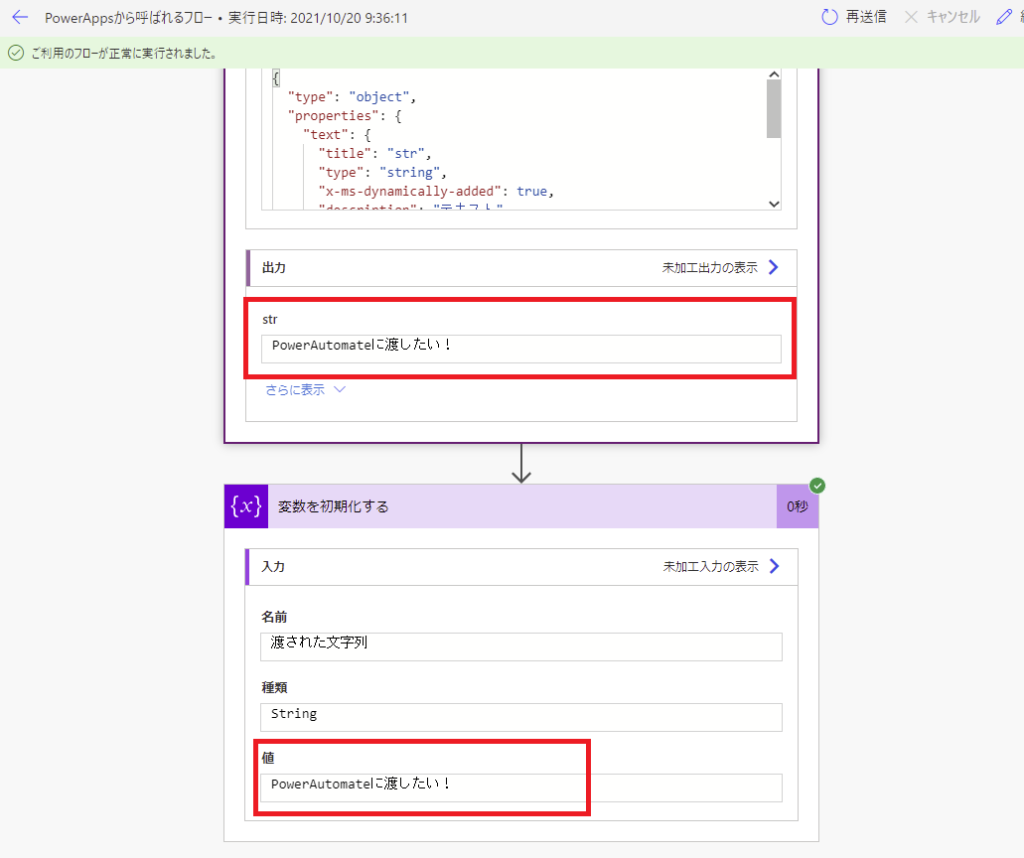
するとPower Automate側にこんな感じで値が渡ってきて、変数にそのテキストが入ってくれる。
こんな感じでPower Apps(V2)トリガーを使うと、Power Automateへ簡単に引数を渡せる!
具体例1:Power AppsからPower Automate経由でアダプティブカードを送信する
まずPower Automate側でテキスト型の引数「メール」と「メッセージ」を用意してあげて、それぞれをアダプティブカードの受信者とテキストの中に埋め込んであげる。

続いてPower Apps側でO365ユーザーコネクタのSearchUserV2の結果をギャラリーで表示して、ボタンのOnSelectでさっきのPower Automateをこんな感じで呼び出す。
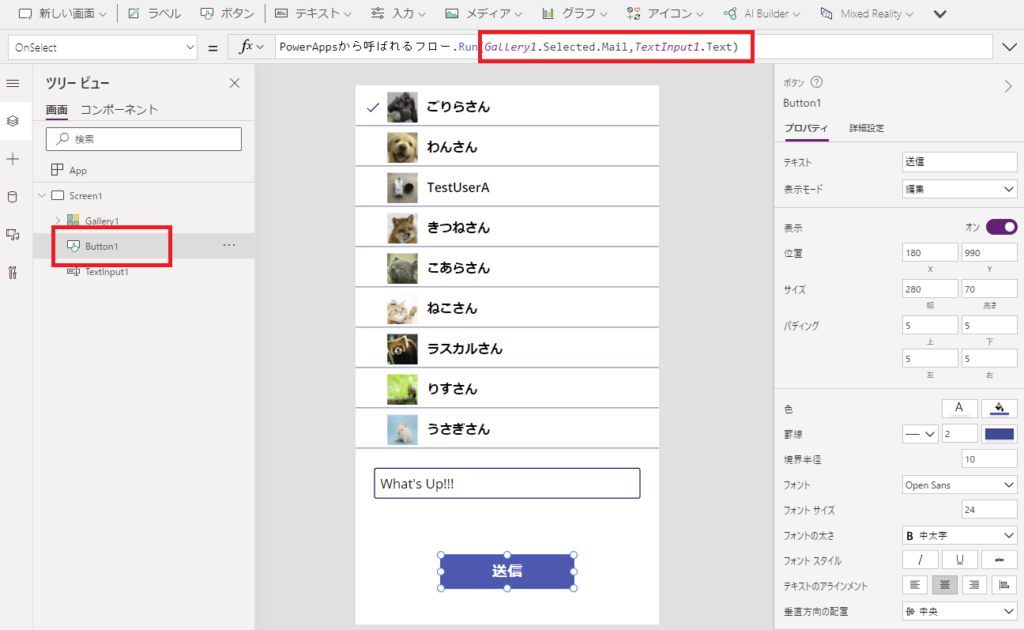
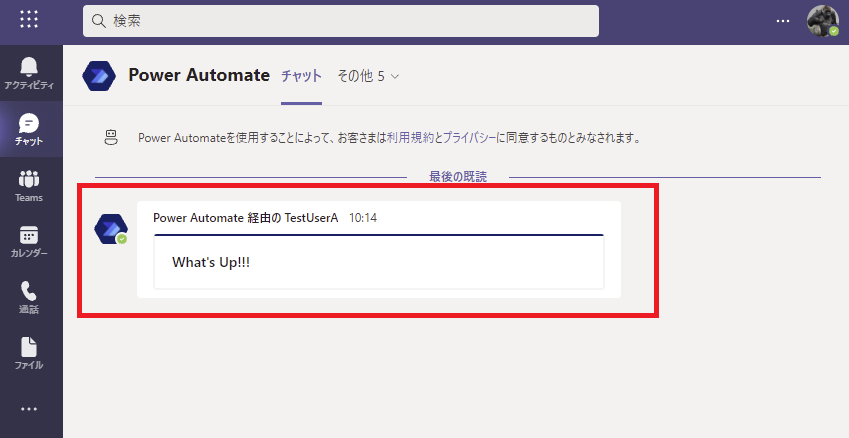
そしてPower Appsのボタンを押すと、選択しているユーザーに対しAdaptiveカードをPower Automate経由で送ることができる。
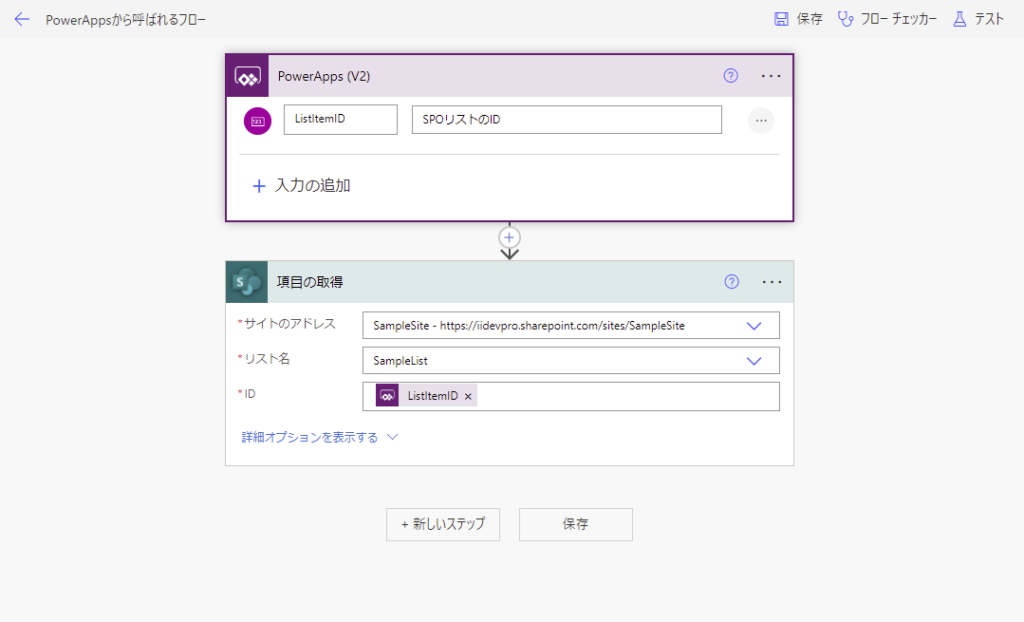
具体例2:Power Apps側で新規作成したSPOリストアイテムのIDをPower Automateへ渡す
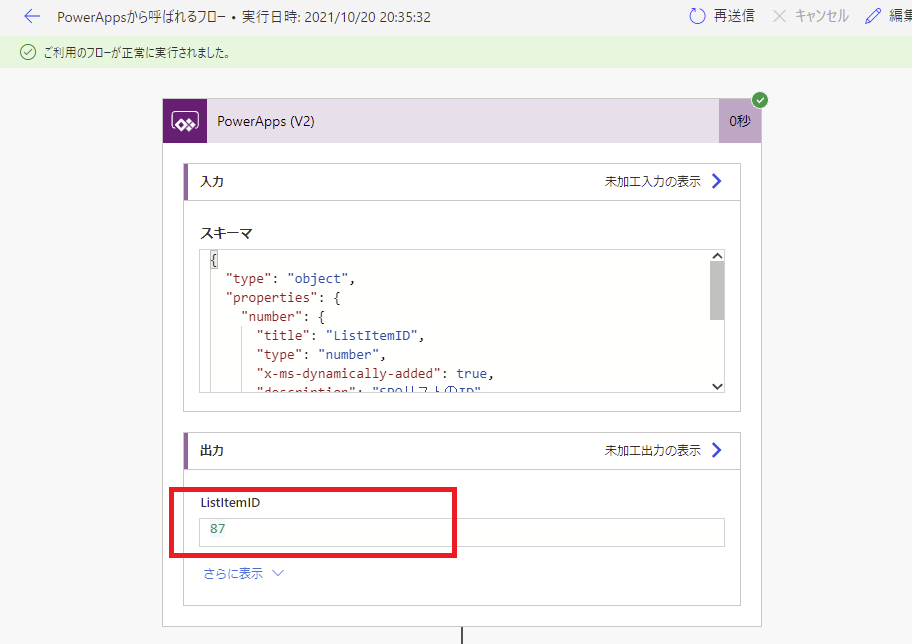
まずPower Automate側で数値型の引数を「ListItemID」という名前で用意してあげて、「項目の取得」アクションへ設定する。
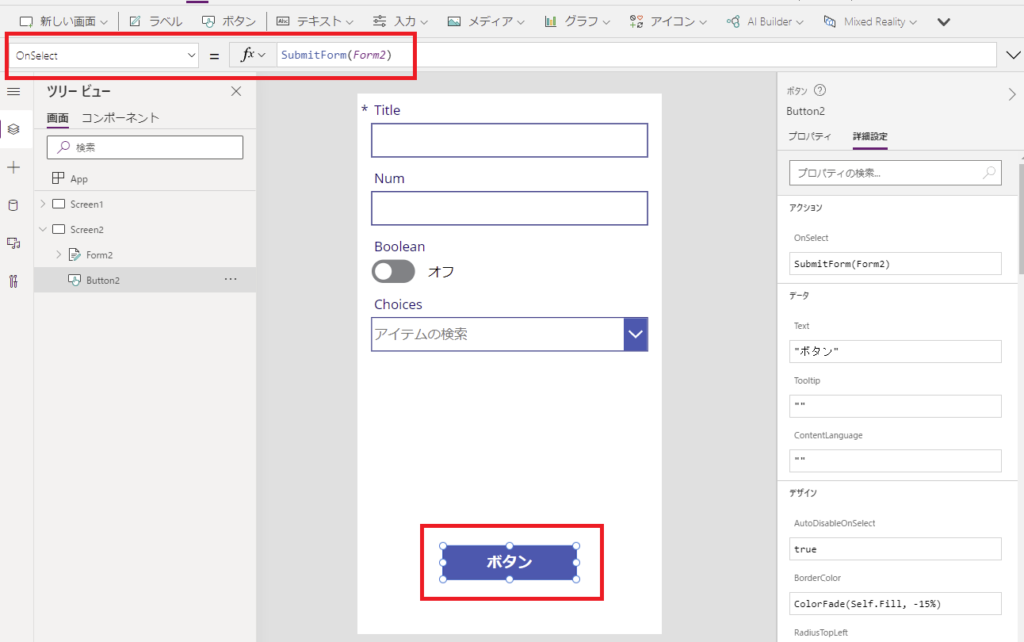
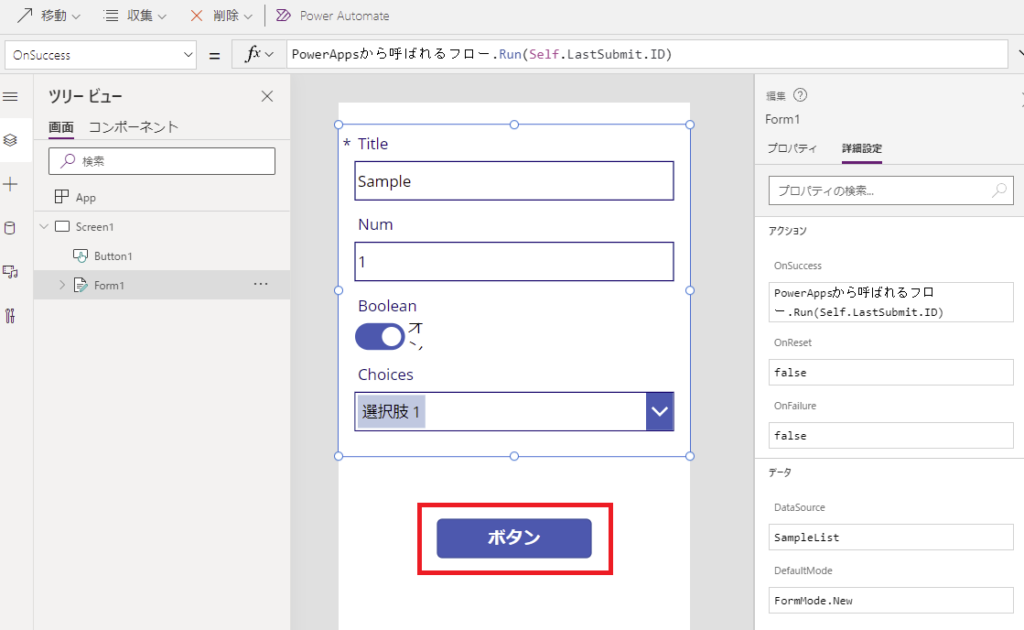
そしたらPower Apps側でフォームとボタンを用意してあげて、ボタンにSubmit関数を設定し、
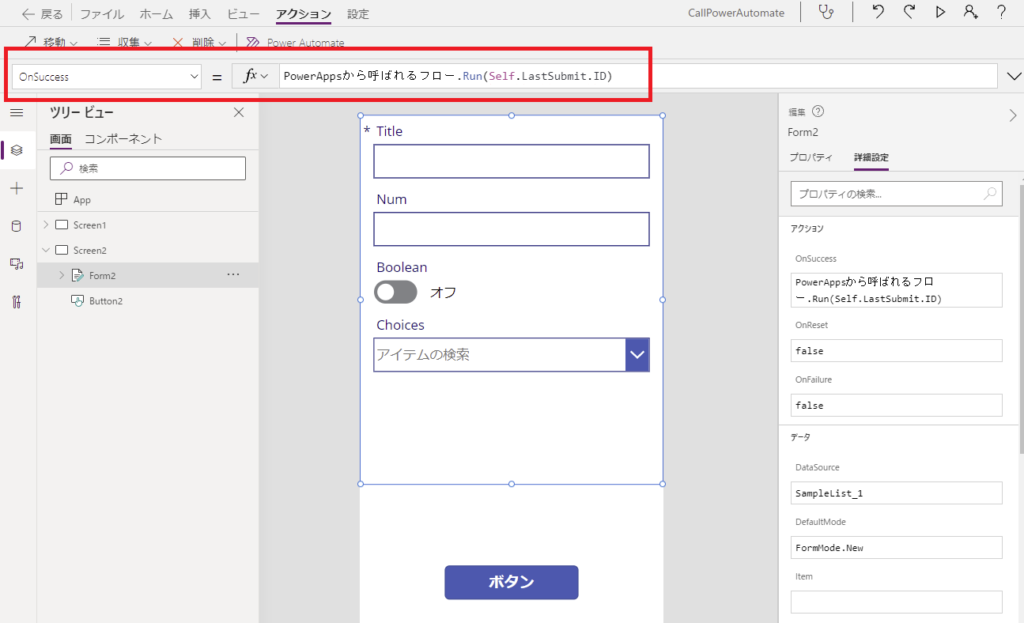
フォームのOnSuccessでPower Automateを呼び出し、引数にフォーム(Self)のLastSubmitプロパティのID値を渡してあげる。
そしたら適当な値を入力してボタンを押すと、
Power Automate側に無事IDが渡って、
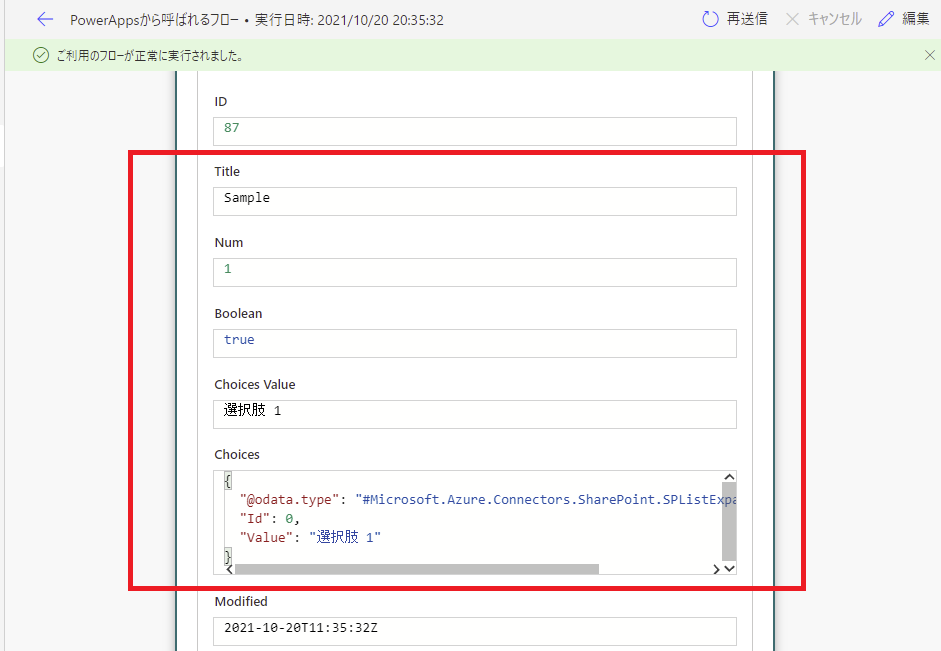
追加したSPOリストのアイテムが取得できる。
コメント