Power AutomateのHTTP要求を受信した際のトリガーで、「テナント内のユーザーのみ(Any user in my tenant)」を設定した際に、他のフローからこのフローを呼ぶ方法がわからなかったので、調査。
やりたいこと
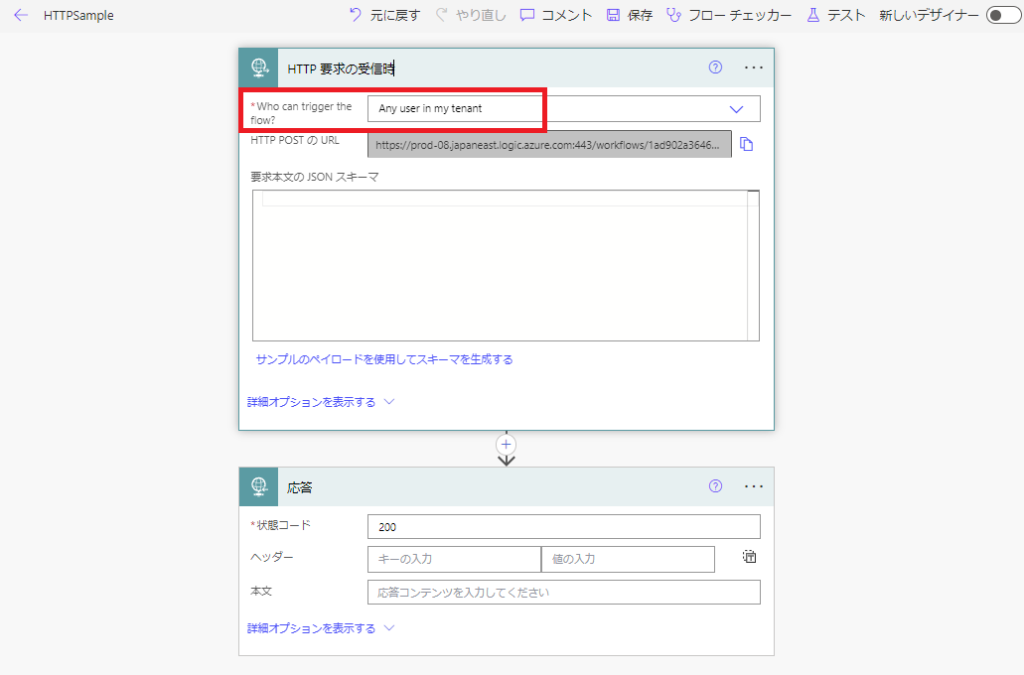
HTTP要求の受信時トリガーを[Any user in my tenant]で作成し、
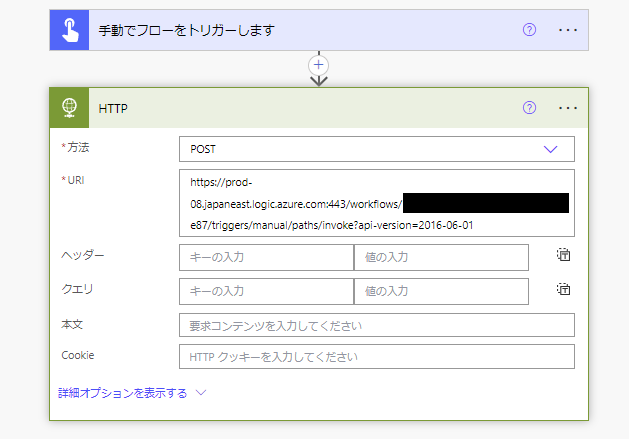
これを他のフローから普通に呼び出そうとすると、
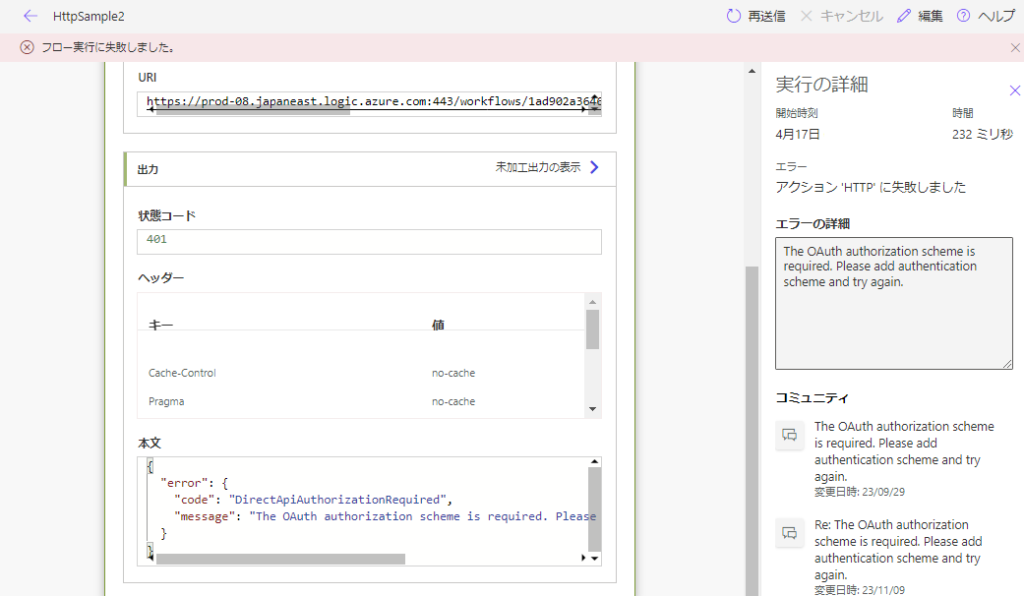
こんな感じでエラーになる。
これを自分のテナントからのフローであれば呼び出せるようにしたい。
方法1:Entra IDのアクション「HTTP 要求を呼び出します」を使用
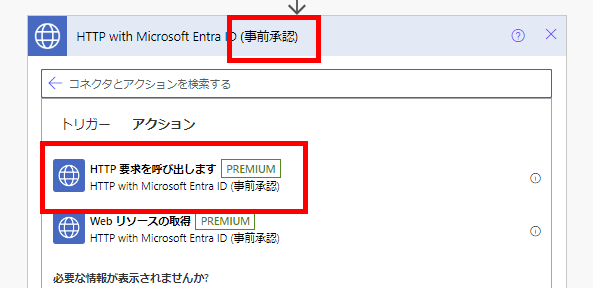
一つ目方法はEntra IDの「HTTP要求を呼び出します」アクションを使用する。
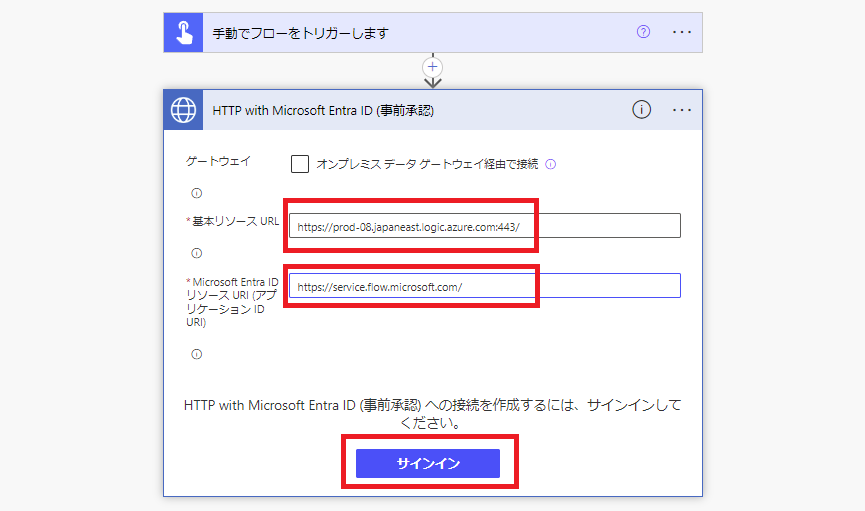
Entra IDのアクションの中から(事前承認)がついたアクションを選択して、
画像のように接続を作成。
基本リソースURL:HTTP要求受信時トリガーのURLの先頭
Entra IDリソースURI:https://service.flow.microsoft.com/
基本リソースURL:HTTP要求受信時トリガーのURLの先頭
Entra IDリソースURI:https://service.flow.microsoft.com/
※「接続の作成」が出ない場合は別の用途でEntra IDへの接続を作成している可能性があるので、「新しい接続の追加」から接続を作成する。

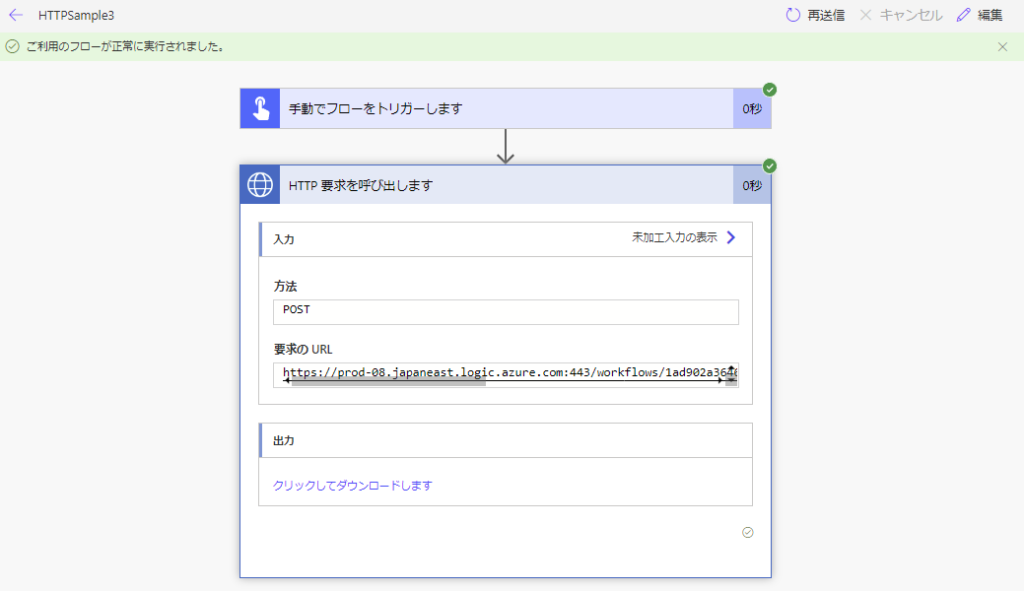
接続の作成に成功したら、[要求のURL]に受信トリガーのURLを設定してフローを実行すれば、
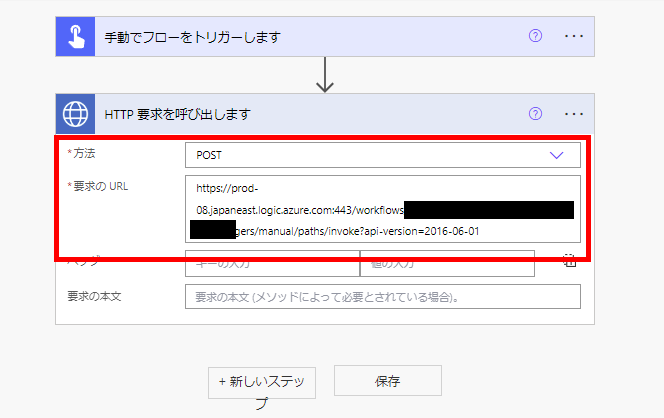
無事呼び出しは成功する。
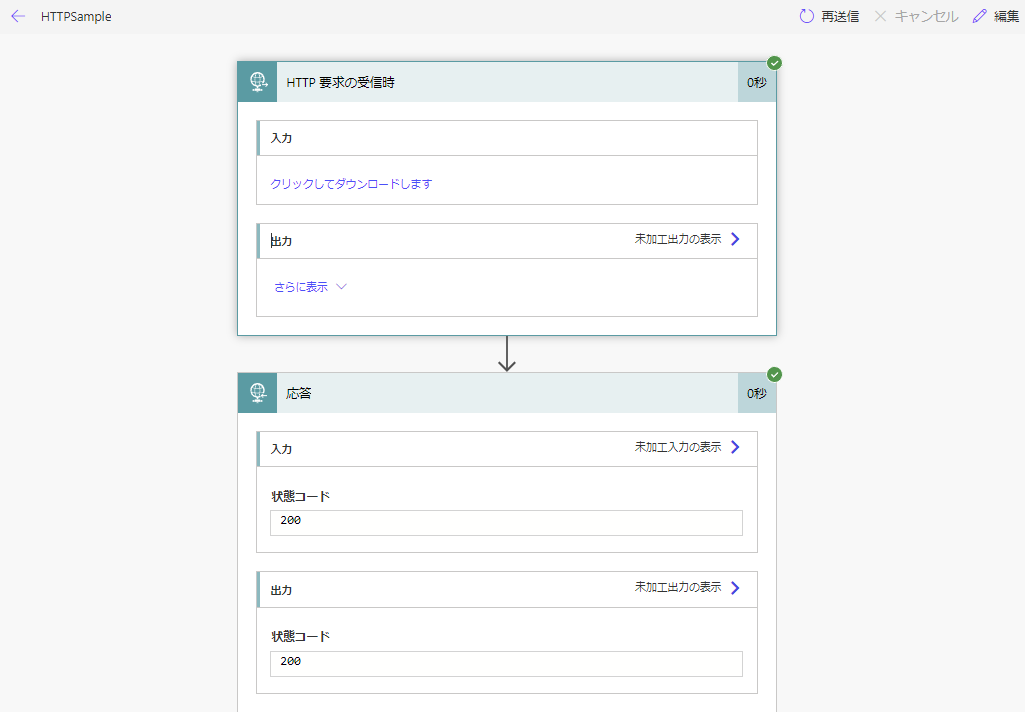
呼び出される側でも呼び出し成功を確認。
方法2:HTTPアクションを使用する
HTTPアクションを使用する場合は、事前にEntra IDへのアプリ登録が必要。
事前準備:Entra IDへのアプリ登録
まずはAzure EntraIDへアクセスし、
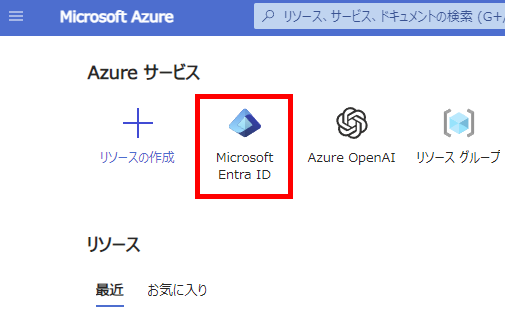
[アプリの登録]の[新規登録]をクリックして、
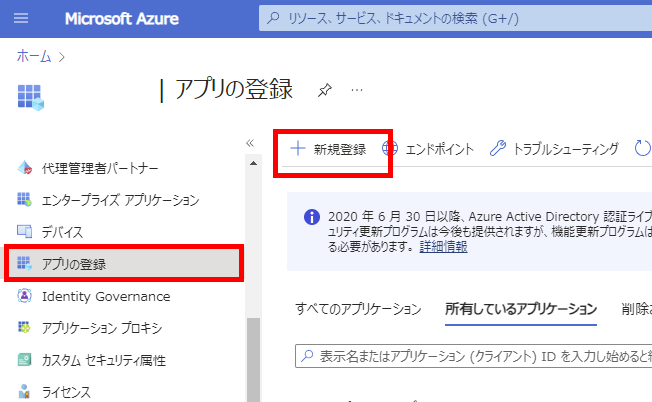
任意の名前でアプリを登録する。

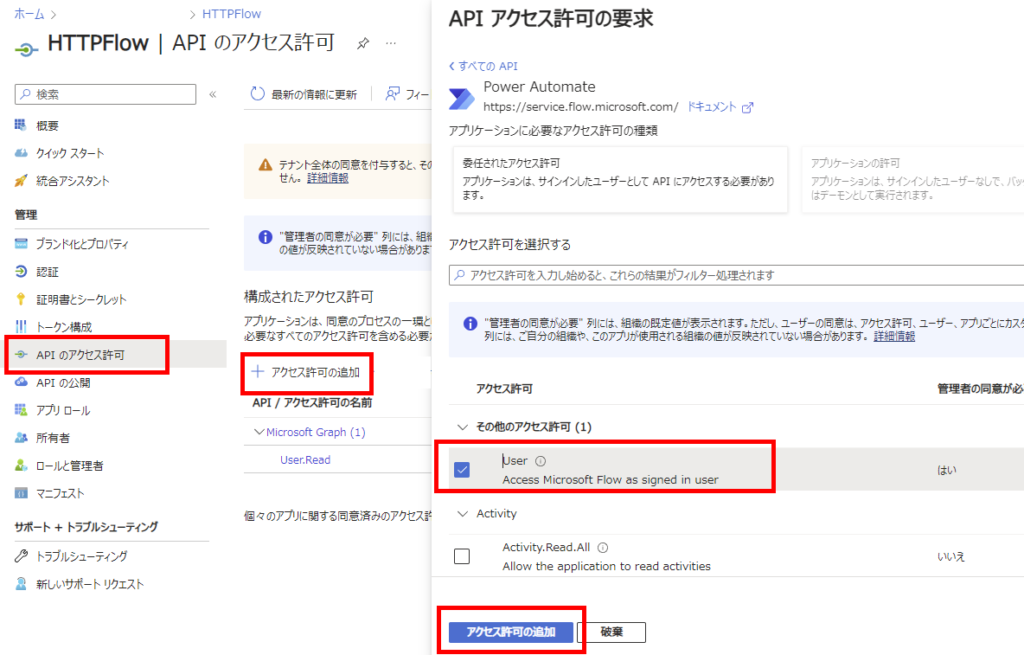
そしたら[APIのアクセス許可]→「アクセス許可の追加]から、[User]へのアクセス許可を追加する。
最後に[証明書とシークレット]から[新しいクライアントシークレット]を追加して、
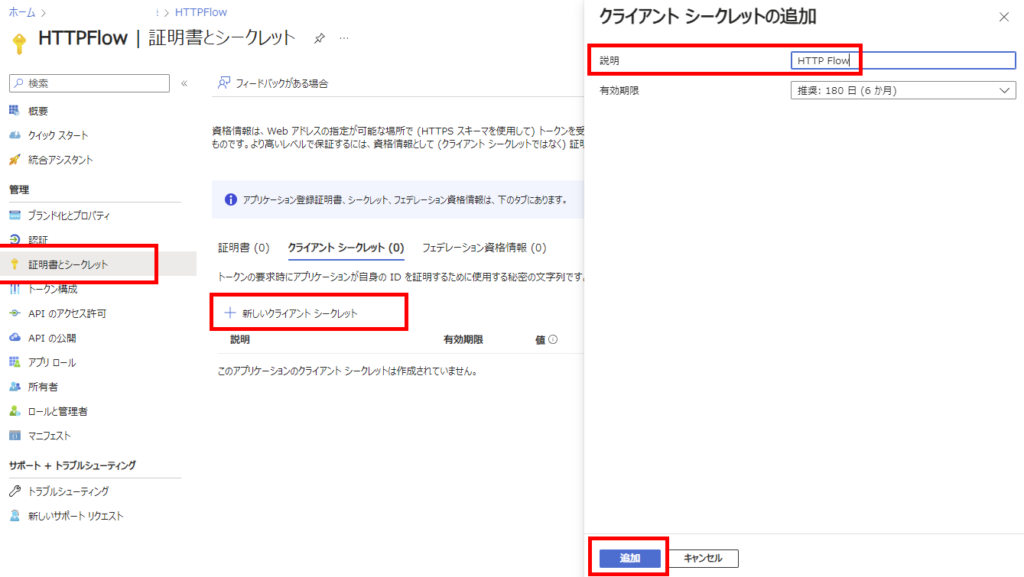
クライアントシークレットの値と、
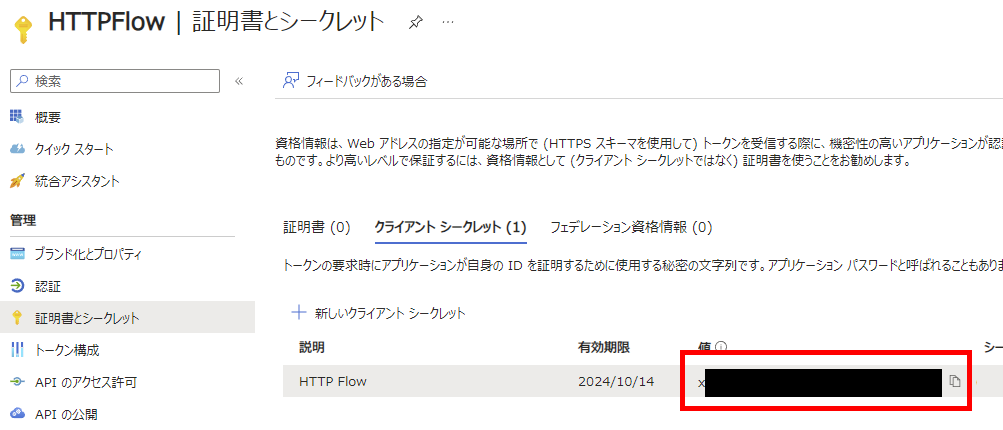
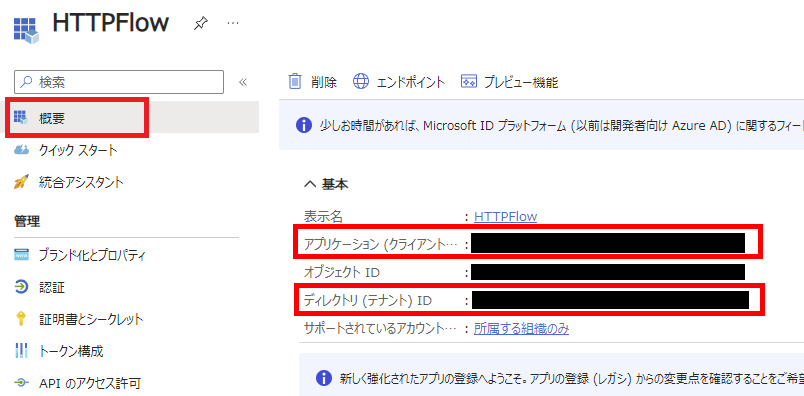
クライアントIDとテナントIDを控えれば準備完了。
HTTPアクションからの呼び出し
Entra IDへの登録が完了したら、HTTPアクションにそれぞれの値を設定して呼び出してあげれば、
※対象ユーザーは「https://service.flow.microsoft.com/」
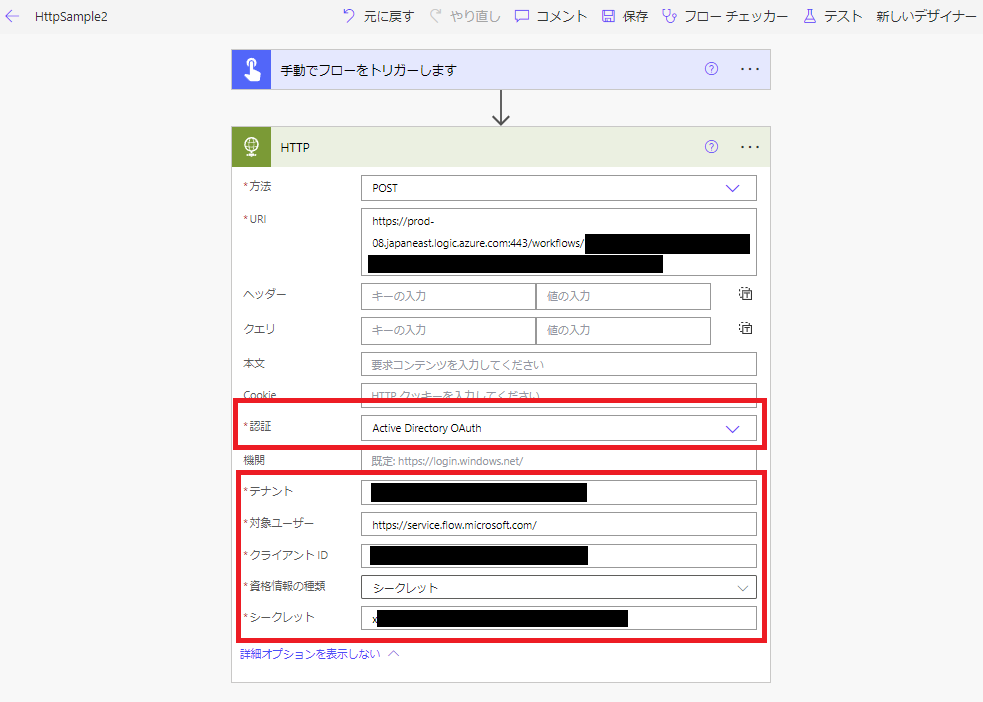
※対象ユーザーは「https://service.flow.microsoft.com/」
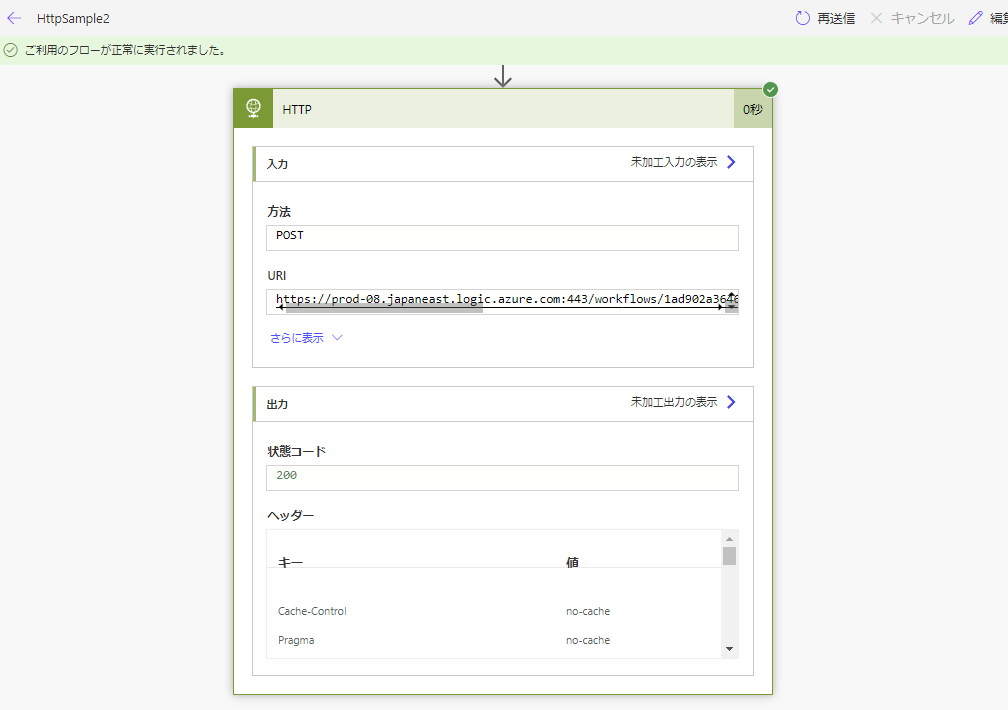
無事に呼び出しが成功する。

コメント