プレミアムライセンスが必要なため、あまり使われない印象のWordコネクタのアクションたち。
今回たまたまこのWordアクションを使用する機会があったので、使い方などをメモ。
Word Onlineコネクタと各アクション
現在、Word Onlineコネクタに用意されているアクションはこちらの2つで、どちらも有償ライセンスが必要なアクションとなっている。
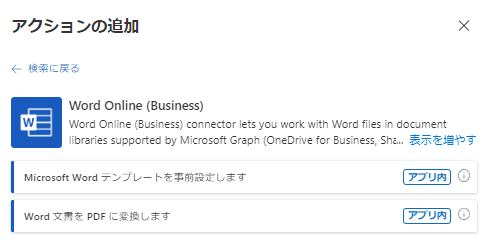
今回はこの2つのアクションを使用して、Power AutomateでWord形式の請求書を作成し、その請求書をPDFに変換してみる。
Wordデスクトップアプリでテンプレートファイルを作成
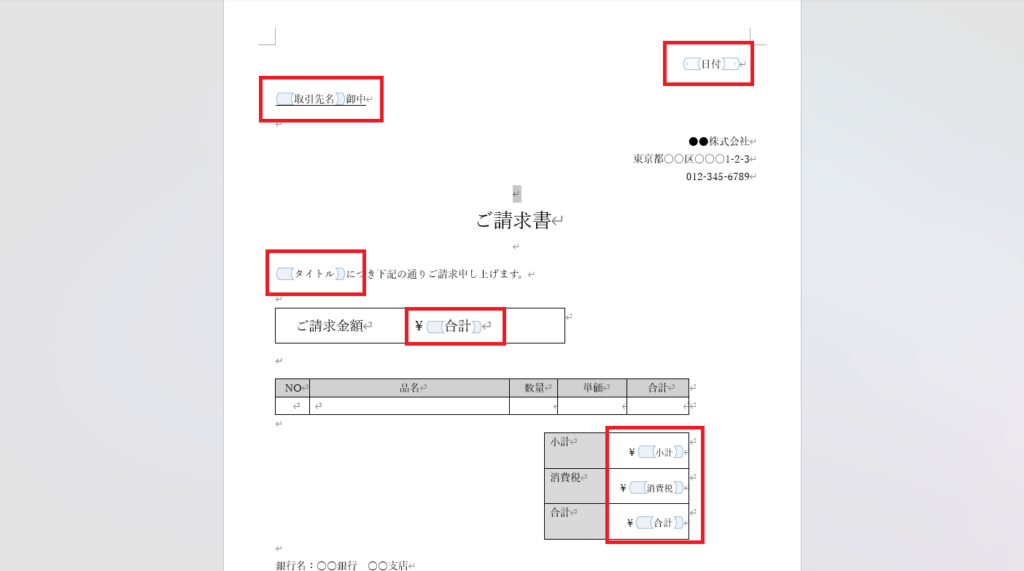
今回はこちらの請求書形式のWordファイルを使用して、テンプレートを作成していく。
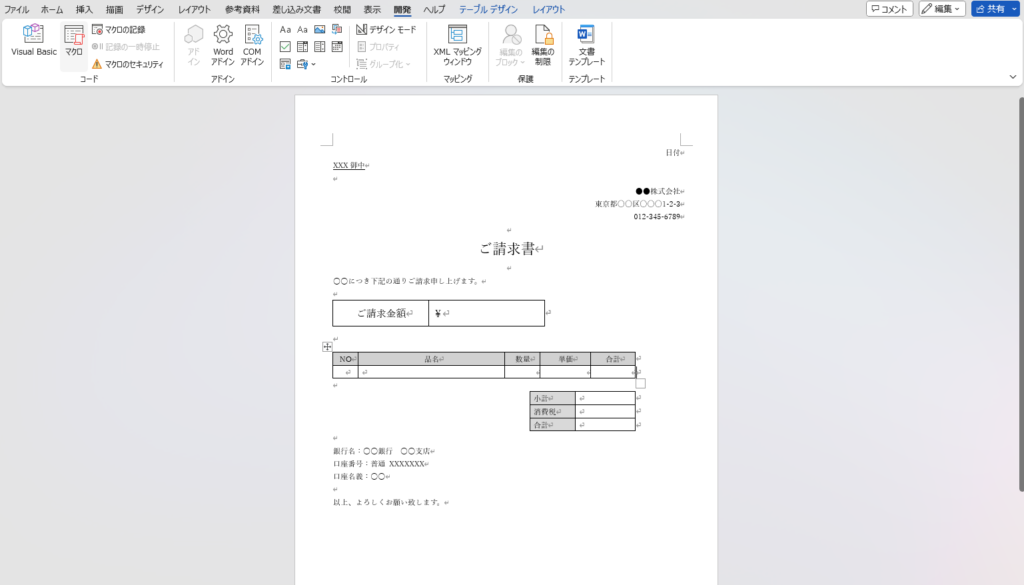
事前準備:Wordデスクトップアプリの[開発]タブを表示する
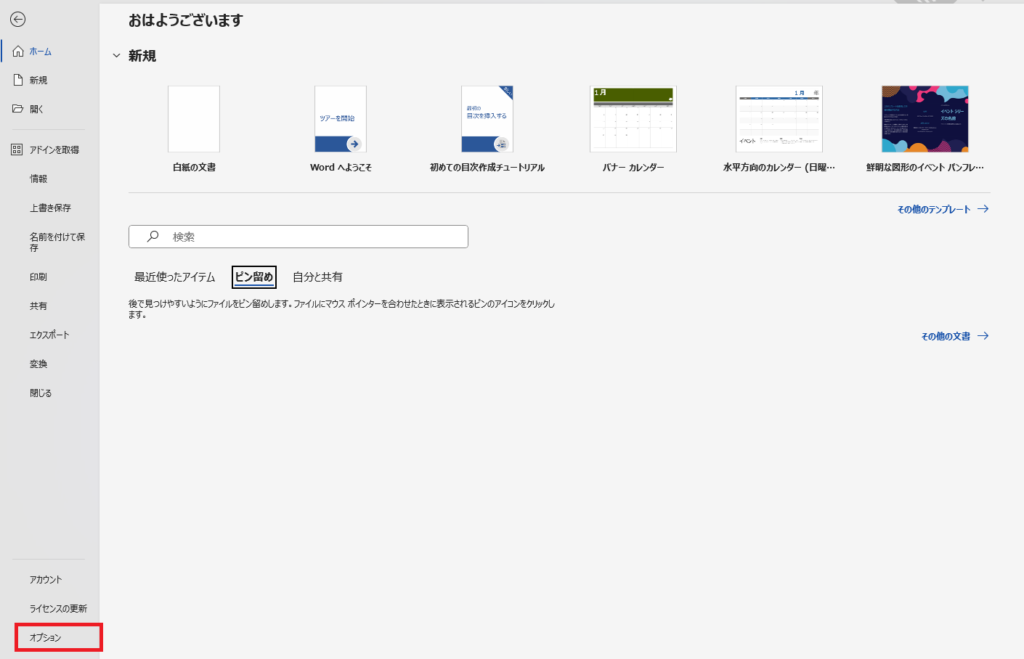
まずWordのデスクトップアプリを開いたら[ファイル]から[オプション]を選択して、
[リボンのユーザー設定]から[開発]にチェックを入れる。
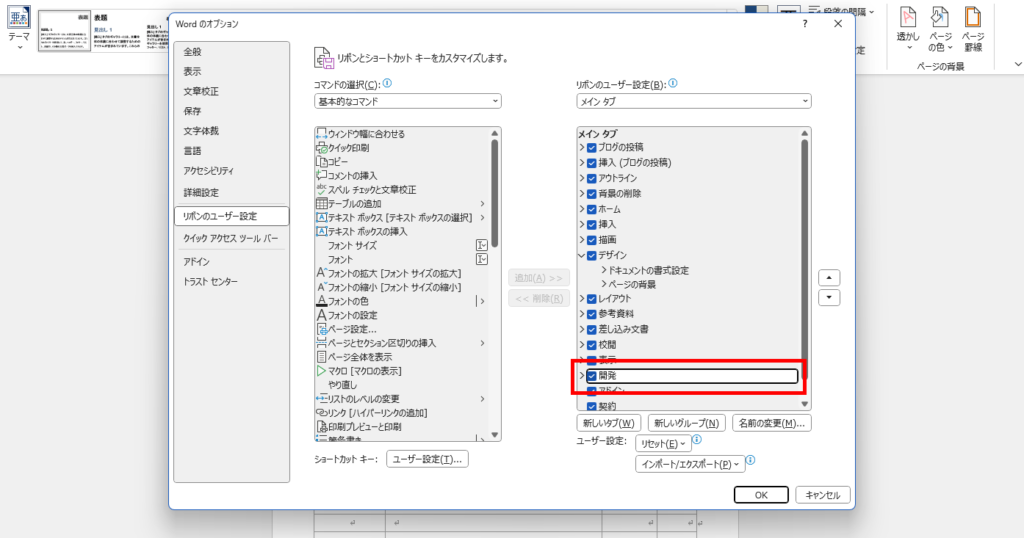
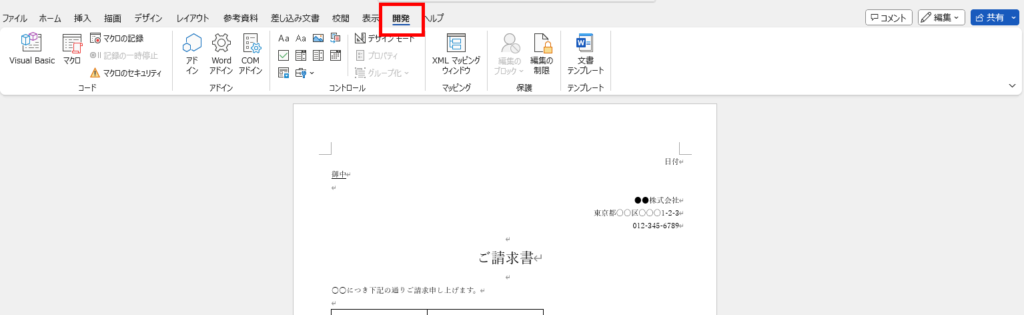
[開発]タブが表示されれば準備完了。
テキストを差し替える場所を設定
最初にテキストを差し替える場所(企業名とか合計金額とか)をWordテンプレートに設定していく。
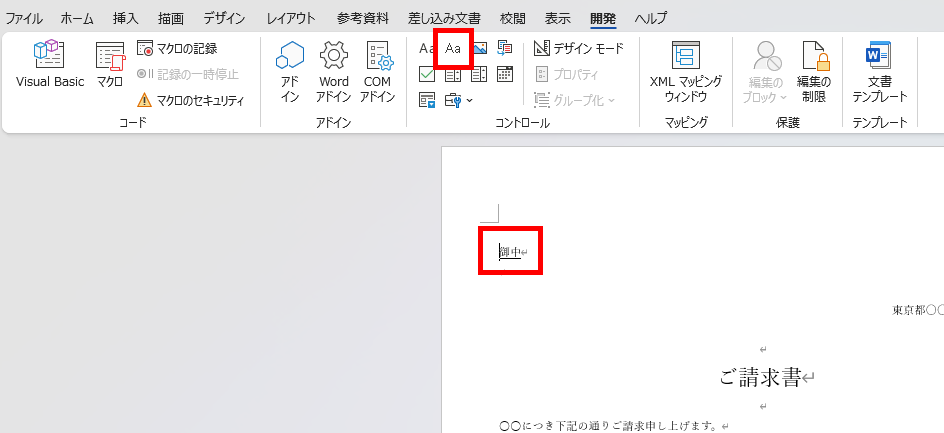
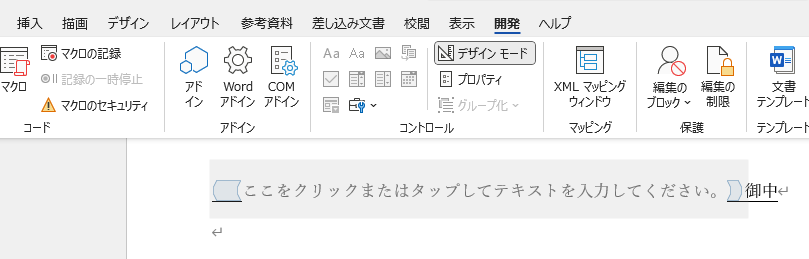
テキストを差し替えたい場所(画像では「企業名」)に移動して、[テキストコンテンツコントロール]を選択。
するとこんな表示になるので「ここをクリック~~」を削除して、
わかりやすい名前(今回は「取引先名」)を入力する。
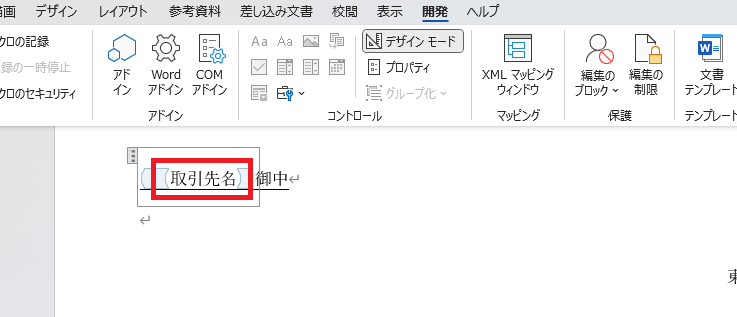
これを、テキストを差し替えたい文字列すべてに設定して、差し替え箇所の設定は完了。
動的に項目を追加する場所を設定
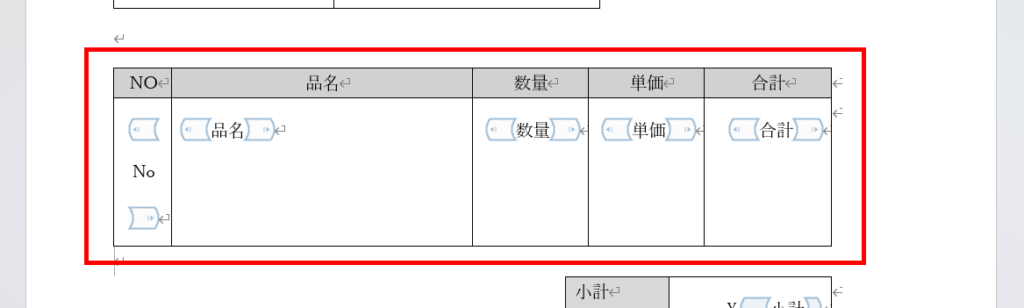
続いて動的に項目を追加する場所(今回は請求項目)を設定していく。
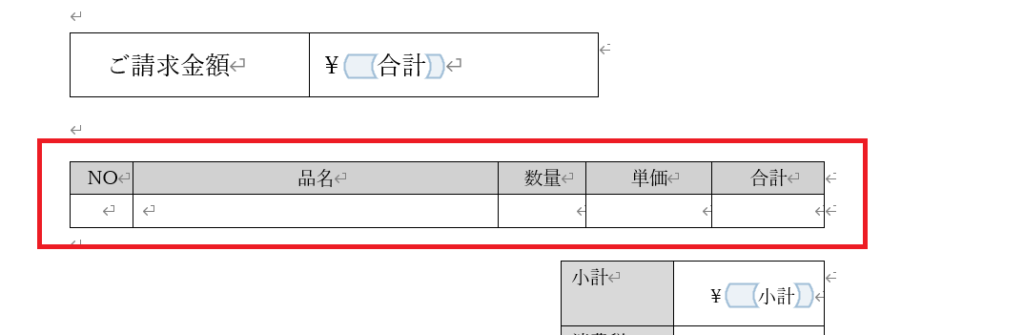
まずは先ほどと同様に、各セルに[テキストコンテンツコントロール]を設定する。
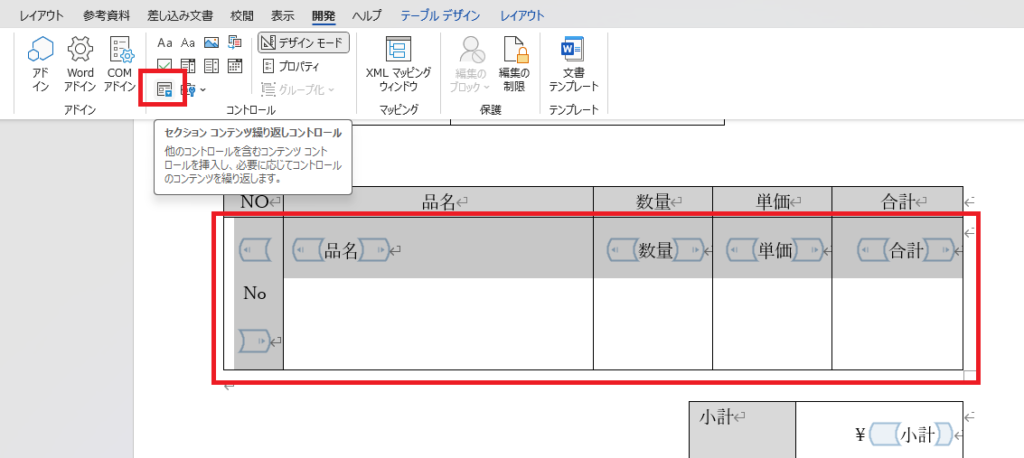
そしたら画像のように行を選択して、[セクション コンテンツ繰り返しコントロール]をクリック、
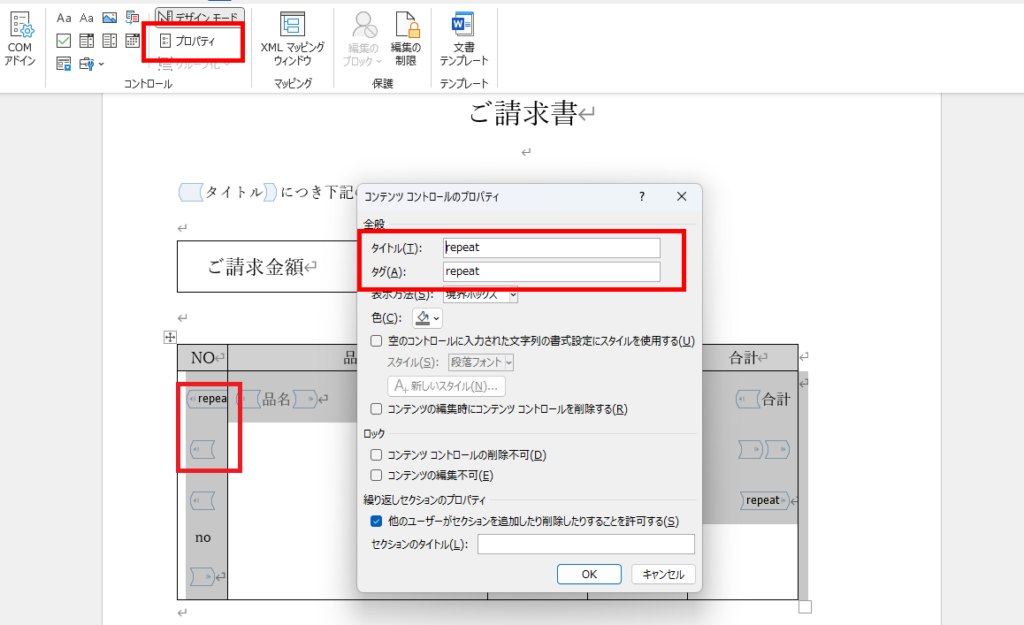
行全体が囲まれたら[プロパティ]を押して、任意のタイトルとタグを設定してOKを押す。
以上でWordテンプレートの作成は完了。
このWordのテンプレートファイルを使ってPower Automateで請求書を作成し、PDF化していく。
2024/3/30時点:
この[セクション コンテンツ繰り返しコントロール]を設定した後、中の[テキストコンテンツコントロール]を編集/削除すると、Power Automate実行時にできあがるWordコンテンツがおかしくなることがある。
この[セクション コンテンツ繰り返しコントロール]を設定した後、中の[テキストコンテンツコントロール]を編集/削除すると、Power Automate実行時にできあがるWordコンテンツがおかしくなることがある。
もし最後に生成されるWordコンテンツが乱れてしまった場合は、[セクション コンテンツ繰り返しコントロール]含め一度すべて削除した後に再作成するとうまくいく(こともある)。
Power Automateで請求書の作成
テキストの差し替え
まずは先ほどのテンプレートをクラウド上の任意の場所(今回はOneDrive)に保存して、[Microsoft Word テンプレートを事前設定します]でその場所を選択。
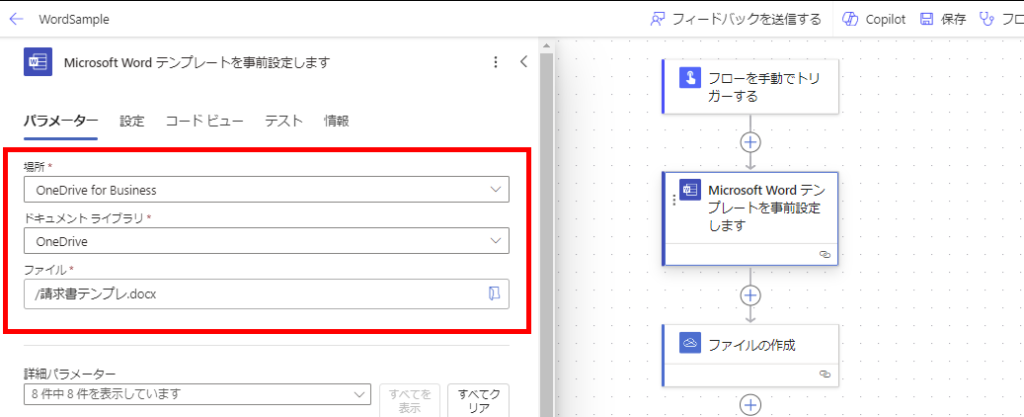
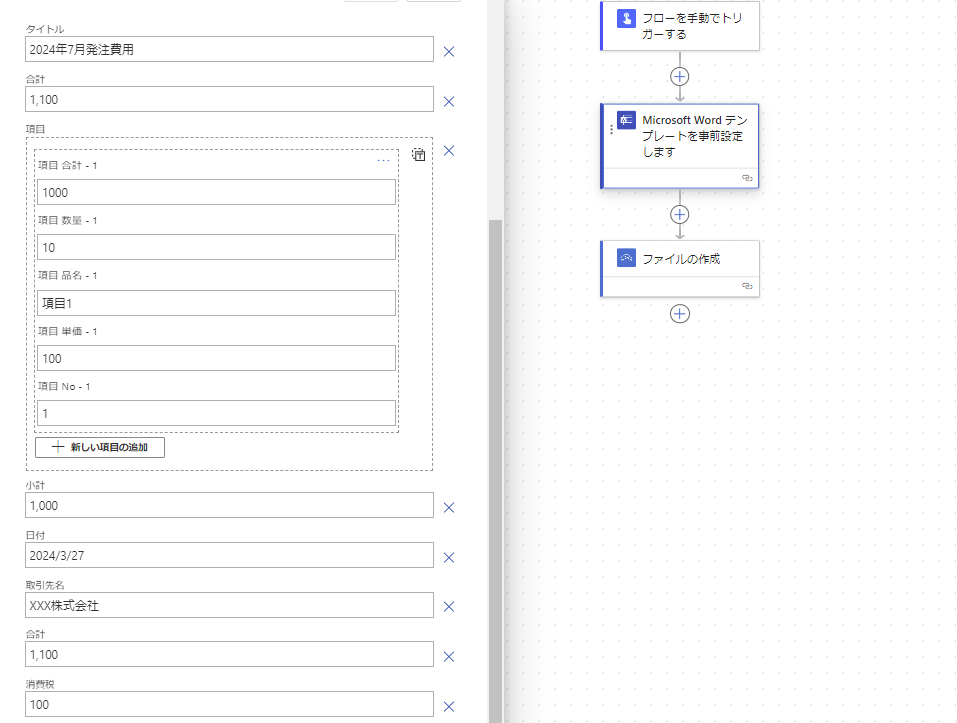
するとこんな感じで先ほど設定したテキストの差し替え箇所が表示されるので、請求書に挿入したいテキストを入れていく。
※今回は固定テキストだけど、もちろんSPOとかから引っ張ってくることも可能。
※今回は固定テキストだけど、もちろんSPOとかから引っ張ってくることも可能。
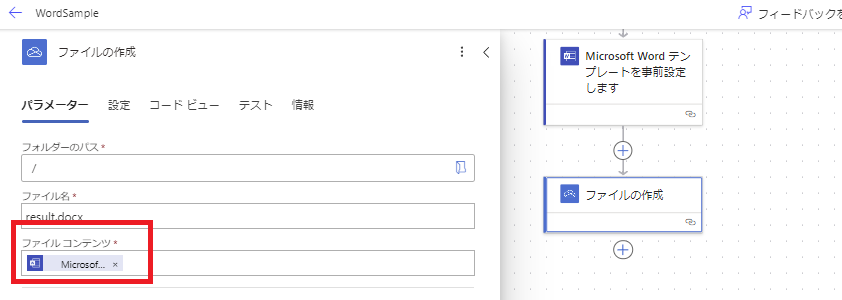
このアクションで作られたコンテンツを[ファイルの作成]アクションなどに渡してあげれば、フローの作成は完了。
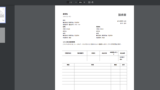
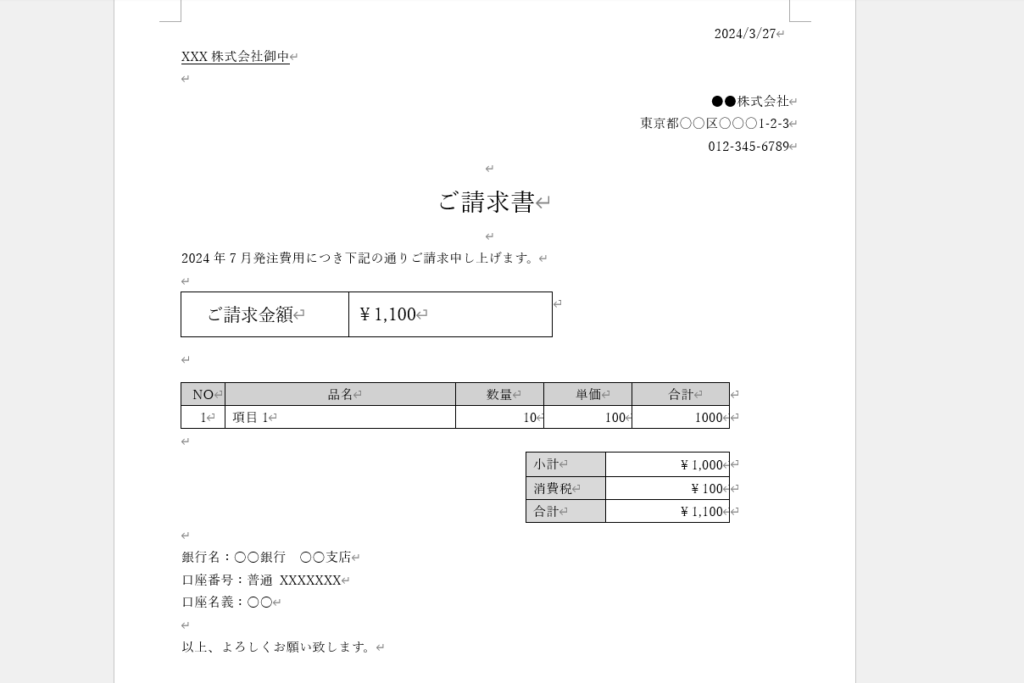
実行してみるとこんな感じで請求書が作成される。
動的な項目の追加
続いて請求項目を動的に追加してみる。こんなSharePointリストがあってこれらの項目を請求書に追加したいとしたときのお話。
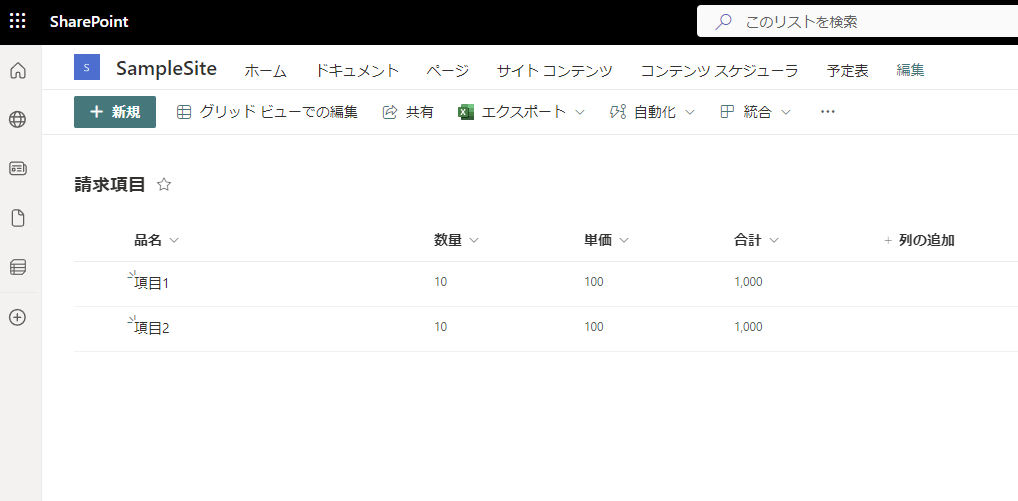
Wordアクションの中の[セクション コンテンツ繰り返しコントロール]を指定した項目の右上のアイコンを押すと、各項目に対応したIDが表示されるので、
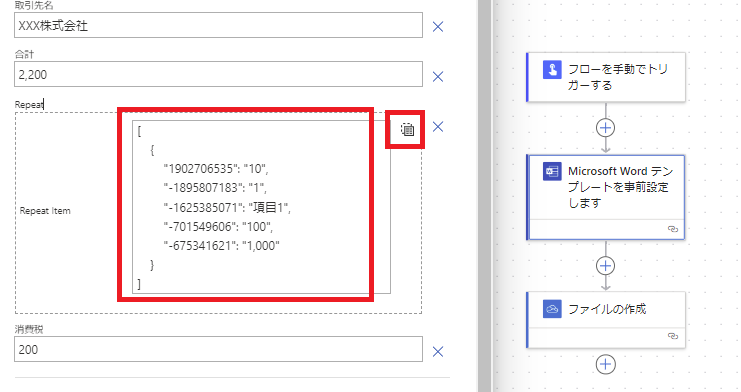
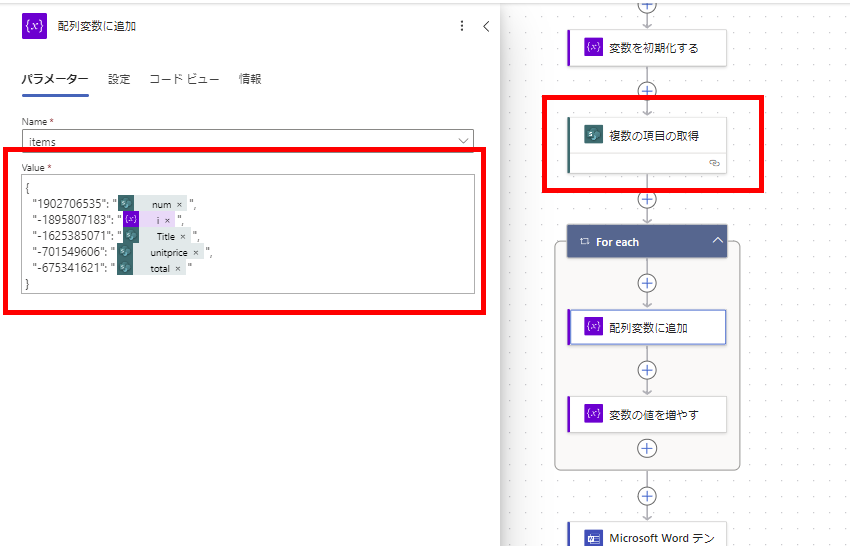
このIDと[複数の項目の取得]と[配列変数]を組み合わせて、作成したWordテンプレートに対応した配列データを作成してあげる。
※連番が不要であれば「データ操作」系のアクションで作るのももちろんOK
※連番が不要であれば「データ操作」系のアクションで作るのももちろんOK
作成した配列データを設定すれば準備完了。

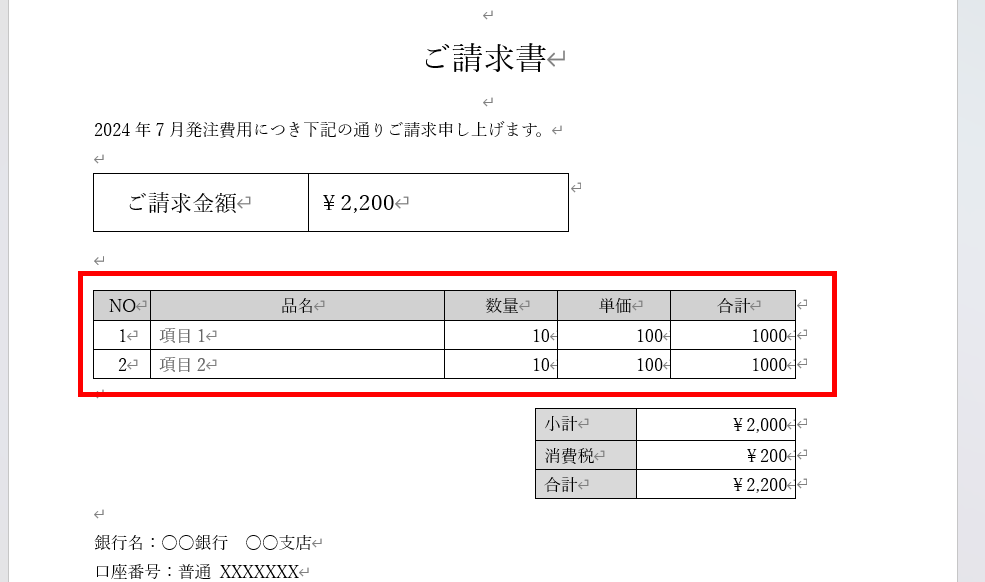
実行してみるとこんな感じで動的に項目が追加される。
作成したWordの請求書ををPDF化する
続いて[Word文書をPDFに変換します]アクションを使用して、作成した請求書をPDFに変換していく。
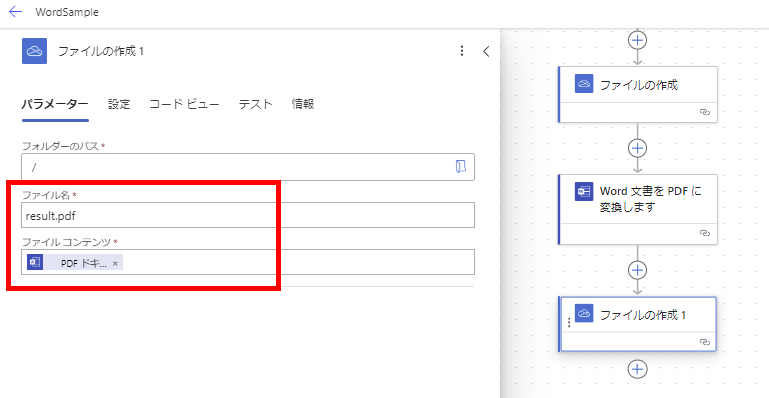
[ファイルの作成]で作成したWordファイルのパスをこのアクションに設定し、
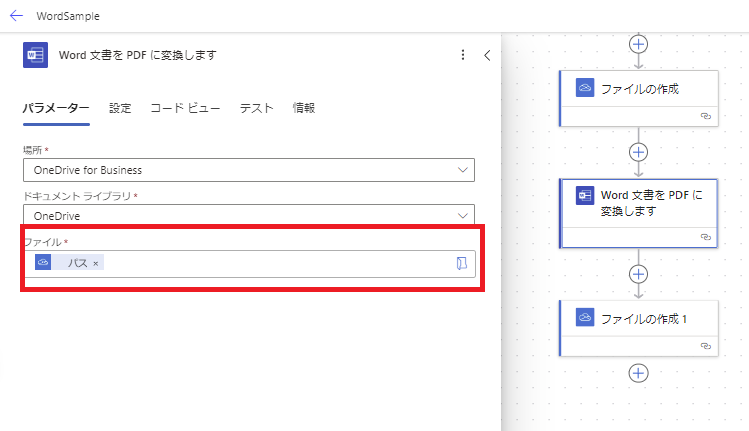
再び[ファイルの作成]アクションを使用して、PDFに変換するアクションで作成したファイルコンテンツを指定すればフローの作成は完了。
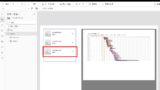
フローを実行するとこんな感じでPDFで請求書が作成できる。
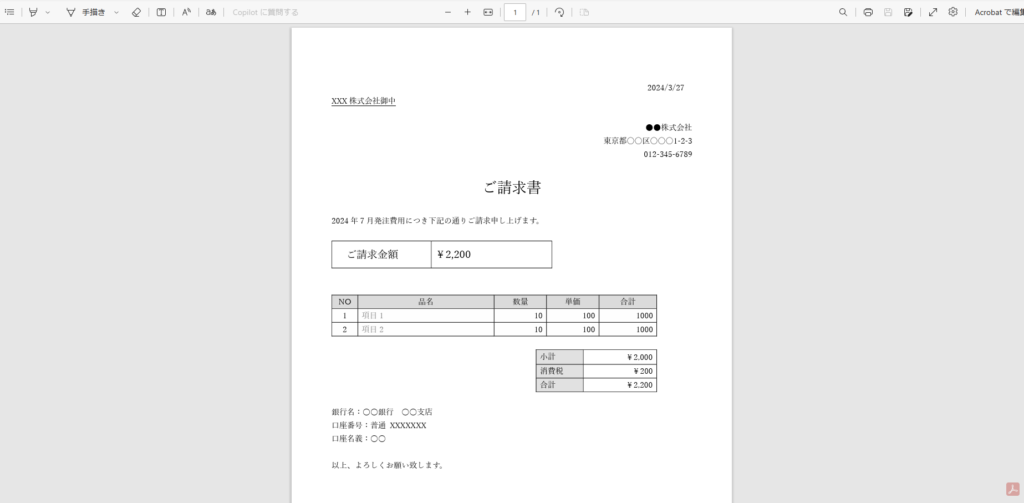
有償ライセンスが必要なためあまり使われる機会はないけど、PDFドキュメントを作りたいときは非常に便利なので、使い方を覚えておいて損はないかも。