Power PlatformからStability AIのAPIにつなぎ、画像生成AI「Stable Diffusion」を使用して画像生成するアプリを作ったのでメモ。
【2025年12月 追記】
この記事は「SDXL 1.0(v1系API)」での実装メモです。
現在、Stability AIのAPIは仕様変更されており、最新の Stable Diffusion 3.5 を使うには送信形式(multipart/form-data)の変更が必要です。
この記事は「SDXL 1.0(v1系API)」での実装メモです。
現在、Stability AIのAPIは仕様変更されており、最新の Stable Diffusion 3.5 を使うには送信形式(multipart/form-data)の変更が必要です。
▼最新のAPI(SD3.5 Flash/Medium)に対応したPower Automateの実装方法はこちら
👉 【Power Automate】Stability AI 最新API (SD3.5) をPower Appsから叩く方法
※本記事の内容は「HTTPアクションの使い方の参考」としてご覧ください。
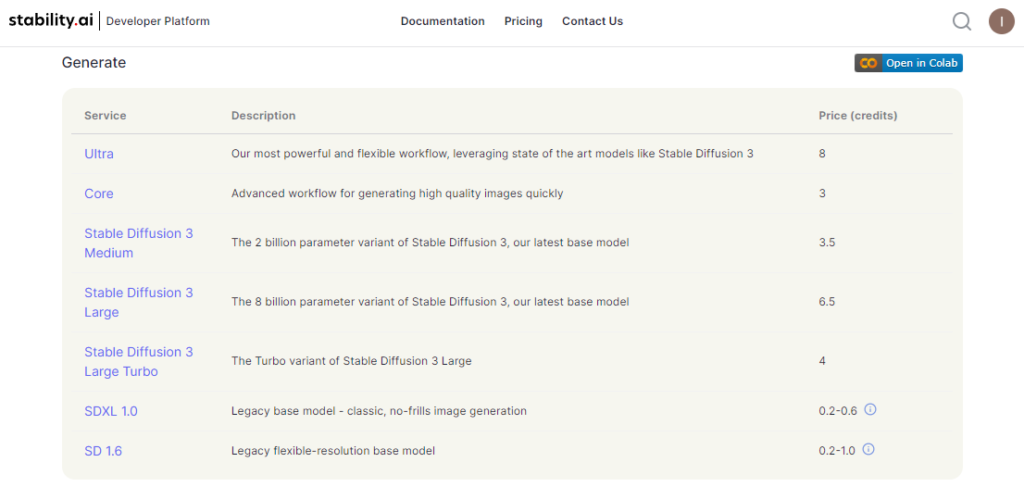
今回使用するAPI
今回はSDXL1.0の「Text-to-image」を使用する。※価格が安いから


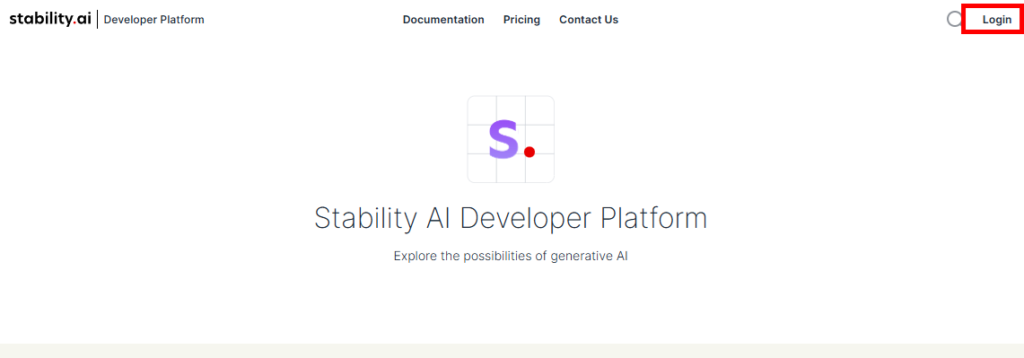
事前準備:Stability AIのAPIキーを取得
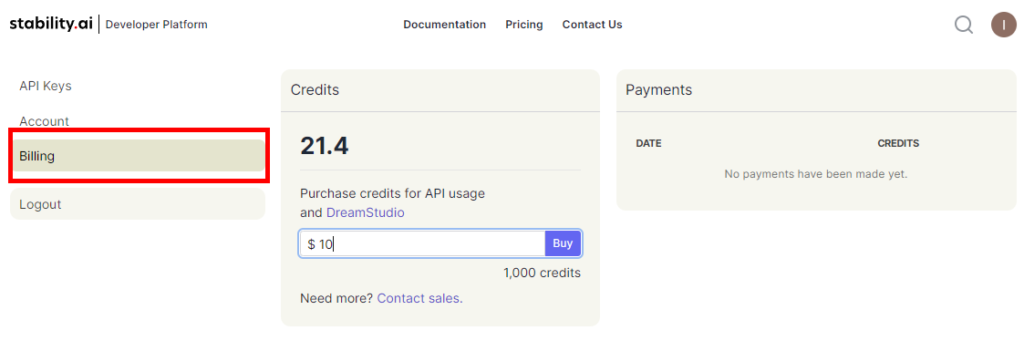
アカウントの作成が完了すると無料で25クレジットが毎月もらえる。
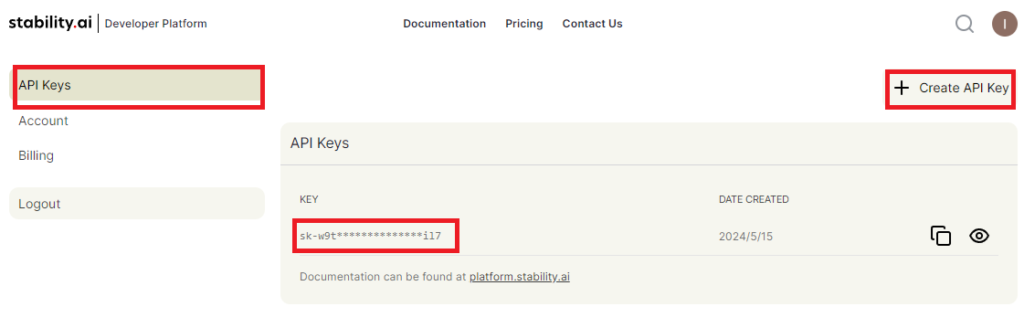
APIキーを発行して事前準備完了。
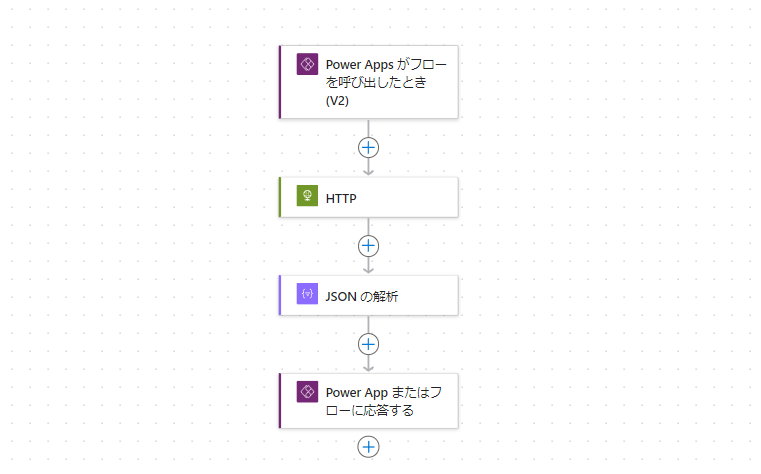
Power Automateの作成
今回Stability AIとの通信はPower Automateを使用。全体像はこんな感じ。
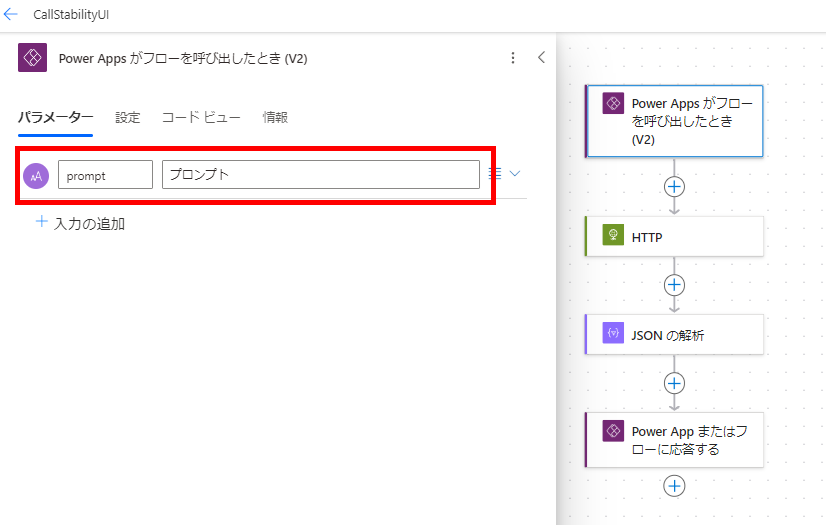
今回は実行時パラメータとして「プロンプト」のみを受け取るよう作成。
APIの呼び出し個所は以下のように設定。
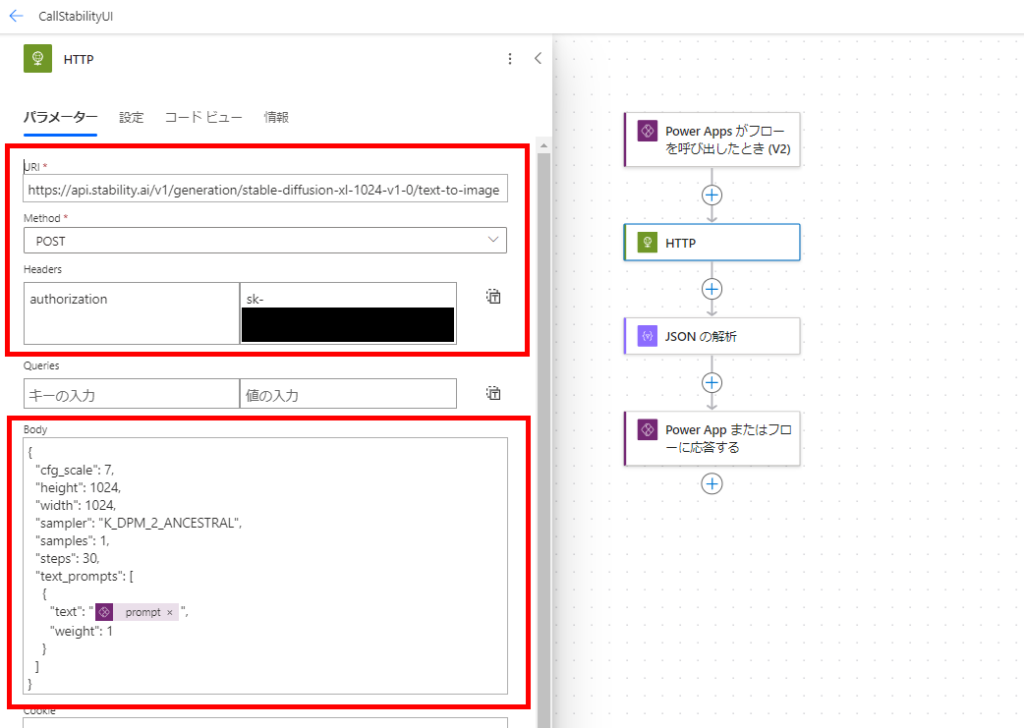
POSTリクエストを以下のURIに対して、Headerに「authorization : APIキー」を設定して送る。
https://api.stability.ai/v1/generation/stable-diffusion-xl-1024-v1-0/text-to-image
Bodyはこちら。
※各値の詳しい説明は公式を参照。
※各値の詳しい説明は公式を参照。
{
  "cfg_scale": 7,
  "height": 1024,
  "width": 1024,
  "sampler": "K_DPM_2_ANCESTRAL",
  "samples": 1,
  "steps": 30,
  "text_prompts": [
    {
      "text": "【プロンプト】",
      "weight": 1
    }
  ]
}
そしたら公式を参考に「JSONの解析」で戻り値を解析し、画像(base64)とSeed値を返す。
// 画像(1枚目のみ)
first(body('JSON_の解析')?['artifacts'])['base64']

// Seed値
first(body('JSON_の解析')?['artifacts'])['seed']
これでPower Automateの作成は完了。
Power Appsの作成
最後にPower Apps側の作成。
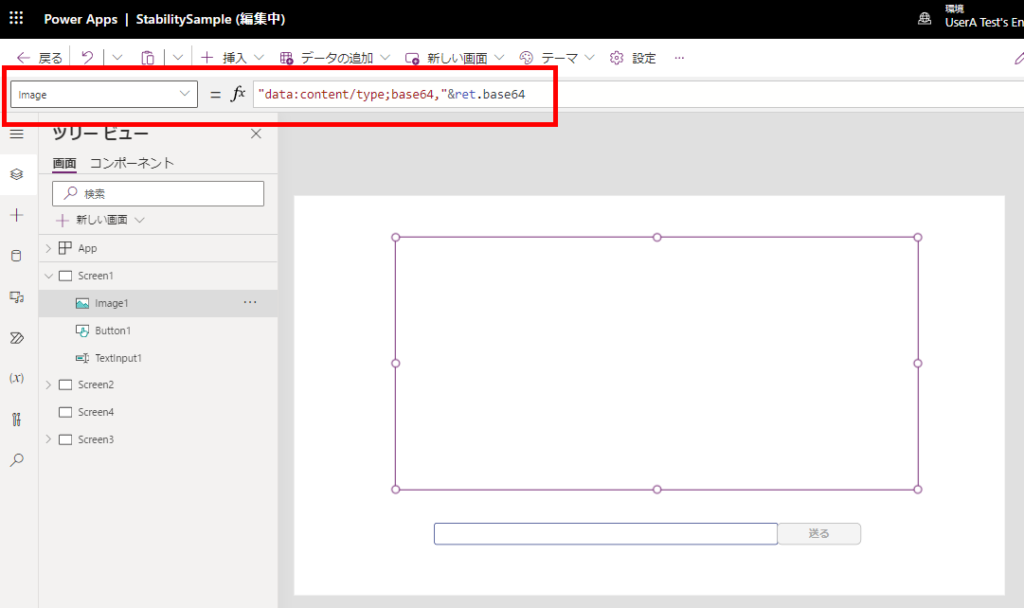
まず画面にテキストボックスとボタン、画像コントロールを用意して、ボタンのOnSelectで先ほどのPower Automateを呼び出す式を書く。
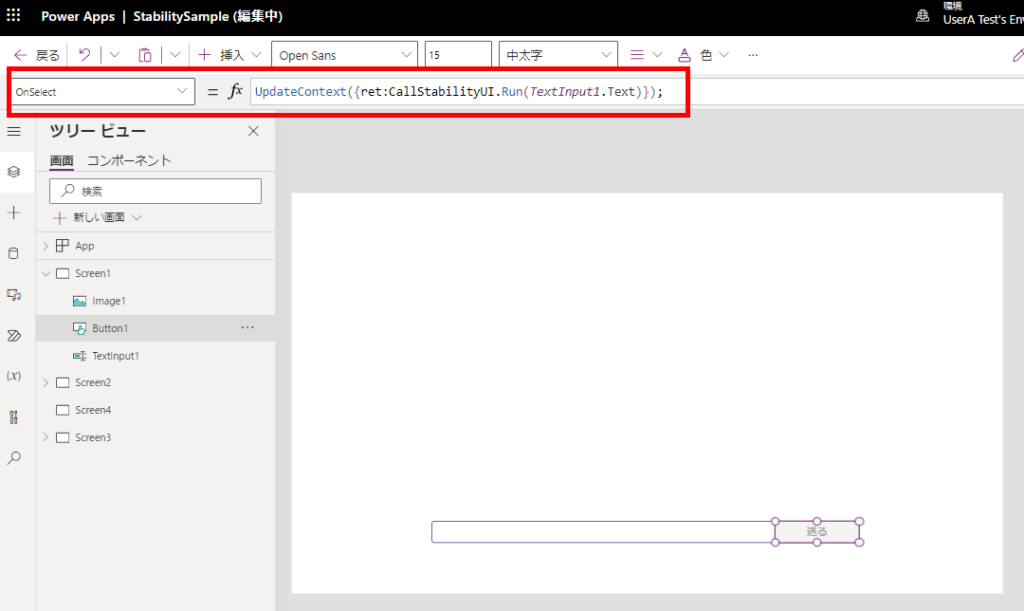
画像コントロールのImageプロパティに、Power Automateから取得した画像のbase64値を設定し、その先頭に文字列「data:content/type;base64」を付与すれば構築完了。
実行してみるとこんな感じで画像を生成してくれる。

わざわざPower Appsから呼び出すことはあんまりないんだろうけど、簡単に構築できるのは嬉しい。