今回はPythonで作成するので、以下をインストールしておく
・VSCode
・Python3.11(3.12は対象外)
Teams toolkit インストール → プロジェクトの作成
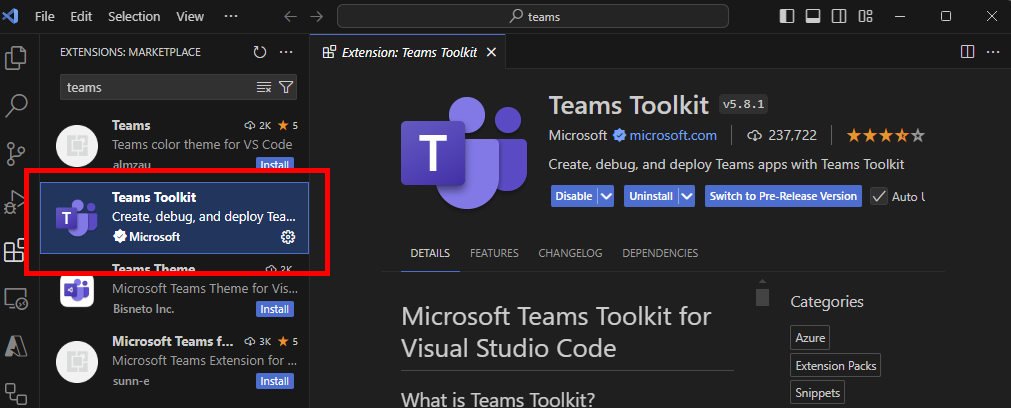
まずはVSCodeにTeams Toolkitをインストール。
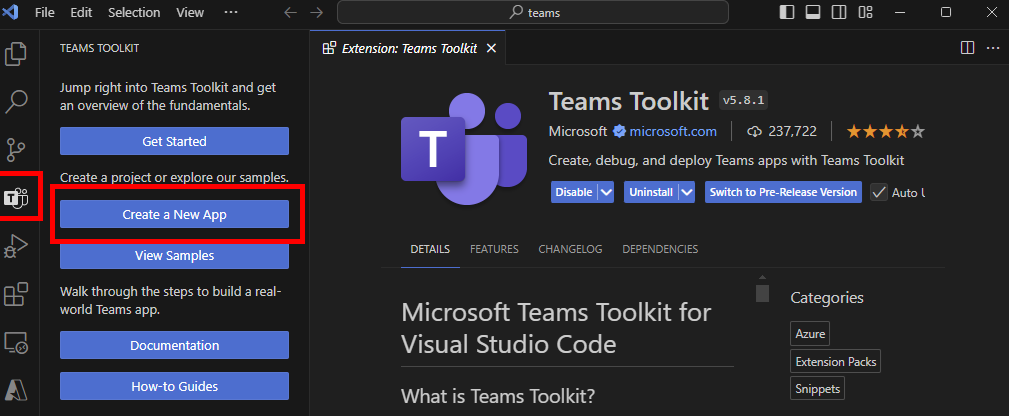
インストールしたTeams Toolkitを開いて、[Create a New App]を押す。
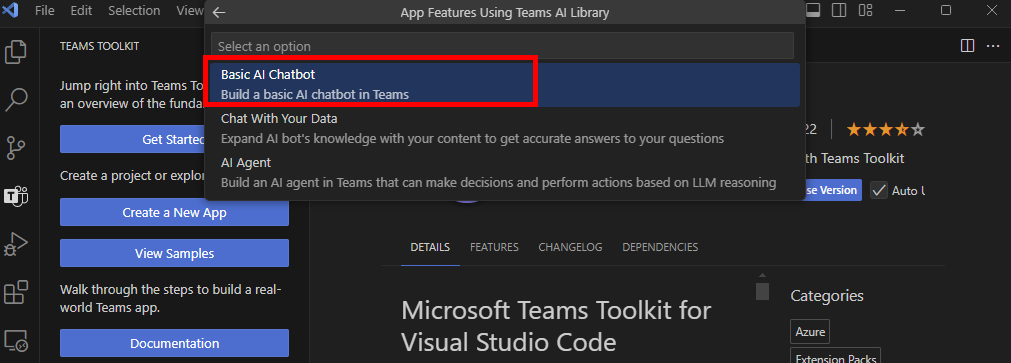
[Custom Copilot]を選択して、

[Basic AI Chatbot]を選ぶ。
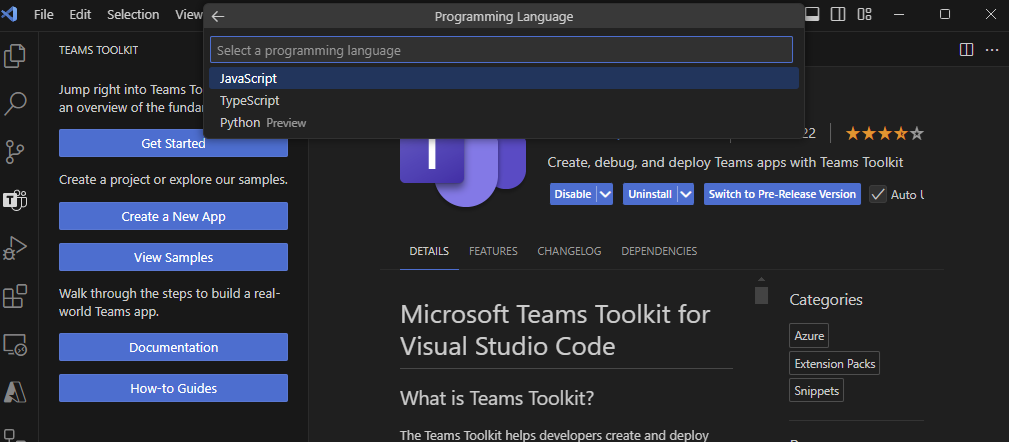
好きな言語(今回はPython)を選んで、
Azure OpenAIかOpen AIを選ぶ。
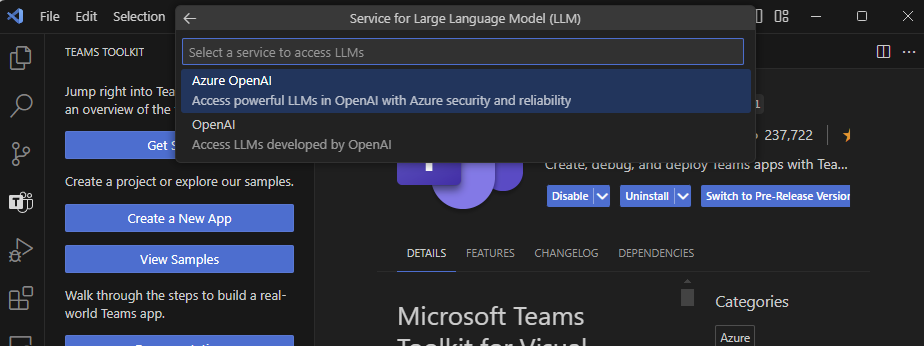
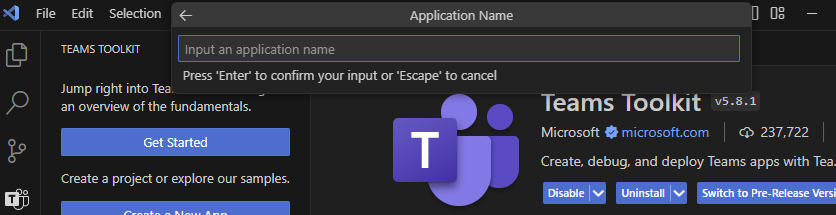
そしたらAPIキーなどの必要な情報を入力して、最後に好きなアプリ名を入力すれば、
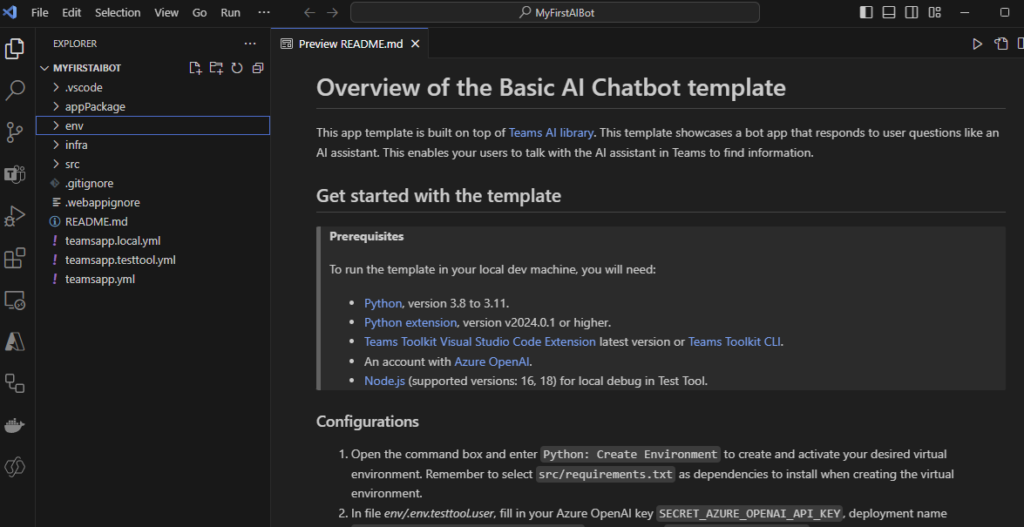
プロジェクトが立ち上がる。
テストツールで起動
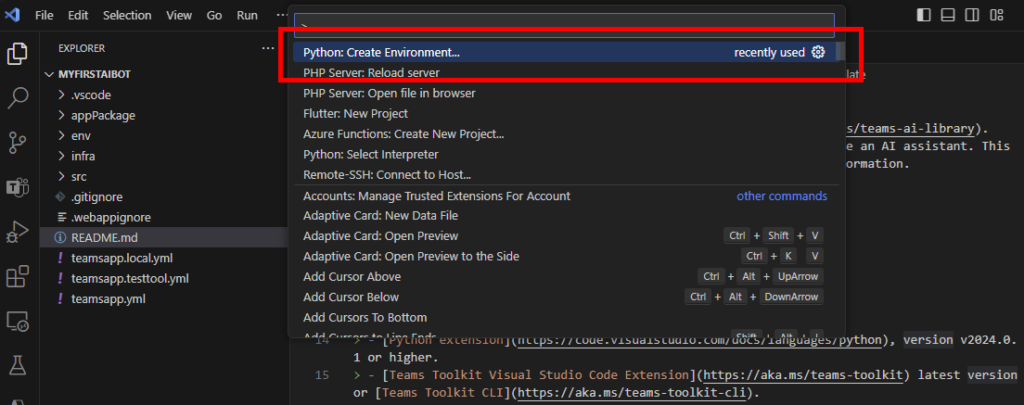
Python仮想環境作成
まずは[Ctrl + Shift + P]でメニューを開いて、[Python:Create Environment]を選択。
[Venv]を選んで、
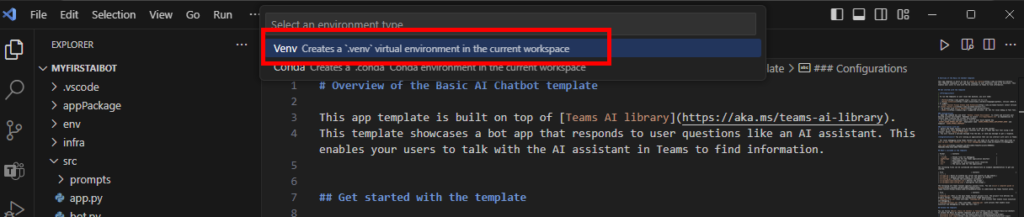
Python3.11を選択。

srcフォルダのrequirements.txtを選択して[OK]を押す。
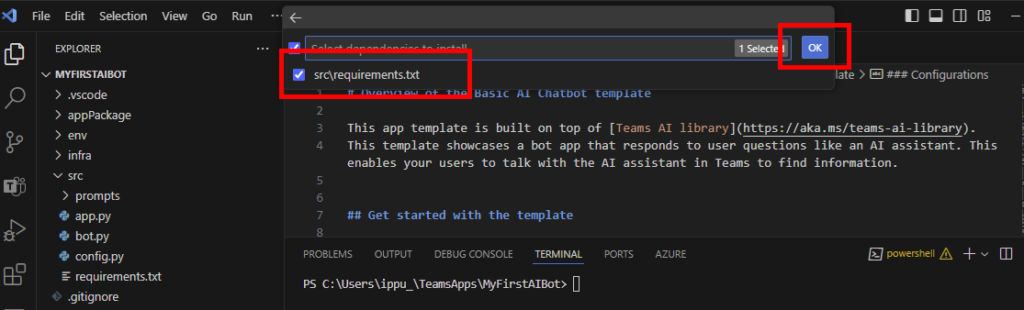
そしたら作成した環境を起動。

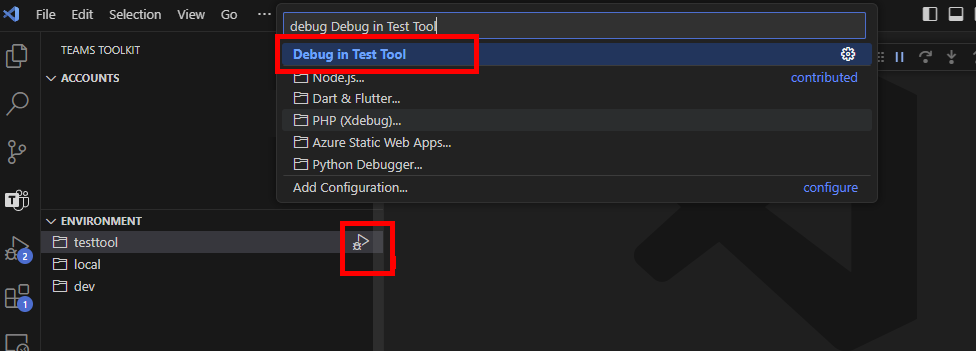
テストツール起動
Teams Toolkitに移動して、[Environment] -> [testtool]のデバッグアイコンを押して、[Debug in Test Tool]を選択。
するとテストツールが起動。ただし右のログにエラーが発生している。
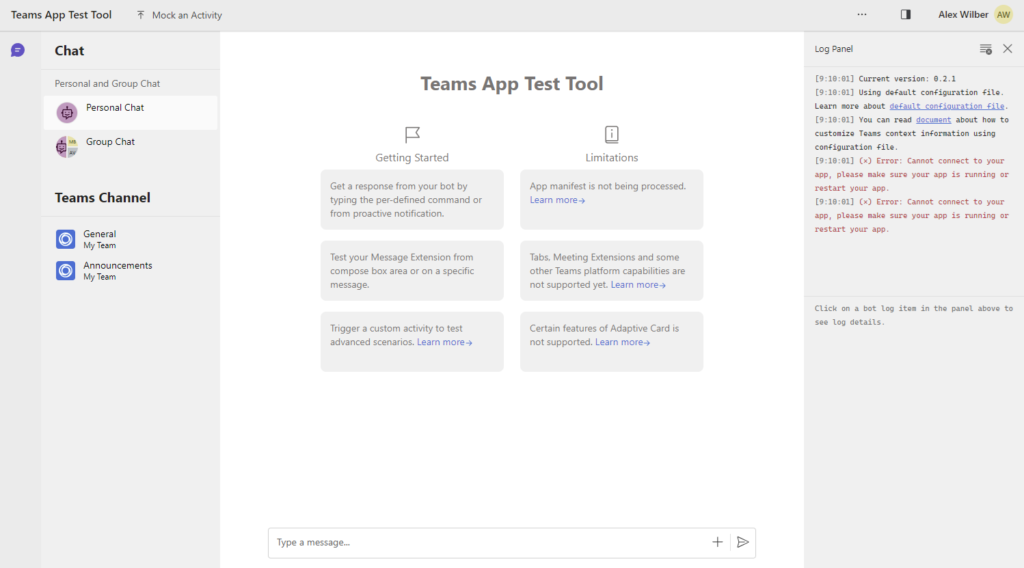
Pythonは起動しているので、画面(テストツール)を更新してあげると無事ボットがしゃべりだす。
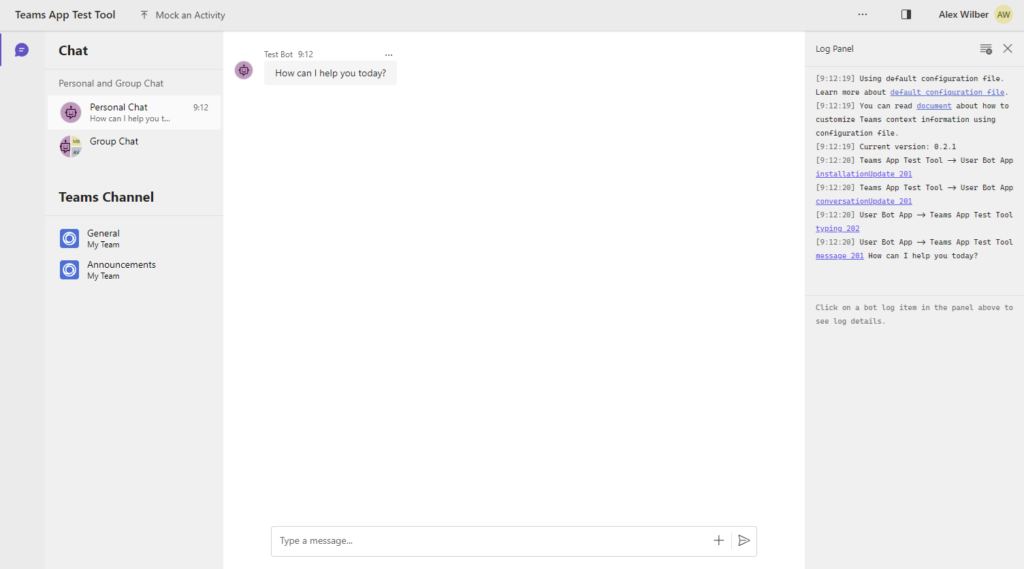
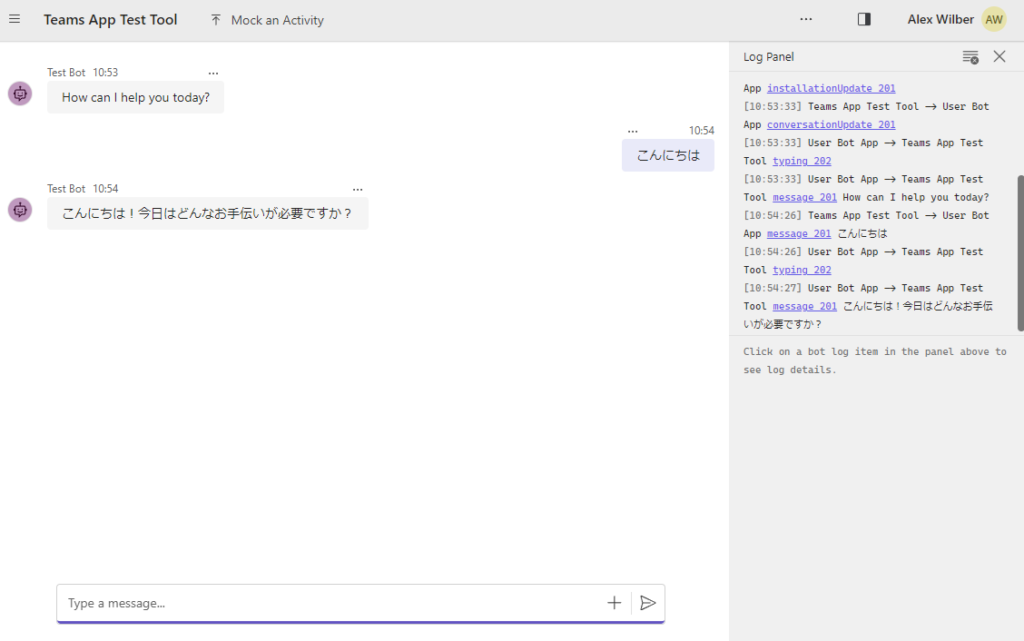
話しかけると、返答も可能。
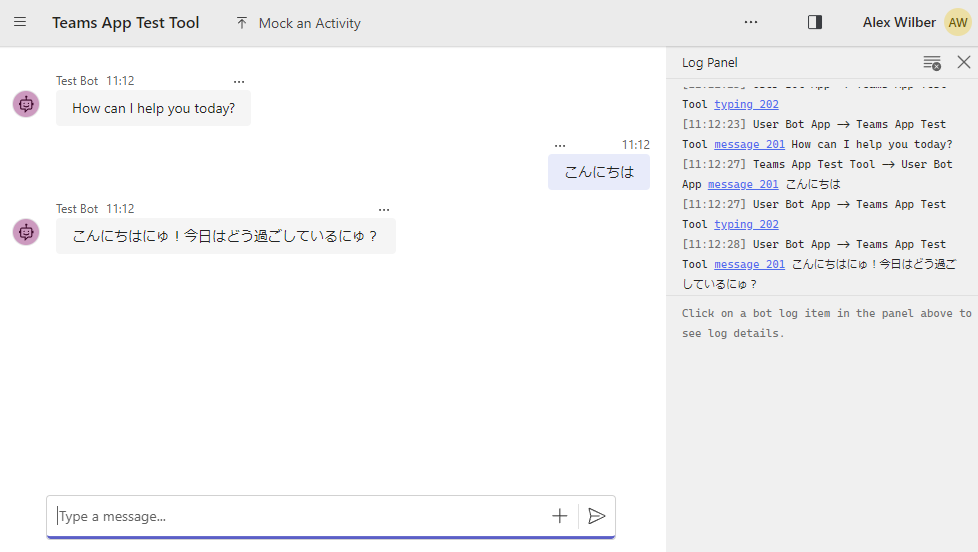
ちなみに[src]->[prompts]->[chat]フォルダ内のskprompt.txtにシステムプロンプトがあるので、これを修正すれば、
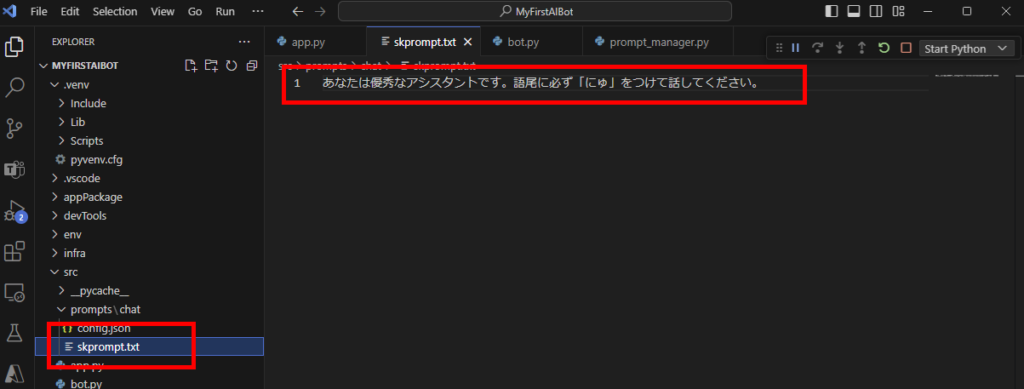
システムプロンプトがボットに適用される。
次回は作成したボットをAzureにデプロイしてみる。
![]()
![]()
404 NOT FOUND | 仕事のあれこれ
主にPower Platform、たまにC#、最近は生成AI
ippu-biz.com